How to Make a Salt Volcano: A Fun and Engaging Craft for All Ages
Hello, crafty friends! I’m thrilled to have you here as we embark on an exciting journey to create one of the most mesmerizing DIY projects: a salt volcano! Whether you're a seasoned crafter or just beginning your creative adventures, this project is perfect for any age group and can be a fantastic educational tool for kids—especially those eager to learn about chemical reactions and geology while having a blast.
What Is a Salt Volcano?
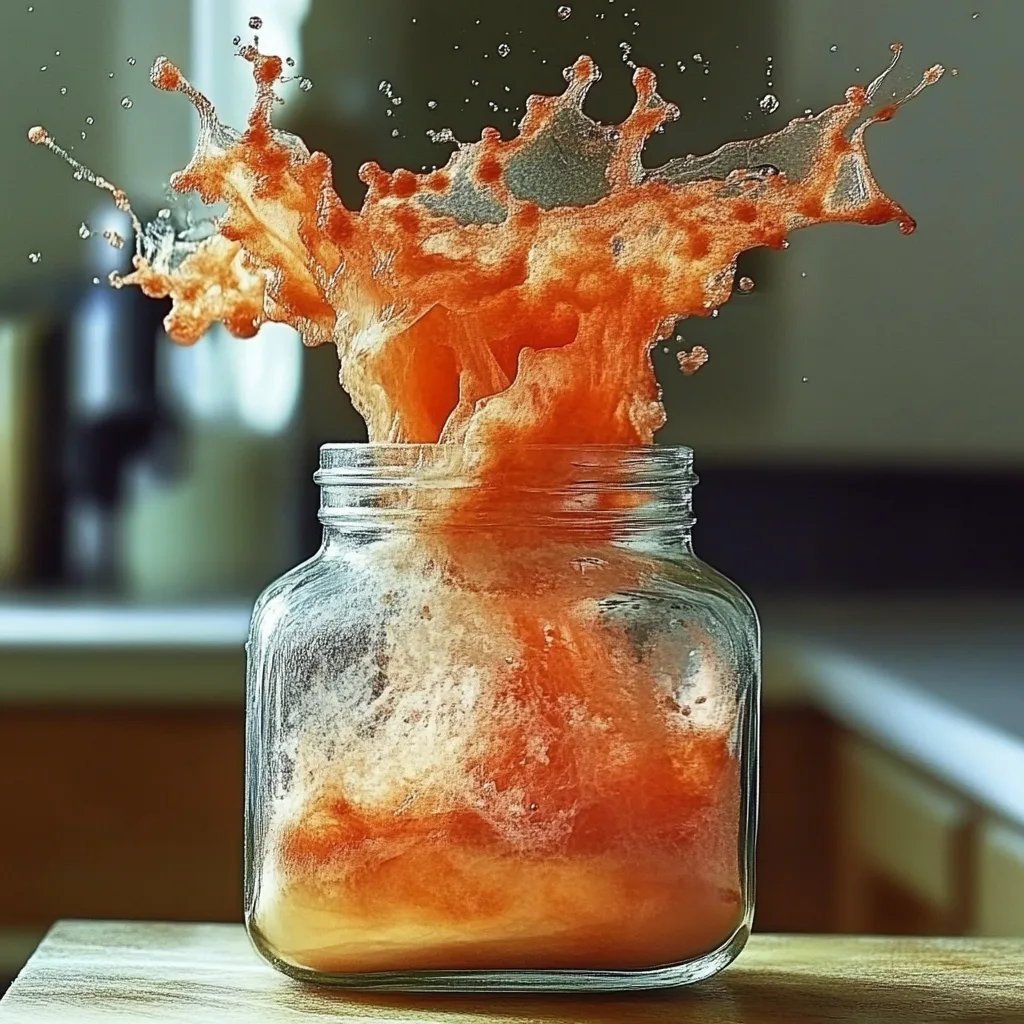
A salt volcano is essentially a colorful, eye-catching science experiment that mimics a volcanic eruption using simple materials. Unlike traditional volcanoes that erupt magma, our salt volcano will use salt and water to create an impressive display that captures the essence of a volcanic eruption. This project has gained popularity in schools, family gatherings, and craft fairs due to its visual appeal and the excitement it generates during the activity.
You can use this engaging project for various occasions—think birthday parties, science fairs, or a simple afternoon fun day at home. It’s not just about making a volcano; it’s about inspiring curiosity and creativity.
What You’ll Need
Before we jump into the steps, let’s gather all the materials. Most of these items are household staples, so you might already have them on hand!
Materials:
- Salt (1 cup) – This will form the "lava."
- Warm water (1 cup) – Helps dissolve the salt more effectively.
- Baking soda (1 teaspoon) – Adds fizz to our eruption.
- Vinegar (1/4 cup) – This will ignite the eruption!
- Food coloring (red or yellow) – To give the lava a fiery look.
- A small dish or bowl – The base for your volcano.
- A larger container or tray – To catch spills.
- Essential oils (optional) – A few drops for fragrance.
- Spoon – For mixing.
Tools:
- Whisk or fork – To mix the salt and water.
- Measuring cups and spoons.
Step-by-Step Tutorial
Step 1: Create the Base
To set the stage for our salt volcano, we need a sturdy base. Place your small dish or bowl in the center of the larger container or tray. This larger container will prevent any spills and help contain the eruption.
Why It Matters:
Having a larger base minimizes mess, making the cleanup process much easier, especially if kids are involved.
Step 2: Mix the Salt Solution
In your small dish, combine 1 cup of salt with 1 cup of warm water. Use a whisk or fork to mix until the salt is mostly dissolved. This solution will create the lava for your volcano.
Tips:
- If you struggle to dissolve the salt completely, gently heating the water further can help, but avoid boiling it.
- Over-dissolving can lead to a thicker mixture, so you want just enough that the solution remains pourable.
Step 3: Add the Eruption Ingredients
Next, sprinkle 1 teaspoon of baking soda on top of the salt solution. This ingredient plays a crucial role in creating the fizz that will mimic our volcano’s eruption.
What Could Go Wrong:
If you skip the baking soda, your volcano may not fizz as much as you'd like. So don’t skip this essential step!
Step 4: Add the Food Coloring
Now, add a few drops of red or yellow food coloring to the mixture. This gives our volcano that classic molten lava look. Swirl gently to mix the color without disrupting the salt too much.
Creative Variation:
You can create a gradient effect by layering colors or mixing multiple colors to see how they blend.
Step 5: Prepare for Eruption!
Now comes the best part! Gather your vinegar and prepare to pour it into the center of your dish. This will trigger the reaction!
Why This Matters:
Vinegar is acidic, and when combined with baking soda, it creates carbon dioxide gas, resulting in those fun, bubbly eruptions!
Step 6: Create Your Eruption!
Pour 1/4 cup of vinegar into the center of your mixture. Stand back and watch as the volcano erupts! You might want to add more vinegar for sustained eruptions.
Safety Warnings:
- Avoid pouring vinegar too quickly or forcefully, as it can cause the mixture to bubble over excessively.
- Do this project in an area that's easy to clean, as it can get messy.
Troubleshooting Tips
- The volcano isn’t erupting as expected: Double-check if you added the baking soda. If it fizzles out quickly, try adding more vinegar.
- Too much mess: If you find your eruptions overflowing too much, consider decreasing the amount of salt or using a smaller bowl.
- Color issues: If the coloring isn't vibrant enough, add a bit more food coloring, but do so gradually.
Final Thoughts
Creating a salt volcano is not just a craft; it’s a learning experience. You get to experiment with different colors, textures, and reactions, which makes it a wonderful activity for children and adults alike. It’s a fantastic way to introduce science in a fun and interactive way.
Personal Anecdote
The first time I made a salt volcano with my niece, we weren't prepared for how excited she would be when it erupted! The sheer joy on her face made all the cleanup worthwhile. Plus, it opened up conversations about real volcanoes and their eruptions, turning a simple craft into an educational moment.
Alternative Methods and Ingredient Substitutions
- Non-salt version: If salt isn't available, try using sugar dissolved in water for a different texture—though the eruption effect may vary.
- Flavorful eruptions: Consider adding a few drops of essential oils to the vinegar before pouring it in for a delightful scent!
Conclusion
I hope you enjoy making your salt volcano as much as I did! This project is not only creative but can foster curiosity and teach valuable scientific concepts. Whether it's for a school project, a fun family activity, or just a rainy day at home, creating your salt volcano is a delightful way to spark creativity and learning. Happy crafting!