How to Make a Rainy Cloud in a Jar: A Step-by-Step Guide from an Experienced Crafter
Welcome to my crafting corner! Today, I’m excited to share a delightful and visually captivating project: creating a Rainy Cloud in a Jar. This fun DIY not only looks stunning on your shelf but serves as a wonderful science experiment for kids and a playful decoration for rainy days. With its mesmerizing effect, the Rainy Cloud in a Jar is popular among crafters, educators, and families alike, inviting creativity while also demonstrating the magic of weather phenomena.
Whether you want to use it as a calming sensory jar, a teaching tool for children, or simply as a whimsical piece of home décor, this project is perfect for anyone looking to get their hands a little messy and have some fun. Ready to dive in? Let’s gather our materials and start crafting!
Why Make a Rainy Cloud in a Jar?
Creating a Rainy Cloud in a Jar is a fantastic way to explore weather concepts in an engaging and hands-on manner. It's a project that transcends age; I’ve seen three-year-olds mesmerized while watching the “rain” fall (with supervision, of course), and adults marvel at its beauty. The best part? It’s super simple to make using materials that you probably already have lying around the house.
What You’ll Need
Before we get started, here’s a comprehensive list of materials you’ll need:
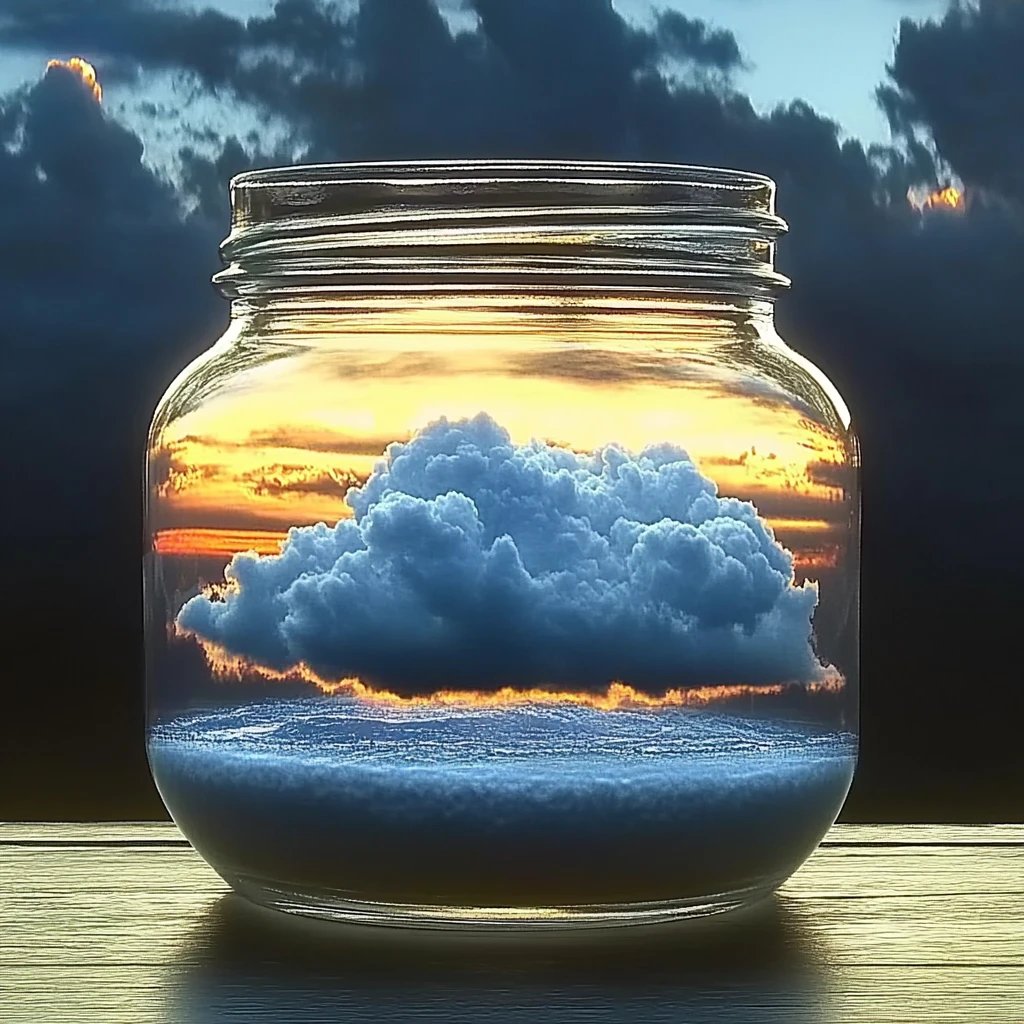
- A clear glass or plastic jar: I prefer using a mason jar because of its wide mouth and sturdiness.
- Water: Enough to fill half of your jar.
- Shaving cream: This will act as your cloud. I recommend using the foam kind for better results.
- Liquid food coloring or watercolor: This will make the “rain.” Any color will work; I often mix blue with a bit of red for a purple hue.
- A pipette, dropper, or spoon: You'll use this to drizzle the colored water onto the shaving cream.
- Optional: Glitter or sequins: For some extra sparkle!
Safety Warning
While this project is safe, always supervise younger children when using materials like food coloring, which can stain fabrics and surfaces. It’s also a good idea to wear an apron or old clothes to avoid any unintended splatters.
Step-by-Step Tutorial
Now, let’s dig into the crafting process step-by-step:
Step 1: Prepare Your Jar
Start by filling your jar with water up to the halfway point. This serves as the base of your cloud and helps represent the sky. The water also provides a nice visual contrast against the foam that will make up your cloud.
Tip: Use distilled water for a clearer look. Tap water can sometimes have a slight tint or bubbles which might affect the final visual appeal.
Step 2: Create Your Cloud
Next up, take your shaving cream and spray a generous amount on top of the water. You want to create a thick layer resembling a fluffy cloud. Spread it around a bit, so it completely covers the water.
Why This Matters: The density of the shaving cream allows it to float on top of the water, mimicking the way clouds float in the sky. Too little shaving cream, and it will dissolve into the water; too much, and it might overflow. Aim for about an inch in thickness.
Step 3: Color Your Rain
In a separate cup, mix a few drops of food coloring with a small amount of water. You don’t need much—just enough to create vibrant “raindrops.” If you’re using multiple colors, divide them into separate cups.
Tip: If you want to create a more mixed effect, use two or three colors in one jar, adding just a few drops of each color at a time.
Step 4: Drizzle the Rain
Now comes the fun part! Using your pipette, dropper, or spoon, gently drizzle the colored water onto the shaving cream cloud. Watch as the color begins to seep down through the shaving cream and into the water below, creating a beautiful visualization of rain.
What Could Go Wrong: If your colors aren’t falling through, you might need to wait longer or add more colored water. Alternatively, too much shaving cream can impede the rain’s descent, so adjust accordingly!
Step 5: Add the Sparkle
If you’re feeling extra creative, sprinkle in some glitter or sequins for a magical touch. The shimmer will add a delightful effect, particularly when sunlight catches it.
Tip: Keep the glitter minimal to avoid overwhelming the visual; a little goes a long way!
Step 6: Seal It Up
If you’re using a lid for the jar, seal it tightly (but don’t shake it just yet!). Your Rainy Cloud in a Jar is now complete, ready for display or demonstration.
Troubleshooting Tips
- Too Much Water: If your cloud disappears into the water, you may have added too much initially. Remove some water carefully if needed.
- Staining: To clean up any spills from the food coloring, act quickly! Blot the area with cold water—never hot—as heat sets the stain.
- Not Enough Rain Effect: If your colors don’t seem to be coming down like rain, it might be due to the foam density. Try to gently poke the shaving cream with your dropper to create easier pathways for the color.
Creative Variations
- Seasonal Themes: Customize the colors based on the seasons—think pastels for spring, vibrant colors for summer, earthy tones for fall, and shades of blue and gray for winter.
- Glass Paints: Instead of food coloring, consider using glass paints that dry clear for a more permanent option.
- Additional Sensory Elements: Add small faux flowers or decorative stones at the base to enhance your jar's aesthetic and tactile qualities.
Final Thoughts
Creating a Rainy Cloud in a Jar is not only a fun project, but it also encourages observation and learning about weather in a simple and engaging way. My children love to make these during rainy days, watching as the colors simulate a beautiful storm.
As you embark on this project, remember: crafting should be fun and even a little messy! Don’t stress about making it perfect; the beauty lies in the process and the joy it brings. So gather your supplies and start crafting your own piece of atmospheric art!
Happy crafting, and may your skies be filled with delightful clouds—rainy or otherwise!