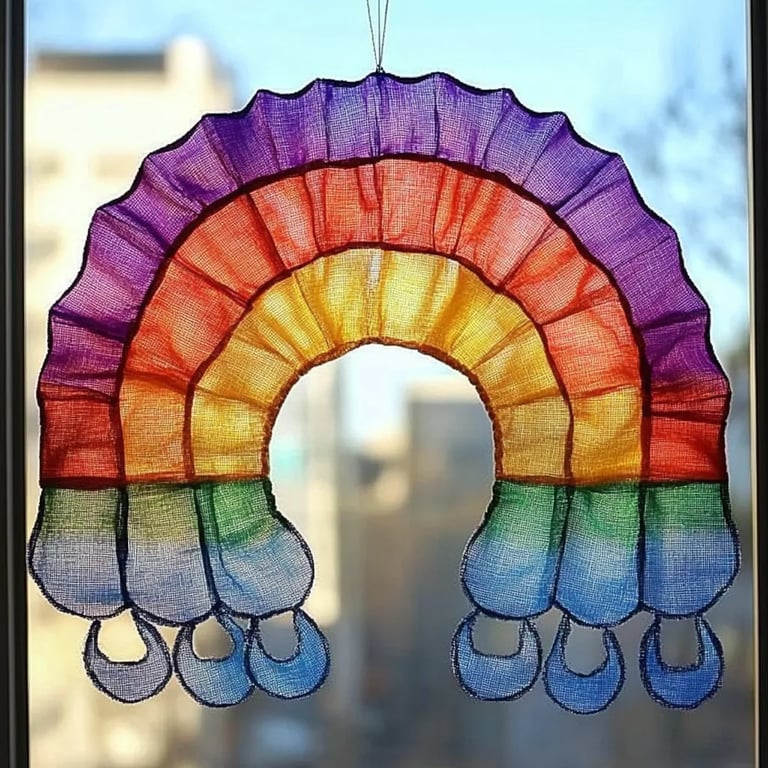
How to Make a Rainbow Suncatcher Craft: A Colorful Guide to Brightening Your Space
Hello fellow crafters! If you're looking for a delightful way to bring a splash of color into your home while exercising your creative muscles, I’m thrilled to share with you my cherished craft: making a Rainbow Suncatcher! This project is not only a visual treat but also a fantastic way to engage with light, colors, and shapes. Suncatchers can be used to decorate windows, brighten up a room during the long winter months, or even be given as heartfelt gifts to family and friends. Let's embark on this colorful journey together!
Why Are Rainbow Suncatchers So Popular?
Rainbow suncatchers have quickly become a popular craft for various reasons. Firstly, they are incredibly versatile and can brighten any room with just a few materials. As the sunlight passes through the colors of the suncatcher, it creates beautiful patterns on your walls and floors, making your space feel more inviting. Additionally, crafting suncatchers is an excellent activity for families, allowing kids to express their creativity while developing fine motor skills. You can enjoy this craft at any time of year, making it perfect for rainy days, craft nights, or making seasonal decorations.
Materials You'll Need
Before we get started, gather your materials. The beauty of this project lies in its simplicity! Here’s what you’ll need:
Basic Materials:
- Colorful tissue paper (the more vibrant the better!)
- Contact paper (clear adhesive sheets)
- Scissors
- Black construction paper (for the frame)
- A pencil or marker
- Optional: Glitter, beads, or other embellishments for added pizzazz!
Step-by-Step Tutorial
Now that we have our materials ready, it’s time to dive into the crafting:
Step 1: Prepare Your Workspace
It's essential to set up your crafting space before getting started. Lay down newspapers or an old cloth to catch any potential spills or messes. Having your materials organized not only makes the crafting process smoother but also keeps you focused and less likely to be sidetracked.
Step 2: Draw Your Design
Using the black construction paper, draw the shape you want for your suncatcher. Common shapes include circles, hearts, or butterflies, but feel free to get creative! Keep in mind that these shapes will be the frame for your colorful tissue paper.
Tip: If you’re unsure about drawing freehand, you can print shapes from the internet and trace them onto the construction paper.
Step 3: Cut Out Your Shape
With your scissors, carefully cut out the shape you’ve drawn. Once done, you should have a solid black outline. It’s okay if it’s not perfect; that’s part of the charm! Just take your time, as a clean cut will make the final product look polished.
Step 4: Prepare the Contact Paper
Now is the time to prepare the contact paper. Cut a piece that’s slightly larger than your frame shape. Carefully peel off one side of the backing—this can be tricky, so take your time to avoid tearing the adhesive.
Step 5: Adhere Tissue Paper to Contact Paper
This step requires a bit of patience! Cut your colorful tissue paper into small square or rectangle pieces. The sizes don’t have to be uniform; a mix will give a lovely mosaic effect. Start placing your tissue paper pieces onto the sticky side of the contact paper. Layer them in a rainbow pattern or a random assortment—whatever speaks to your creative side!
Important Note: Ensure you cover the entire area, as leaving gaps may cause the sunlight to shine through unevenly.
Step 6: Seal the Suncatcher
Once your contact paper is covered in colorful tissue paper, peel off the top backing of the contact paper and place your black construction paper frame on it. This step seals the tissue paper and gives your suncatcher structure.
Common Pitfall to Avoid: Ensure that no tissue paper pieces are poking out from under the frame when you press it down. If any are, gently adjust them before sealing it down.
Step 7: Cut Away the Edges
Using your scissors, trim any excess contact paper around the edges of your frame to ensure a neat finish. This will make for a cleaner look and help your suncatcher stick better to the glass.
Step 8: Hang Your Suncatcher
Finally, find a nice, sunny window to hang your rainbow suncatcher. You can use tape to secure the frame to the glass. Make sure it’s firmly in place to avoid any accidental falls.
Creative Variations
Once you’ve mastered the basics, consider these fun variations:
- Stained Glass Look: Use black construction paper to create intricate designs, similar to stained glass. This technique adds sophistication to the project.
- Seasonal Themes: Tailor your suncatchers to the seasons—warm hues for autumn, pastels for spring, and cool colors for winter!
- Glow-in-the-Dark Effects: Incorporate some glow-in-the-dark paint or stickers into your design for nighttime magic!
Personal Anecdotes
I remember the first time I made suncatchers with my children. We had a big family gathering, and the colorful creations filled our home with joy. Watching them stomp their feet in excitement as light danced across the walls is a memory I cherish. Crafting is more than just creating; it’s about connection and shared joy.
Safety Warnings
- Scissors: Always supervise young children when using scissors. If you have very young children, consider pre-cutting the shapes for them to embellish.
- Adhesive Materials: Be cautious with contact paper, as it can be quite sticky and difficult to remove from surfaces if mishandled.
Conclusion
Congratulations on creating your very own Rainbow Suncatcher! I hope this project brought as much joy to you as it does to me. Remember, crafting is a process, and each suncatcher you make will tell its own unique story. Hang it in your window and celebrate the beautiful play of colors that transforms your space. So gather your materials, unleash your creativity, and most importantly—have fun! Happy crafting! 🌈✨
Feel free to ask questions or share your results in the comments below. I can’t wait to see what you create!