How to Make a Neon Oil & Water Explosion: Your Ultimate Crafting Guide
Hello, fellow crafters! Today, I'm thrilled to share one of my all-time favorite DIY projects: the Neon Oil & Water Explosion. This vibrant and mesmerizing creation brings together the beauty of neon colors with the science of liquid dynamics, making it a captivating piece for any occasion. Whether you’re looking to create a stunning centerpiece for a party, a fun educational project for kids, or simply explore your artistic side, this project is perfect for you!
Why the Neon Oil & Water Explosion?
This neon explosion is more than just a beautiful visual. It is an engaging way to understand how liquids of differing densities interact, and it’s a fantastic opportunity to explore colors and light through a playful medium. The striking visuals make it highly shareable on social media platforms, adding to its growing popularity. Plus, it’s a great conversation starter when displayed at gatherings!
As I've experimented with various ways to create this stunning effect, I've refined the process to ensure it’s approachable for crafters of any skill level. Let’s dive into the step-by-step process, and I’ll also share my top tips, alternative methods, and some common pitfalls to watch out for.
Materials You Will Need
Before we jump into the crafting, let’s gather everything you need:
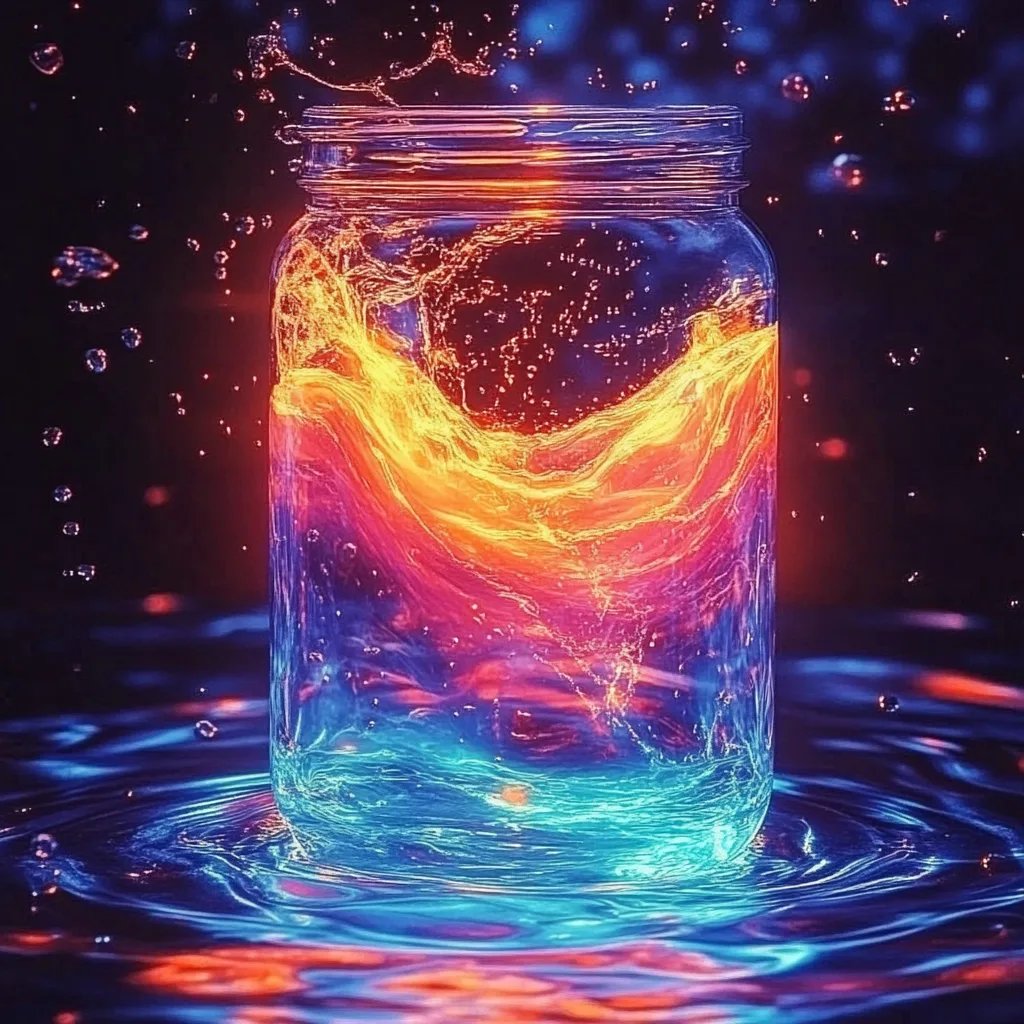
- Clear Glass Container: A tall vase or a clear jar works wonderfully. The wider the container, the more dramatic the effect!
- Vegetable Oil: Standard cooking oil is ideal since it's inexpensive and easily accessible.
- Water: Regular tap water will do, but you might want to use distilled water for a clearer look.
- Neon Food Coloring or Neon Liquid Watercolors: Look for vibrant colors to really make your project pop.
- Liquid Dish Soap: This will help with the separation of liquids.
- Pipettes or Droppers: For controlled color application.
- Optional: Glitter or small beads for added texture and visual interest.
Step-by-Step Tutorial
Step 1: Prepare Your Container
First and foremost, choose a clear glass container. This will be the canvas for your neon explosion. Rinse it out with water to remove any residues, and ensure it's dry before starting.
Why This Matters: A clean container allows for optimum visibility of the colorful layers. Any residue can interfere with the clarity of your creation.
Step 2: Add Water
Start by filling your container about one-third full with water. This is where the magic begins, so make sure to use room temperature water for the best results!
What Could Go Wrong: If you fill the container too much, the oils may not have enough space to spread out, ruining the explosion effect.
Step 3: Incorporate Food Coloring
Using a pipette or dropper, add a few drops of neon food coloring or liquid watercolor to the water. Feel free to mix and match colors for a vibrant effect.
Tip: The more color you add, the more intense the final look will be. However, starting with just a few drops allows you to see how the colors interact before going all out.
Step 4: Add Dish Soap
Now, I want you to add a small squirt of liquid dish soap to the water. This will help the oil and water to separate, creating distinct layers and helping your colors stand out.
Why This Step Is Important: The soap helps lower the surface tension of the water, allowing the oils to sit on top without mixing.
Step 5: Pour in the Oil
Gently pour vegetable oil over the back of a spoon to create a smooth layer on top of the water. You should see the oil float right above the water!
Common Pitfall: If poured too quickly, it may mix instead of layer. Patience is key. A slow pour allows for a beautiful separation.
Step 6: Create Your Neon Explosion
This step is where the real fun begins! Using your droppers, let’s add more drops of neon food coloring directly into the oil layer. Watch as the colors form little bursts and droplets that slowly descend into the water below.
Personal Anecdote: I remember the first time I created this—I was in awe as I watched the colors dance and fall, creating stunning trails of neon. It was a reminder of how beautiful science can be!
Step 7: Experiment and Adjust
Now comes the creative part! You can add more colors, use glitter for a sparkle effect, or even use small beads to enhance your design. Watching how the beads move through the layers can be delightful!
What to Avoid: Too many colors at once can muddy the effect, so add them gradually and observe the transformations.
Tips for Success
- Don’t Rush: Be patient during the layering process. The goal is to see those beautiful explosions, and rushing may lead to a muddled outcome.
- Have Fun with Colors: Try using all the colors of the rainbow, or experiment with creating gradients for a mesmerizing effect!
- Safety First: Although the materials are non-toxic, always supervise young crafters, and keep supplies out of reach when not in use.
Alternative Methods and Ingredient Substitutions
If you don’t have vegetable oil, you can also use liquid paraffin or baby oil, which will achieve similar effects. If you're out of food coloring, fruit juices can provide a fun twist, but the colors will be much more muted.
Creative Variations
- Glow-in-the-Dark Twist: Add glow-in-the-dark paint to the oil for an otherworldly nighttime effect.
- Themed Colors: Choose colors that match a theme or season, like pastels for spring or deep shades for a Halloween setup.
- Layering Techniques: Once you master the basics, try varying the speed and angle of your oil pour or use different sizes of droplets for varied effects.
Final Thoughts
Crafting the Neon Oil & Water Explosion is not just about the final product; it's a journey of creativity, experimentation, and science. Each project can turn out differently, making every attempt a unique piece of art.
The joy is in the exploration! I encourage you to embrace your inner scientist and artist. Share your results, tweak the method as you see fit, and most importantly, have fun. Remember, it’s about the process as much as it is about the outcome. Happy crafting!