How to Make a Homemade Bouncy Ball: A Fun Crafting Adventure
Hello, fellow crafters! Today, I’m excited to share with you one of my all-time favorite DIY projects—making a homemade bouncy ball. This delightful little craft is not only a nostalgic trip down memory lane but also a fun activity that everyone can enjoy, whether you're a crafty parent looking for a fun afternoon project with your kids or an adult who's seeking to relive some childhood joys.
Bouncy balls are popular among kids for various reasons—they provide endless entertainment, are great for outdoor play, and are an excellent source for active play. I remember spending hours bouncing those colorful balls in my backyard, and it's a joy to bring that experience to the current generation. Plus, making your own bouncy ball is a fantastic way to learn about some simple chemistry as you mix and see the materials transform!
In this article, I’ll guide you through a comprehensive, step-by-step process of creating your very own bouncy ball using accessible materials. So, roll up your sleeves and let’s get started!
Why This Craft Works
Before diving into the process, let’s quickly discuss why these homemade bouncy balls actually bounce. They’re made from a polymer, which stretches and then returns to its original shape upon dropping. This elasticity is what gives bounce balls their "bounce" quality. Understanding this will help you appreciate the neat science behind this fun project!
Materials You’ll Need
To keep things simple and accessible, here are the materials you’ll need:
- Borax (sodium borate) – 1 tablespoon (available at most grocery stores)
- Cornstarch – 1 tablespoon (for structure)
- White glue (PVA) – 1 tablespoon (you can use school glue)
- Water – 1 tablespoon (combined with the Borax)
- Food coloring (optional) – to personalize your bouncy ball
- A mixing bowl – for combining your ingredients
- A measuring spoon
- A spoon or stirring stick – to mix everything
- Plastic wrap or wax paper – to keep your workspace clean
- Work gloves – optional, but they can keep your hands clean!
Step-by-Step Tutorial
Step 1: Prepare Your Workspace
Before creating, it’s essential to set up an organized workspace. Lay down your plastic wrap or wax paper to catch any spills, and have all your materials close at hand. This will make the process smoother and more enjoyable.
Step 2: Combine the Dry Ingredients
In your mixing bowl, measure 1 tablespoon of cornstarch and add 1 tablespoon of Borax. Mix these together gently using your spoon or stick. It’s crucial to blend them well, as this combination forms the structure of your ball.
What Could Go Wrong: If the Borax is not integrated fully, your ball may not bounce as effectively. The mixture should appear somewhat grainy but consistent.
Step 3: Prepare the Glue Mixture
In a separate cup, measure 1 tablespoon of white glue and add 1 tablespoon of water. If you want to add some color, this is the time! Just a drop or two of food coloring will do—feel free to get creative and mix colors! Stir these ingredients together until fully combined.
Why This Step Matters: The glue is what binds everything together, creating that essential bounciness. Make sure it’s well mixed for the best results.
Step 4: Combine the Mixtures
Slowly add the glue mixture to the dry Borax and cornstarch mixture. As you pour, give it a good stir to combine. Initially, it might seem like a mess—don’t worry! Within a minute or so, the mixture will begin to blend into a putty-like consistency.
What Could Go Wrong: If it’s too sticky, you might have added too much glue or not enough cornstarch. If that’s the case, sprinkle in a bit more cornstarch until you achieve that perfect consistency.
Step 5: Knead into Shape
Once you have a homogeneous mixture, you should take it in your hands. This is the fun part! Knead the mixture for about 30 seconds until it becomes smooth and easily moldable.
Personal Anecdote: I remember the first time I made one of these with a friend. We were amazed at how quickly it transformed from a gooey mess into something solid. We laughed about how our hands turned bright colors from the food dye!
Step 6: Form the Bouncing Ball
Now, shape your mixture into a compact ball. Aim for a size a little smaller than a golf ball. The more you roll it, the smoother it'll be!
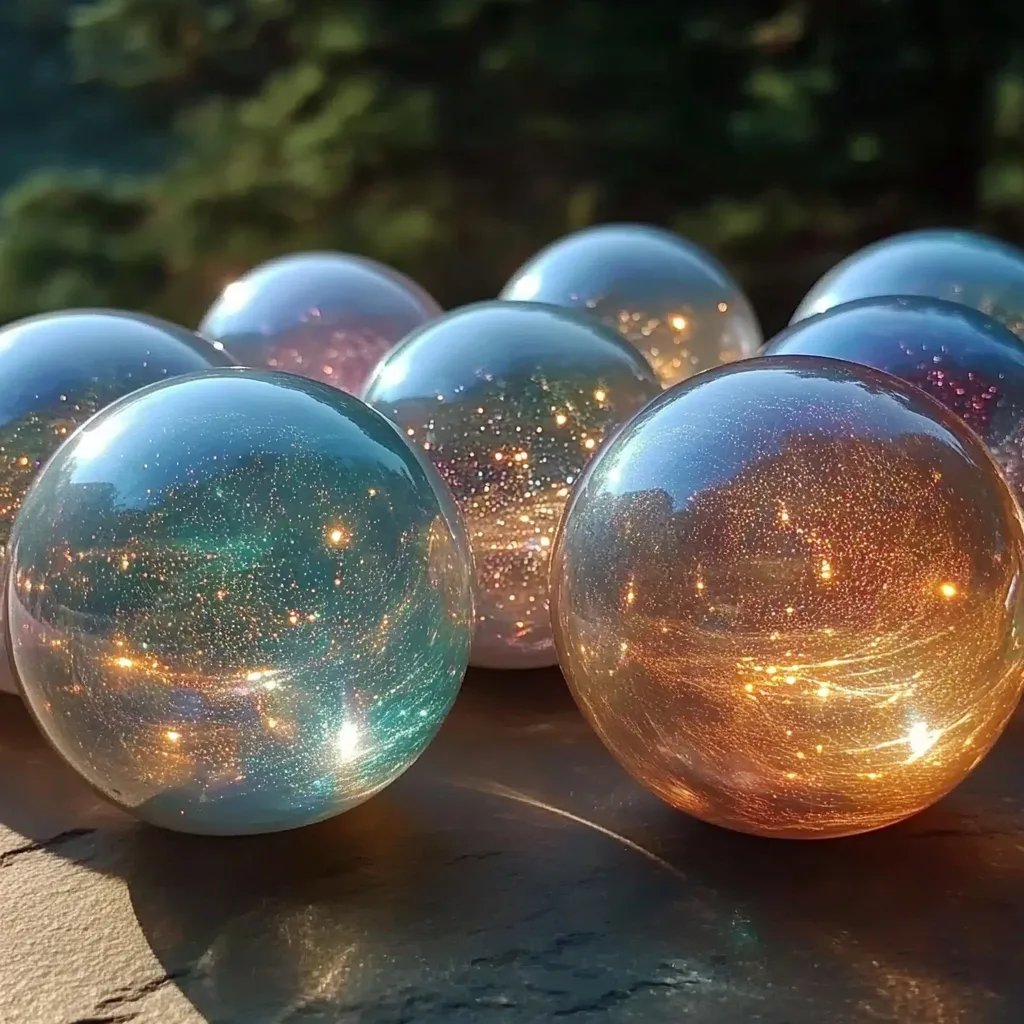
Creative Variation: You could even shape multiple small balls with different colors for a fun rainbow effect!
Step 7: Let It Cure
Allow your bouncy ball to sit out for about an hour to harden slightly. This step helps improve its bounce quality. You can place them on a paper towel or in a bowl to catch any excess moisture.
Safety Warning: Though all these ingredients are generally safe, avoid ingesting any materials, especially Borax, and always supervise kids during the crafting process.
Final Touches
After an hour, your ball should be ready for action! Give it a test bounce on a hard surface—watch it spring back! If it doesn't bounce as expected, don’t fret. You can always return to the kneading stage, mixing in a bit more cornstarch to achieve the desired texture.
Tips and Tricks
- If you want your ball to have a unique texture or smell, consider adding a few drops of essential oils or glitter during the mixing stage.
- For a shiny surface, sprinkle a little water on your finished ball and roll it in cornstarch; this can help conceal imperfections.
- Remember that these bouncy balls are not waterproof; avoid dropping them in water, as this can affect their bounciness.
Conclusion
Crafting your own homemade bouncy ball is a rewarding experience filled with learning and entertainment. Whether you're making them for yourself, as gifts, or for a fun activity with friends and family, you're sure to have a blast in the process! I hope this guide brings joy and creativity to your crafting adventures. So, gather your materials, roll up your sleeves, and let your imagination bounce!
Feel free to share your creations on social media or with friends and family, and remember—every bouncy ball you make is a step toward perfecting your crafting skills. Happy crafting!