How to Make a Haunted House Craft: Your Ultimate Guide
Welcome, fellow crafters! Today, I’m thrilled to guide you through the delightful world of haunted house crafts. Whether you're gearing up for Halloween or simply want a thrilling project to share with your family, creating a haunted house can be incredibly rewarding. This popular craft evokes the spirit of the spooky season, allowing your creativity to run wild and bringing a sense of whimsical eeriness to your decor. Plus, nothing beats the feeling of seeing the fruits of your labor displayed for all to enjoy!
What is a Haunted House Craft?
A haunted house craft is a fun, engaging DIY project where you create a miniature haunted house using various materials. It's a versatile craft that can range from simple cardboard models to intricate creations with lights and moving parts. The best part? You can customize it to fit your style, whether you prefer a kitschy charm or a more terrifying aesthetic.
Creating a haunted house craft allows you to explore your artistic side while honing your crafting skills. You can use it as a decorative piece for Halloween, a fun activity for kids, or even as part of a themed party. This project can also inspire storytelling and creativity in children, and I often find that my kids love to get involved in the decorating process.
Materials You’ll Need
Before we dive into the crafting process, gather the following materials. Most of these items are easily accessible at your local craft store or even around your home:
- Base: Cardboard or cardstock (about 12×12 inches)
- Walls: Cardboard or thick paper
- Roof: Black or gray construction paper, or cardboard
- Decorative Elements: Old Halloween decorations, plastic spiders, ghost cutouts, or craft foam
- Adhesive: Hot glue gun or craft glue
- Paints: Black, gray, and any other colors you’d like to use
- Accessories: Battery-operated LED tea lights (for eerie lighting)
- Scissors or craft knife: For cutting cardboard
- Optional: Glitter, eye stickers, or any other embellishments
Step-by-Step Tutorial for Your Haunted House Craft
Let’s get started! Here’s how to craft your very own haunted house step-by-step.
Step 1: Design Your Haunted House
Why This Matters: Planning your haunted house on paper allows you to visualize your final product. Sketch out the dimensions and key features (windows, doors, etc.) and think about how you'd like it to look.
What Could Go Wrong: Jumping straight into cutting without a plan can lead to a mismatched design. Take your time to visualize it first.
*Tip*: Use graph paper to draw your design, so you can scale it neatly and keep proportions in check.
Step 2: Create the Base
- Cut a square or rectangular piece of cardboard as your base, about 12×12 inches. This will serve as the foundation for your house.
- Using craft glue, affix any additional decorations you might want, like fake grass or a graveyard scene, to add depth to your base.
Tip: Choose a surface that is sturdy enough to hold your house. If you’re planning on making a larger house, you might want to reinforce your base with an extra layer of cardboard.
Step 3: Build the Walls
- Cut out four wall pieces from your cardboard, ensuring they are slightly shorter than your base to avoid overlap (adjust dimensions as needed).
- Cut openings for the door and windows. Use a craft knife for more intricate shapes, and make sure to be careful with it.
Why This Matters: The height and shape of the walls will significantly influence the look of your house.
*Alternative Method*: For a more textured look, you can rip the cardboard instead of cutting it. This adds a rustic, aged charm!
Step 4: Assemble the Walls
- Using your hot glue gun, start attaching the walls to the base. It’s best to start with two walls, attach them at a right angle, and then add the remaining walls.
- Allow the glue to dry a few minutes before moving on.
What Could Go Wrong: If the glue doesn't set properly, your walls might not stand upright. Ensure you allow enough time for the glue to adhere.
Step 5: Create the Roof
- For the roof, measure a triangle or a sloped rectangle shape that fits over the top of your house. Cut out two identical shapes.
- You can give your roof an eerie touch by using black construction paper for a classic haunted effect.
Tip: To make the roof look weather-worn, crumple the paper before gluing it down.
Step 6: Painting the House
- Once the walls and roof are assembled, it’s time for the fun part: painting!
- Use black, gray, and even touches of purple or green for an extra creepy vibe. Let the paint dry completely.
Why This Matters: Painting is your opportunity to truly personalize your craft. Don’t be afraid to mix colors or create gradient effects.
Step 7: Decorating Your Haunted House
Now comes the spooky fun! Use your decorative elements like plastic spiders, ghosts, or themed stickers to embellish your house.
- Glue on your accents, focusing on the door and windows for maximum impact.
- Consider adding a small porch or steps using popsicle sticks or additional pieces of cardboard.
What Could Go Wrong: Overloading your house with decorations can make it look cluttered. Focus on balance and key focal points.
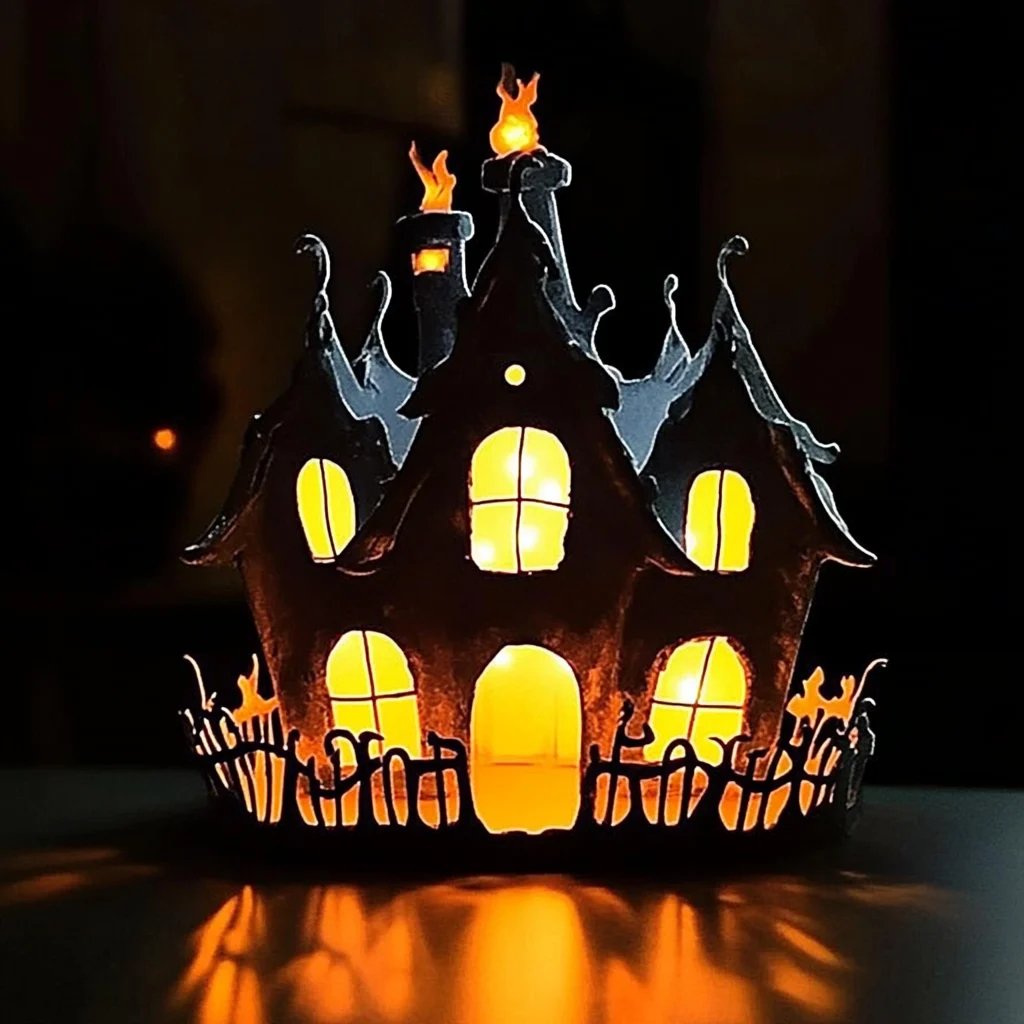
Step 8: Lighting the House
- Place battery-operated LED tea lights inside your house to create a haunting glow.
- Make sure to turn them on and allow the light to seep through the windows for an eerie effect.
Safety Warning: Always choose battery-powered lights to avoid fire hazards, especially since many of the materials (like cardboard) are flammable.
Step 9: Final Touches
- Give your haunted house a final look.
- Touch up any paint where needed, add extra embellishments, or even hang eerie, cobweb-style yarn around the house.
Step 10: Enjoy and Admire
Once everything is dried and set, find a prime location to display your haunted house. Whether on a porch, in a classroom, or in your living room, your creation is bound to be a conversation starter!
Variations to Consider
- Themed Houses: Create a witch's lair or a mad scientist's lab by customizing your theme.
- Interactive Elements: Consider adding motion sensors for sound effects or light-up features.
- Seasonal Changes: Use removable decorations to transform your house into a winter scene or a summer cottage when Halloween is over.
Conclusion
Crafting a haunted house allows you to express your creativity while enjoying quality time with family and friends. Each step in this process not only builds your eerie masterpiece but also offers opportunities for learning and bonding. So gather your materials, unleash your inner spirit, and dive into this delightful haunted home project. Happy crafting!
Now, I hope you’re as excited as I am to get started! If you have any questions or need further clarification, please feel free to reach out. I can't wait to see the haunted houses you create!