How to Make a Glowing Bounce Ball: A Crafting Journey
Hello fellow crafters! Today, I'm thrilled to share one of my favorite DIY projects that never fails to amaze – making a glowing bounce ball. This captivating craft combines science and creativity, resulting in a bouncy ball that glows in the dark! Perfect for parties, nighttime games, or simply for fun, these bounce balls are a fantastic project for kids and adults alike.
Why Make a Glowing Bounce Ball?
Glowing bounce balls have surged in popularity recently, and it's no wonder why! They are visually stunning and provide hours of fun. Whether you’re playing games outside at night, using them in a themed party, or simply enjoying a luminous decoration, these balls can brighten up any occasion. Plus, making them yourself adds a personal touch that store-bought alternatives simply can’t match.
When I first created these glowing wonders, I was immediately enchanted by the soft glow and the satisfying bounce. Watching my kids’ faces light up as they played outdoors at dusk was incredibly rewarding.
Are you ready to dive in? Let's get started!
What You’ll Need
Before we jump into the crafting process, here’s a comprehensive list of what you need. Don’t worry — everything is generally easy to find at home or your local craft store.
Materials:
- 1/2 cup of warm water
- 1 cup of school glue (white or clear)
- 1 tablespoon of borax powder (available in laundry sections)
- Glow-in-the-dark paint or powder (ensure it’s non-toxic)
- A mixing bowl
- A whisk or spoon for mixing
- A measuring cup
- Plastic gloves (optional but recommended)
- Wax paper or foil to place your finished balls on
Optional:
- Food coloring (for colored balls)
- A balloon to help shape the ball
Step-by-Step Guide to Making Your Glowing Bounce Ball
Step 1: Prepare the Activator Solution
First, we need to create our borax solution. This will help our glue solidify into a bouncy ball. In a separate bowl, mix 1 tablespoon of borax powder with 1/2 cup of warm water.
Why This Step Matters: Borax acts as a bonding agent that transforms our liquid into a solid ball.
Tip: Stir the mixture thoroughly until the borax is completely dissolved. It’s critical to achieve full dissolution; otherwise, you may encounter clumps that affect the final product.
Step 2: Mix the Glue and Glow-in-the-Dark Ingredients
In another mixing bowl, pour in 1 cup of your school glue. If you want a colored ball, add a few drops of food coloring at this stage and mix thoroughly until you achieve your desired hue.
Next, add about 2 tablespoons of your glow-in-the-dark paint or powder.
Personal Anecdote: The first time I added too much glow powder, my ball was more of a glowing blob! So, start with less and see how it goes. You can always add more until you achieve a glow that you’re happy with.
Step 3: Combine the Mixtures
Now, the fun begins! Take your borax solution and slowly pour it into the glue mixture while stirring constantly. You'll notice immediate changes as the ingredients begin to bond.
Tip: Stir gently but steadily to avoid air bubbles. Too many bubbles can lead to a less-than-perfect bounce later on.
Step 4: Form the Ball
As you mix, the glue will start to clump together. Continue to mix until you can no longer do so with the spoon. At this point, use your hands to knead it together into a ball shape.
Safety Warning: The mixture might feel a little warm at first. It’s advisable to wear plastic gloves to protect your hands from stickiness.
Step 5: Ensure the Right Consistency
If the mixture seems too sticky, you can add a little more borax solution. If it’s too dry, add a tiny splash of warm water to loosen it up.
What Could Go Wrong: Sometimes, if it's too wet, the ball won’t hold shape. In this case, don’t panic; just add some more borax gradually.
Step 6: Shape and Dry
Once you achieve a shiny, smooth sphere, place it on wax paper or foil to dry for at least 24 hours.
Why Drying Matters: Allowing your ball to fully set will enhance its bounce and ensure it keeps its shape.
Step 7: The Moment of Truth!
After a day of drying, check your creation. Give it a bounce! You’ll want to try throwing it to see how it performs. You should see a beautiful glow in the dark; check this out by turning off all the lights!
Creative Variations
Feel free to customize your bounce balls. Instead of just glow paint, consider:
- Adding glitter to the glue mixture for sparkle.
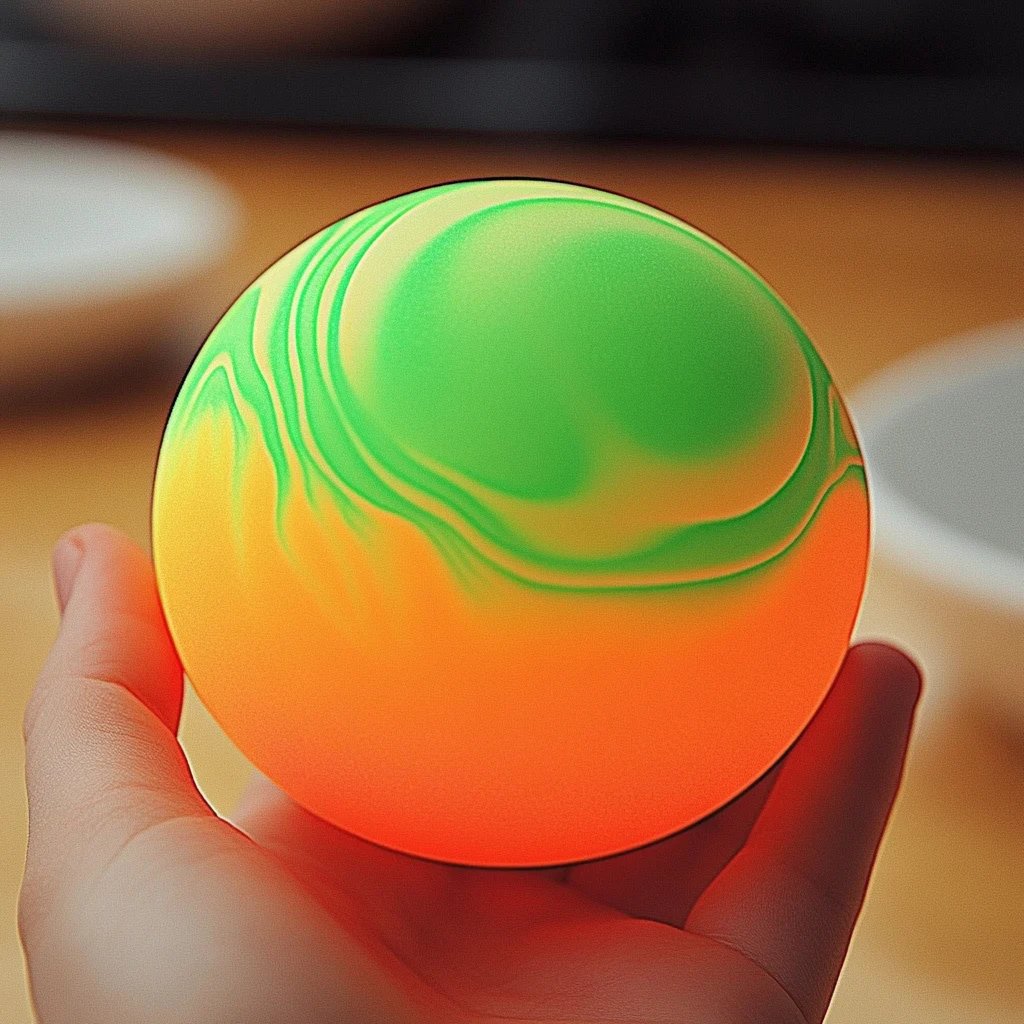
- Swirling two colors of glue for a marbled effect.
- Creating smaller, themed balls (think Halloween black and orange or Christmas red and green).
Troubleshooting Tips
- Ball Not Bouncing: If your ball appears flat or doesn't bounce, it might need a bit more borax in the initial activator solution. Try starting fresh with a new mix!
- Clumping: If you find yourself with a lumpy mass, your ingredients might not have been mixed thoroughly. Ensuring proper mixing is key!
Final Thoughts
Creating glowing bounce balls is not only an exciting craft but also a fantastic way to teach kids about science and the wonders of creativity. I hope this guide inspires you to gather your materials and embark on this glowing adventure!
Feel free to share your own experiences and variations in the comments below. Happy crafting!