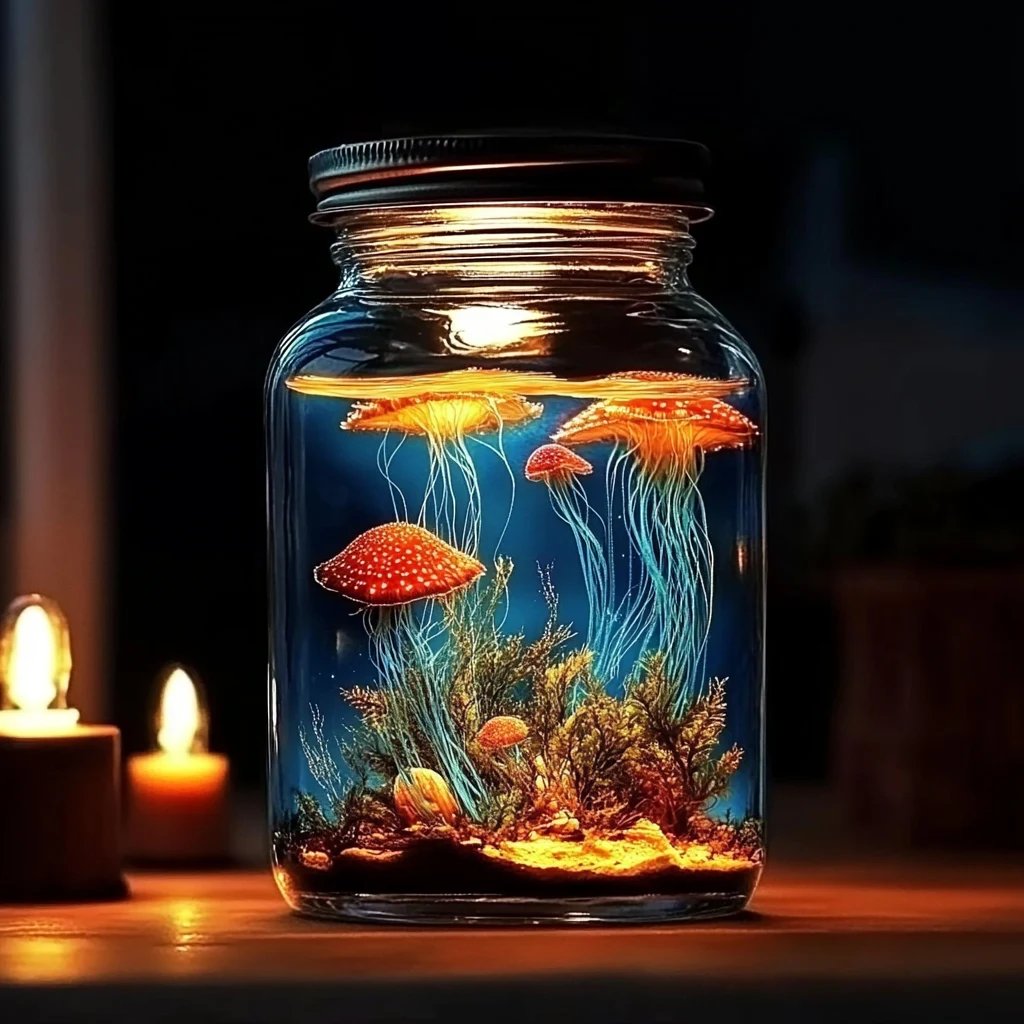
##How to Make a Glow in the Dark Ocean Jar: A Step-by-Step Guide from an Experienced Crafter
Hello, fellow crafters! Today, I'm thrilled to share one of my all-time favorite projects with you: the Glow in the Dark Ocean Jar. This enchanting little treasure is not only a beautiful decoration, but it also creates a calming ambiance in your space. Imagine the soft glow of ocean waves lighting up your room at night, reminding you of serene beach days! Whether you’re looking for a fun art project to do with your kiddos, a delightful gift for a friend, or a unique piece to add to your own decor, this jar fits the bill perfectly.
Why Glow in the Dark Ocean Jars Are Popular
Glow in the dark crafts have surged in popularity for various reasons. For one, they tap into the innate human fascination with the ocean and provide a unique way to capture its beauty in your home. The soft, glowing elements create a cozy atmosphere, perfect for nighttime relaxation or as a nightlight. Additionally, ocean jars are incredibly customizable, allowing you to express your creativity in myriad ways. The project is relatively simple but yields stunning results, making it a favorite among DIY enthusiasts of all ages!
When to Use Your Ocean Jar
These jars make fantastic decorations during summer parties, beach-themed events, or even as calming night lights for children's rooms. They're equally lovely as accents in living spaces, providing a whimsical joy to your home decor. You can even bring them out during winter to evoke warm memories of summer seas!
Materials You’ll Need
Before we dive into the tutorial, let’s gather all the materials we’ll be using. You can find most of these items at your local craft store or online.
- A jar (Mason jars or any clear container will work)
- Glow in the dark paint (available in craft stores or online)
- Sand (preferably colored sand or fine play sand)
- Small seashells and ocean-themed decorations (think starfish, glass beads, or pebbles)
- Water
- A paintbrush
- A cup for mixing
- A small bowl for sand and decorations
- Optional: Battery-operated fairy lights for added sparkle
Step-by-Step Tutorial
Step 1: Prepare Your Jar
Why it’s important: A clean surface allows the paint to adhere better, ensuring vibrant glowing results.
Start by washing your jar thoroughly with soap and water. Remove any labels and ensure it's completely dry before proceeding.
Step 2: Paint the Inside of the Jar
What to do: Using your paintbrush, apply a coat of glow in the dark paint to the inside of the jar.
Why this matters: The glow effect works best when the paint layer is even and covers the entire surface.
Pro tip: Apply the paint in thin layers. If you notice any streaks or inconsistencies, don't worry! Allow the first coat to dry completely, then add a second coat for better results.
Potential issues: Be careful not to overload the brush with paint, as this can lead to drips that might create a messy finish once dry. If drips occur, you can gently scrape them off with a craft knife once fully dry.
Step 3: Add the Sand
What to do: Pour a thin layer of sand into the bottom of the jar.
Why this matters: The sand will serve as a beautiful base, mimicking the ocean floor. More layers can enhance texture, depth, and interest in your jar.
Tip: If you’d like to create a gradient effect, layer different colors of sand. I once mixed blues and whites to create a foamy ocean look!
Step 4: Arrange Decorations
What to do: Place your seashells and decorative items on top of the sand layer.
Why this is crucial: Arranging these pieces allows you to create your own little undersea scene!
Creative variations: Consider using small plastic fish, glitter, or even tiny mermaid figurines! Let your imagination roam free.
Step 5: Fill Jar with Water
What to do: Carefully fill the jar with water, stopping just before it overflows.
Why this matters: The water will allow the glow in the dark paint to shine through while also replicating the seamless appearance of the ocean.
Pro tip: Use a funnel to make pouring easier, and avoid splashing any water on the painted surfaces.
Step 6: Final Touches
Optional: If you opted for fairy lights, bend the lights into the jar, allowing some to scatter on top for added twinkle.
Why it’s fun: The lights will add extra shine, bringing the underwater scene to life!
Step 7: Exposure to Light
Once your jar is complete, expose it to light for a while (direct sunlight or bright artificial light will work). The glow in the dark paint needs to “charge” to enhance its glow.
Tips and Tricks
- Safety Warning: If using small items, be mindful around children and pets. Always supervise young crafters!
- Fixing Mistakes: If the paint didn't glow well, it may not have been charged enough, or you might have missed some areas. Ensure even coverage, and try again!
- Alternative Ingredients: If glow in the dark paint isn’t available, consider using glow sticks! Cut them open and pour the contents into the jar for a similar effect (note: this can be a lot messier!).
Personal Anecdote
I remember the first time I made an ocean jar to gift my niece for her birthday. We spent a delightful afternoon layering the sand and treasures, giggling as we reminisced about our beach days together. When she saw it glow that night, her grin was priceless! Crafting truly strengthens those beautiful memories we share.
Conclusion
There you have it — your very own Glow in the Dark Ocean Jar! As you embark on this crafting journey, I encourage you to make it your own. Don’t hesitate to experiment with different colors, decorations, and even themes. Whether you use this jar as a soothing nightlight or a vibrant piece of decor, it’s sure to enchant anyone who sees it.
Happy crafting, friend! May your ocean jar shine bright and bring a wave of joy to your home!