How to Make a Glow in the Dark Ocean Jar: A Step-by-Step Guide
Hello friends! Today, I'm excited to share one of my favorite crafting adventures: creating a mesmerizing Glow in the Dark Ocean Jar. This enchanting project not only adds a touch of magic to your home but also brings a piece of the ocean's serene beauty directly to your space. We've all seen those charming jars filled with mysterious, glowing sea scenes showcased online, and if you're like me, you may have wondered how to create your very own. Whether you're looking for a unique nightlight for your child’s room, a thoughtful gift for a loved one, or a calming addition to your home décor, this Glow in the Dark Ocean Jar is perfect for various occasions.
Why Are Glow in the Dark Ocean Jars Popular?
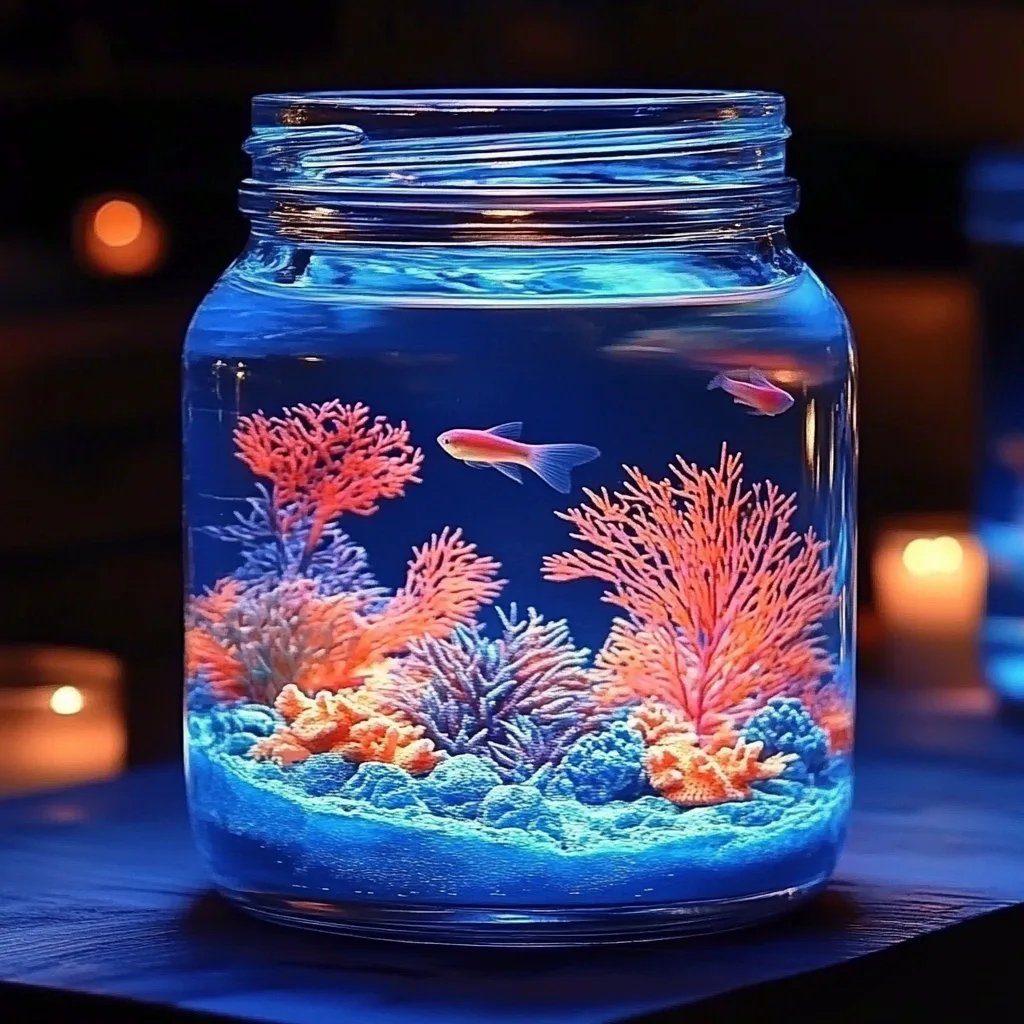
Glow in the Dark Ocean Jars have gained popularity thanks to their soothing aesthetic and versatility. They serve as a beautiful reminder of the ocean's depth and tranquility, glowing softly in the dark as if under the moonlight. These jars can serve a variety of purposes: they can be nightlights, decorative pieces for a beach-themed party, or simply calming décor that transports you to the seaside. Plus, they are incredibly easy and fun to make!
Materials You’ll Need
Before we dive into the step-by-step process, let's gather the essential materials. I often keep these on hand for my crafting sessions. Here’s what you'll need:
- A clear glass jar (Mason jars work wonderfully)
- Glow in the dark paint (available at most craft stores)
- Sand (fine or aquarium sand is best)
- Water (preferably distilled)
- Assorted seashells, small pebbles, or oceanic figurines (feel free to gather these from a beach or craft store)
- Holographic glitter or fine glitter (optional for extra sparkle)
- Paintbrush or sponge applicator
- Mixing stick or spoon
- Labeling tape and pen (optional) for a personal touch
- Safety gloves and apron (to keep your hands and clothes clean)
Step 1: Prepare Your Workspace
Creating is all about enjoyment, and having a clean and organized workspace makes a world of difference. Lay down some old newspapers or a plastic tarp to capture any spills. Make sure you have good lighting and all your materials within arm's reach. Trust me, nothing disrupts the flow of creativity like searching for a paintbrush in the middle of a fun project!
Step 2: Create the Base Layer
- Begin with Your Sand: Pour a layer of sand at the bottom of your jar, about 1 to 2 inches thick. This represents the ocean floor. The sand’s texture can help create depth and a more realistic ocean scene.
*Tip:* You can also dye your sand with a little bit of food coloring before adding it to the jar for a vibrant ocean floor effect.
- Add your Seashells and Pebbles: Arrange your seashells and small stones on top of the sand in a manner that feels organic. Consider varying the heights and distances between pieces to create an appealing landscape.
*What Could Go Wrong?* If you overstuff the jar with shells, it can look cluttered. Balance is key! If you find it too crowded, simply remove some shells and adjust them until you achieve a design you love.
Step 3: Mix the Glow in the Dark Paint
- Water Down the Paint: In a separate bowl, mix your glow in the dark paint with a small amount of water to create a fluid consistency. This will help distribute the glow effect evenly throughout your jar.
*Why This Matters:* If the paint is too thick, it won’t flow well in the jar and may clump, making it hard to see the beautiful details of your ocean scene.
- Add Glitter: If you're using glitter, mix it in with the paint to add that magical sparkle. I love using holographic glitter for a shimmering effect that resembles sunlight glinting off the water.
Step 4: Pour the Glow Mixture
- Pour Slowly: Carefully pour the glow-in-the-dark paint mixture into the jar, ensuring it covers the shells, pebbles, and sand. Tilt the jar slightly to guide the paint where you want it.
*Tip:* You may need to use a small funnel if you're pouring slowly becomes tricky. Ensuring an even coverage maximizes the glow effect.
- Let It Settle: Allow your mixture to settle for a moment so that the layers remain distinct. This step is crucial for creating that layered ocean look.
Step 5: Add Water
- Fill with Water: Gently pour distilled water into the jar, ensuring that you don't disturb the settled mixture too much.
*Safety Note:* Be cautious about adding too much water. It can overflow if you’ve added a significant amount of paint or sand. A gentle pour helps maintain control.
- Final Touches: You can personalize the jar with a piece of tape and a label describing the ocean scene, inspiring you every time you glance at it.
Step 6: Charge and Enjoy
- Let it Charge: Place your Glow in the Dark Ocean Jar in a sunny spot or under a light source for at least a couple of hours. The glow paint needs proper charging to shine its brightest.
- Turn Off the Lights: When night falls, turn off the lights and enjoy the tranquil ambiance of your glowing ocean jar. It's a fabulous nightlight or a calming piece to have illuminated during a relaxing evening.
Troubleshooting Common Issues
- Paint Not Glowing: If your jar isn’t glowing as brightly as you hoped, it may be due to insufficient charging time or insufficient paint mixture. Ensure you’re using quality glow paint and give it enough light during the day or under a lamp.
- Water Cloudiness: If the water starts to look murky, it’s likely due to some dust or debris. Make sure to keep your materials clean during the process, and always use distilled water to avoid impurities.
Personal Anecdotes
As someone who has created dozens of these jars over the years, I recall the first one I ever made as a gift for my daughter. The twinkle in her eyes when she saw it glowing in the dark filled my heart with joy. Since then, I began experimenting with different elements like tiny plastic mermaids and glow sticks, creating a world of fantasy beneath the lights.
Creative Variations & Final Thoughts
* Experiment with Colors: Instead of standard glow paint, try using blue, turquoise, or even green versions to mimic a specific ocean mood.
* Use Different Jars: Upgrade to a larger jar or use multiple smaller jars for a stunning centerpiece!
* Seasonal Themes: Create a winter wonderland jar with snowflakes or a spooky Halloween version with glow-in-the-dark spiders.
In conclusion, I hope this step-by-step guide has inspired you to create your very own Glow in the Dark Ocean Jar! Don't be afraid to put your unique spin on the project. Crafting is all about creativity, exploration, and most importantly, having fun. As you glow through the night, may your ocean jar remind you of the peaceful waves and the adventures that lie beneath the surface! Happy crafting!