How to Make a Glitter Sensory Bottle: A Step-by-Step Guide
Hello, fellow crafters! If you're looking for a creative and soothing DIY project, you’ve landed in the right place. Today, I’m excited to share how to make a glitter sensory bottle—a magical, mesmerizing tool that can captivate both young and old folks alike. Whether you’re using it as a calming tool for a fidgety child, a decorative piece for your home, or simply as a fun project to keep your hands busy, a glitter sensory bottle brings joy and creativity to any space.
What is a Glitter Sensory Bottle?
A glitter sensory bottle is a clear container filled with liquid and glitter (among other optional ingredients) that creates a captivating visual effect when shaken. It's often used in therapy and education, especially for calming anxious feelings or helping with focus. The gentle movement of the glitter as it settles mimics the calming nature of a snow globe—who doesn’t love watching that? You can use it during story time, as a quiet time tool, or simply as an eye-catching decoration on a shelf.
Why is This Project So Popular?
Sensory bottles are gaining traction for their versatility and benefits. They’re popular among parents and educators for their ability to engage children’s senses. Beyond entertainment, they offer a sense of calm and focus for individuals of all ages, especially those with anxious tendencies. Plus, they are highly customizable, allowing crafters to infuse unique elements—be it colors, shapes, or materials.
The Perfect Time for Your Glitter Sensory Bottle
You can create these bottles for various occasions! Maybe you're gearing up for a birthday party or looking for a handmade gift. Or perhaps you want something relaxing for your home office. The tranquility they provide makes them perfect for winding down after a long day or preparing for a busy one. Let’s dive into crafting one of these delightful bottles!
What You’ll Need
Here’s a list of materials you’ll need to make your very own glitter sensory bottle. The best part? Almost everything is likely hanging around your home!
- A Clear Bottle: A plastic or glass bottle with a secure lid. Options include old soda bottles, mason jars, or even empty shampoo bottles (just ensure you've cleaned them out properly!).
- Water: Distilled water is suggested, but regular tap water will work, too.
- Glue: Clear school glue or glitter glue. This gives the bottle that wonderfully slow-gliding glitter effect.
- Glitter: Fine glitter works best for a smooth effect, but you can use chunky glitter for a fun explosion of sparkle! You may also add other materials like sequins or small beads for additional effect.
- Food Coloring: Optional, but a few drops can add beautiful color to your bottle.
- Glycerin: Optional for slowing the glitter’s fall, which can create a hypnotizing effect.
- A Funnel: This makes pouring your materials into the bottle easier and mess-free.
Step-by-Step Tutorial
Now that we have our supplies gathered, let's get crafting!
Step 1: Prepare Your Bottle
Start by making sure your bottle is clean and dry. If you're using a used bottle, a quick wash with soap and water will do the trick. If there are any stickers, make sure they are removed to get a clear view of the mesmerizing contents inside.
Tip: If you’re using a plastic bottle, ensure it's BPA-free for safety, especially if little ones will be handling it.
Step 2: Mix Water and Glue
Using your funnel, pour about 2/3 of your bottle with water. Then add 1/3 of clear glue (or as desired for thickness). This mixture will fortify the textures you’re creating within the bottle.
Note: Using more glue will slow down the glitter’s fall but might lead to a thicker mixture. It's important to mix well! If you add too little glue, the glitter will fall too quickly and won’t have the mesmerizing slow-glide effect that we want.
Step 3: Add Glitter
This is the best part! The amount of glitter really depends on how dazzling you want your bottle to be. I usually add about 2 tablespoons. Remember, though—there's no such thing as too much glitter!
Important: If you find the bottle is too packed with glitter, it might not move fluidly. If this happens, simply add a bit more water!
Step 4: Incorporate Color
To add perception and depth, pour in a few drops of food coloring at this point. Shake your bottle lightly to see if you like the color. You can always add more for a more vibrant look!
Step 5: (Optional) Glycerin for Extra Drama
If you’re looking to make the glitter move extra slowly, add about a teaspoon of glycerin. It can slightly thicken the liquid, creating a dreamy effect as the glitter floats downward.
Step 6: Seal and Test
Now, it’s time to seal your bottle. Make sure the cap is tightly secured to avoid leaks! Turn your bottle upside down and shake it lightly to see the effects in action. If it seems a bit off, don’t hesitate to adjust the components by adding more water, glue, or glitter—and keep testing until it feels just right.
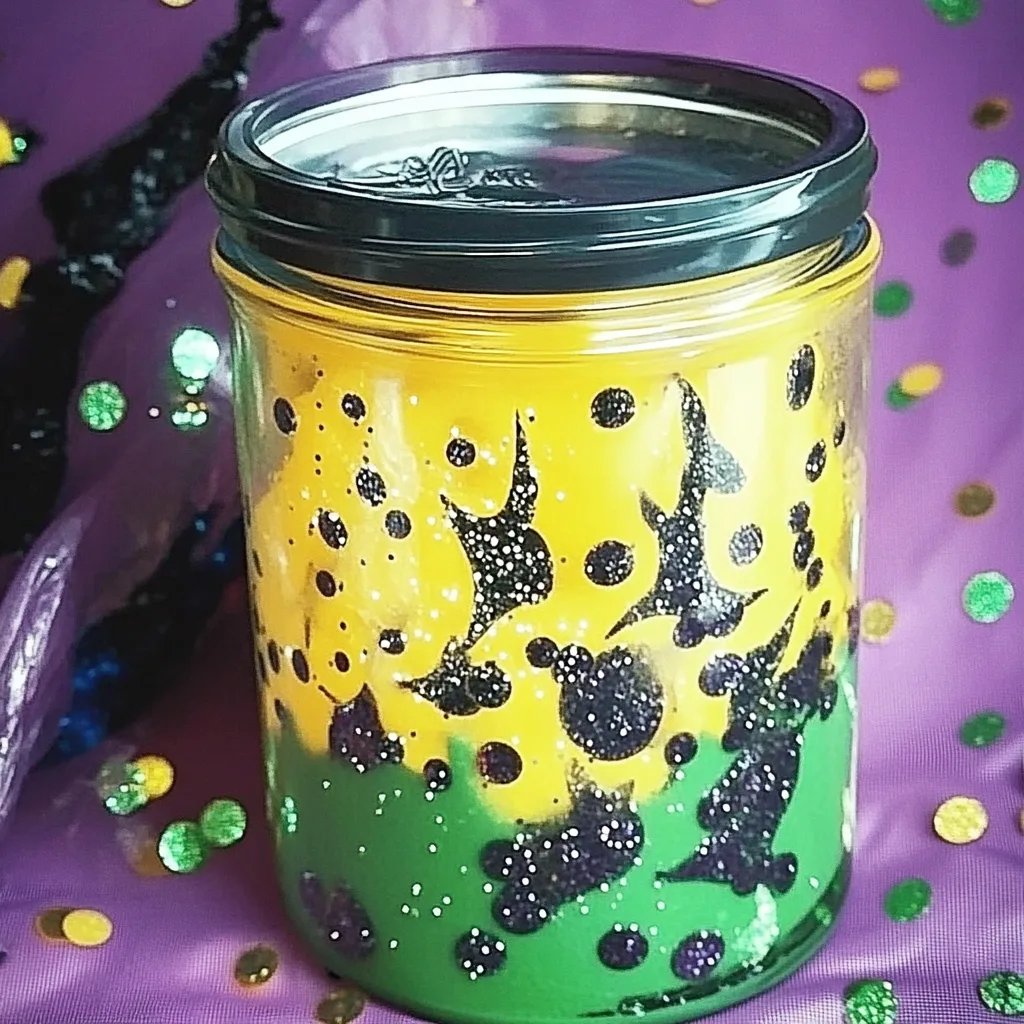
Step 7: Decorate (Optional)
Here’s where you can get creative! You can decorate the outside of the bottle with washi tape, stickers, or hand-painted designs to personalize it even further. This is perfect for turning them into gifts or party favors!
What Could Go Wrong?
Sometimes, while crafting, things don’t go as planned. Perhaps it seems too thick, or the glitter isn’t suspended as much as you'd like.
- If it’s too thick: Add more water or glycerin to the mixture.
- If the glitter is too dense and doesn’t move: Adjust the ratios of glue and water until you find that perfect balance.
- If there’s leakage: Double-check that the cap is secure. If you're using a bottle with a cap that can leak, consider sealing it with some hot glue around the rim.
Creative Variations
Feel free to experiment with different types of glitter, colors, and even shapes! Add small toys or figurines for a themed sensory bottle. For instance, a beach-themed bottle might include sand, seashells, and blue glitter for a stunning ocean scene.
Safety First!
While crafting, be mindful of safety issues, particularly with young children. Ensure that no small pieces can become choking hazards. If using glass jars, supervise children closely, as they can break easily.
Final Thoughts
There you have it, my glitter sensory bottle enthusiasts! A simple, step-by-step tutorial that you can use to create a mesmerizing sensory tool that provides both function and beauty. Making these bottles has always been a joy for me, not just for the final product, but for the meditative experience of crafting them.
Remember, crafting is all about experimentation and enjoying the journey—don’t hesitate to let your creativity shine! I hope you find as much joy in making your glitter sensory bottle as I have. Happy crafting!