How to Make a DIY Preserved Flower Necklace: A Crafty Journey
Hello, fellow crafters! Today, I'm thrilled to share the delightful process of creating a DIY preserved flower necklace. This charming piece of jewelry is not just a fashion statement; it’s a heartfelt way to carry nature's beauty with you, making it a popular choice for gifts, special occasions, or simply personal adornment. Whether you’re attending a bohemian wedding, a casual brunch, or just enjoying a sunny day out, a preserved flower necklace adds a unique touch to your outfit.
Why Preserved Flower Jewelry?
Preserved flower jewelry has gained significant popularity because it combines the love for nature with artisan craftsmanship. Flowers symbolize different sentiments—love, hope, and remembrance—making this jewelry incredibly meaningful. It serves as a wonderful memento from special moments, like a wedding bouquet from your big day or a token from a garden harvested during memorable summers.
In this guide, I will walk you through the step-by-step process of making your own preserved flower necklace, ensuring that you have a fulfilling and fun crafting experience. Whether you’re a novice or a seasoned crafter, you can create a stunning piece that reflects your personality.
Materials You Will Need
Before we dive into the crafting, here’s a quick checklist of materials you'll need:
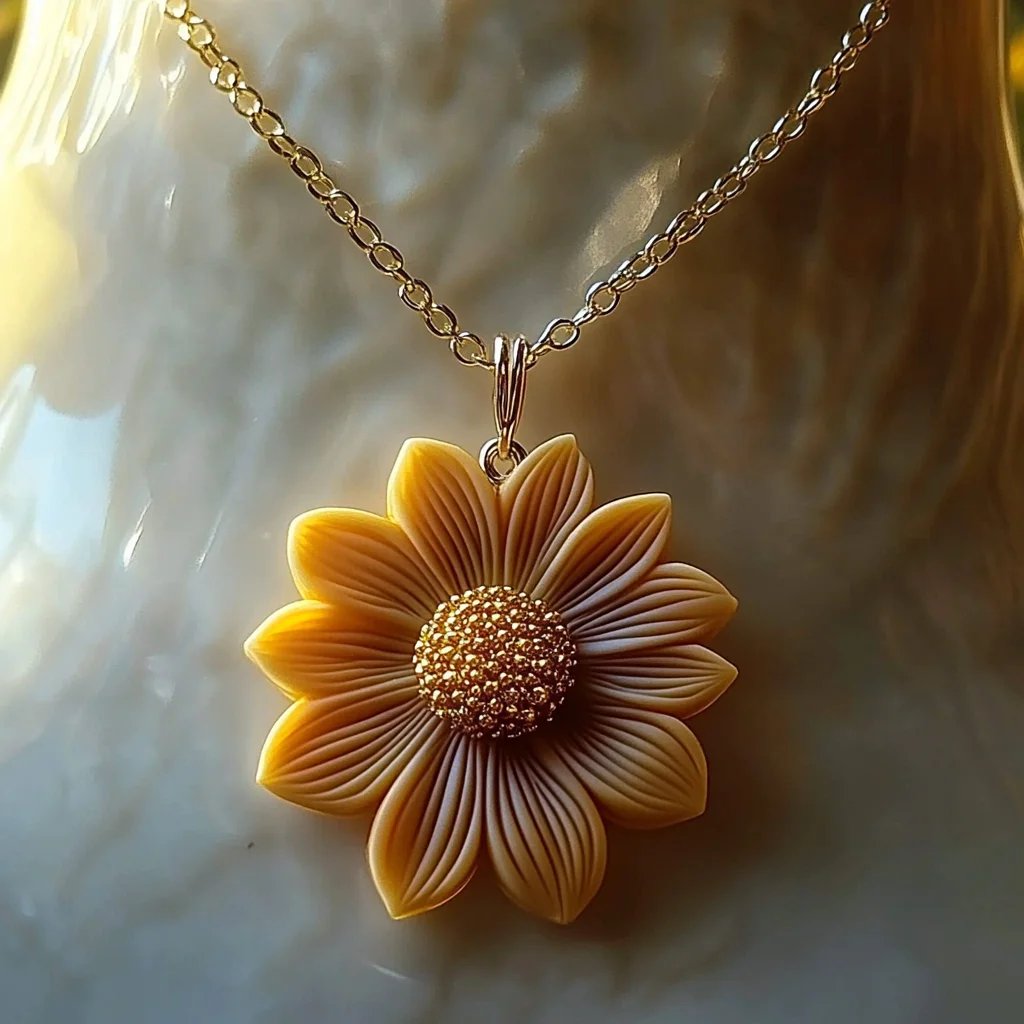
- Fresh or Dried Flowers: Choose small blooms like pansies, baby’s breath, or daisies. If drying your own, make sure they’re picked at their peak.
- Epoxy Resin Kit: This will be the medium that encases your flowers. Look for clear epoxy resin that’s UV resistant.
- Silicone Molds: Use any shape that appeals to you—pendant, teardrop, or floral.
- Jewelry Chain: Opt for a length that suits your style; 18-24 inches is standard.
- Jewelry Findings: Such as jump rings and clasps to finish your necklace.
- Mixing Cups and Stirring Sticks: For handling the resin.
- Tweezers: Handy for positioning your flowers accurately.
- Protective Gear: Gloves and a mask are crucial when working with resin for safety.
- Optional: Food Coloring or Glitter: For adding a touch of flair to your resin.
Step-by-Step Tutorial
Now that we have our materials ready, let's embark on this wholesome crafting journey together!
Step 1: Prepare Your Flowers
Why It Matters: The selection and preparation of your flowers are critical for the durability and aesthetic of your necklace.
- Fresh or Dried: If you’re using fresh flowers, dry them first. You can simply hang them upside down in a dark, dry location for about two weeks. Alternatively, you can use silica gel or microwave drying techniques for quicker results.
- Cut the Stems: Trim the flowers to a manageable size that will fit into your molds. Remove any excess leaves, as they can disrupt the resin flow.
What Could Go Wrong: If the flowers are still moist, they can mold within the resin. Ensure they are completely dried before proceeding.
Step 2: Setting Up Your Workspace
Why It Matters: Creating a clean and organized workspace enhances your crafting experience and keeps your focus on the task.
- Ventilation: Ensure your workspace is well-ventilated. I love opening the windows or working outside on a calm day.
- Cover the Surface: Protect your work surface with newspaper or a silicone mat. Resin can be messy!
Step 3: Mixing and Pouring the Resin
- Follow Instructions: Read the resin mixing instructions thoroughly. Usually, the resin and hardener are mixed in a 1:1 ratio.
- Mix Gently: Pour equal parts into a mixing cup and stir slowly for about 3-5 minutes, avoiding bubbles as much as possible.
Why It Matters: Proper mixing ensures that the resin cures correctly, resulting in a hard and clear finish.
What Could Go Wrong: If you mix too quickly, you’ll create bubbles that can ruin the final look. Take your time—patience is key!
Step 4: Positioning Your Flowers
- Pour a Small Layer: Pour a small layer of resin into each mold.
- Arrange Flowers: Use tweezers to place your dried flowers in the resin. This is where you can get creative! Layering flowers or using a variety can create stunning effects.
Personal Anecdote: I remember my first attempt at this step; I arranged the flowers like a mini garden, and it turned out wonderfully rustic!
What Could Go Wrong: If you don’t pour enough resin initially, the flowers might float but not be encapsulated fully. If that happens, just add a bit more resin after placing the flowers.
Step 5: Adding More Resin
- After positioning your flowers, carefully pour more resin to fill the mold.
- Tip: Use a toothpick to pop any bubbles and adjust flower placement.
Step 6: Curing
Why It Matters: Curing allows the resin to harden and bond with the flowers.
- Cure Time: Depending on your resin, this may take anywhere from 24 to 72 hours. I usually leave mine for a full 72 hours to ensure maximum hardness.
What Could Go Wrong: If the environment is too cold or humid, the resin may not cure properly. Make sure it’s in a stable environment.
Step 7: Removing from the Mold
Once cured, gently flex the mold to release your resin piece.
Why It Matters: Taking your time here will avoid any cracks or breaks.
What Could Go Wrong: If the piece sticks, don’t force it. Instead, place it in the freezer for a few minutes, which can help loosen it from the mold.
Step 8: Finishing Touches
- Add Findings: Use jump rings to attach your resin piece to the chain. You can also adjust the length as desired.
- Optional Finishing: If you want an extra shine, consider buffing with a soft cloth.
Safety Warnings
- Always wear gloves and a mask when working with resin as it can contain toxic substances.
- Keep resin out of reach of children and pets.
Creative Variations
- Layered Colors: Try layering different colors or glitters in the resin for a vibrant look.
- Include Mementos: Incorporate small trinkets or charms as keepsakes.
Conclusion
Making a DIY preserved flower necklace is not just about creating something beautiful; it’s about cherishing memories, getting creative, and embracing the joy of crafting. I hope you’re excited to embark on this journey, and I can’t wait to see what you create! Remember that practice makes perfect, so don’t be discouraged if your first necklace isn’t flawless. Enjoy the process, and let every piece reflect a part of you. Happy crafting!