How to Make a DIY Pink Salt Air Purifier Lamp: A Comprehensive Guide
Hello there, fellow crafters! Today, I’m excited to share a delightful project that combines the beauty of natural decor with the practical benefits of air purification—the DIY Pink Salt Air Purifier Lamp. If you’ve ever walked into a spa or wellness center and felt an immediate sense of relaxation and calm, you can likely attribute that to the soothing aesthetic and air-purifying qualities of Himalayan salt lamps. But did you know you can create your own at home? Making your very own Pink Salt Air Purifier Lamp is not only therapeutic but also a wonderful way to add a warm glow to your living space. Let's get started!
Why DIY Pink Salt Air Purifier Lamps are Worth Making
Himalayan salt lamps are made from chunks of pink salt that are said to emit negative ions when heated, which can help purify the air and enhance your well-being. As our lives get busier and our indoor air quality suffers (thanks to pollution, allergens, and electronic devices), these lamps have surged in popularity. Not only do they add a lovely ambiance, but the soft, warm glow can create a peaceful atmosphere in various settings: your home office, meditation space, or bedroom.
Materials You'll Need
Before we dive into the step-by-step process, let’s gather our materials. Here’s what you’ll need:
Essential Materials
- Himalayan Pink Salt – Choose natural, coarse salt crystals. The pink hues add beauty and purifying properties.
- A Clear Glass or Ceramic Bowl – This will hold your salt. Make sure it’s heat-resistant.
- A Small Light Bulb Socket or LED Light (15-25 watts) – Opt for one that can withstand heat without melting; check the wattage to ensure safety.
- A Power Source – Plug or battery-powered, depending on your light design.
- Dry Sponge or Cotton Balls – To help absorb excess moisture in the bowl.
Optional Materials
- Essential Oils – For an added flavor and fragrance.
- Decorative Elements – Feel free to add some natural stones, dried flowers, or other crafting supplies to personalize your lamp.
Step-by-Step Guide
Now, let’s get into the crafting process! I’ll walk you through each step, sharing not just how to do it but also why each part of the process is essential. Feel free to take your time, and don’t hesitate to reach out for help if needed.
Step 1: Preparing the Base
Why it Matters: A sturdy and heat-resistant base is crucial for the lamp’s safety and longevity.
- Start by choosing a flat, stable surface to work on.
- Place your fire-resistant bowl on the surface and ensure it’s clean.
What Could Go Wrong: If your bowl isn’t heat-resistant, it could crack or break when the light is turned on.
Fix It: Opt for a ceramic or specially treated glass bowl. If you accidentally chip the bowl, start over with a new one to ensure safety.
Step 2: Adding the Sponge or Cotton Balls
Why it Matters: This step helps to absorb any moisture from the salt that could potentially damage the light source.
- Take your dry sponge or cotton balls and fill the bottom of your bowl. A layer about half an inch thick works well.
Step 3: Filling with Pink Salt
Why it Matters: The amount of salt affects the lamp's functionality and aesthetics.
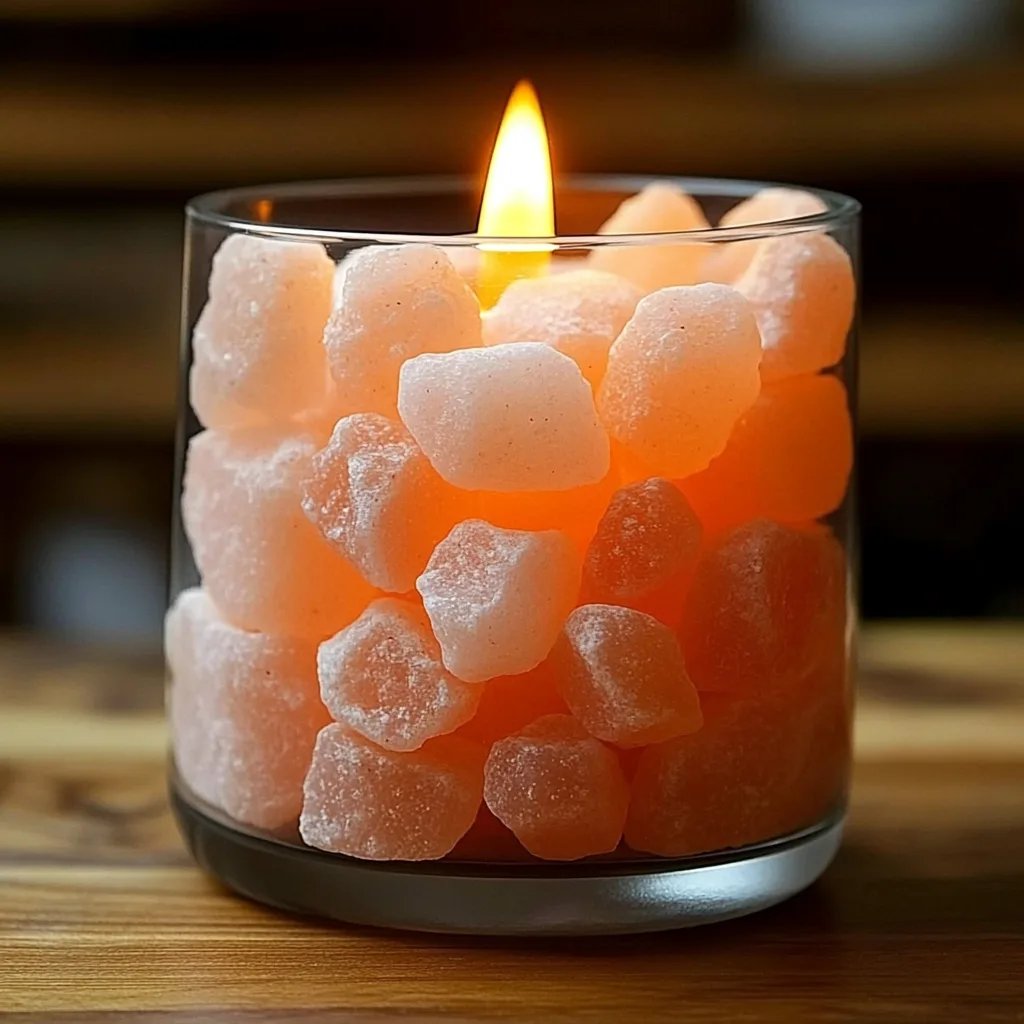
- Carefully pour the Himalayan pink salt into the bowl. Ensure that the salt covers the sponge/cotton layer fully.
- You can mix in various sizes of salt crystals for visual interest.
Tip: Position the salt chunks carefully for an aesthetically pleasing look.
Step 4: Inserting the Light Socket
Why it Matters: The light should be installed correctly to ensure it doesn’t touch the salt and remains safe.
- Place the light socket in the bowl, ensuring that it’s securely positioned without touching the bowl’s sides or base.
What Could Go Wrong: If the light is too close to the salt, it could overheat over time.
Fix It: Make sure there’s enough space to allow for heat to circulate. It's best if the bulb hangs just above the salt.
Step 5: Plugging It In & Enjoying Your Creation
Why it Matters: Proper connections mean your lamp will work effectively.
- Connect your light source to the power source and turn it on.
- Enjoy the soft, warm glow that radiates through the pink salt!
Optional: Enhancing with Essential Oils
- If you're interested in adding a fragrant touch, simply drop a few drops of essential oil of your choice directly onto the salt.
Creative Variations: You can get creative by adding colored salt or even glitter for a fun effect, but keep in mind it may affect the lamp’s purifying qualities.
Safety Tips and Warnings
- Heat Precautions: Monitor the lamp when it’s lit to ensure it doesn’t overheat or cause any unexpected burns.
- Fragility of Materials: Always handle glass and ceramic materials with care to avoid breakage.
- Moisture Control: If you notice water pooling in the bowl, replace the sponge or cotton balls, or reduce the humidity in the surrounding environment.
Conclusion
Creating your own DIY Pink Salt Air Purifier Lamp is a straightforward yet rewarding process. Not only does it beautify your space and purify the air, but it also instills a sense of accomplishment that comes from crafting something uniquely yours. I encourage you all to give it a try; after all, the joy of crafting is in the journey as much as in the final product.
So, roll up your sleeves, let your creativity shine, and prepare to bask in the soothing glow of your very own salt lamp. Happy crafting, and may your new lamp bring warmth and wellness to your home!