How to Make a DIY Mason Jar Aquarium: A Step-By-Step Guide
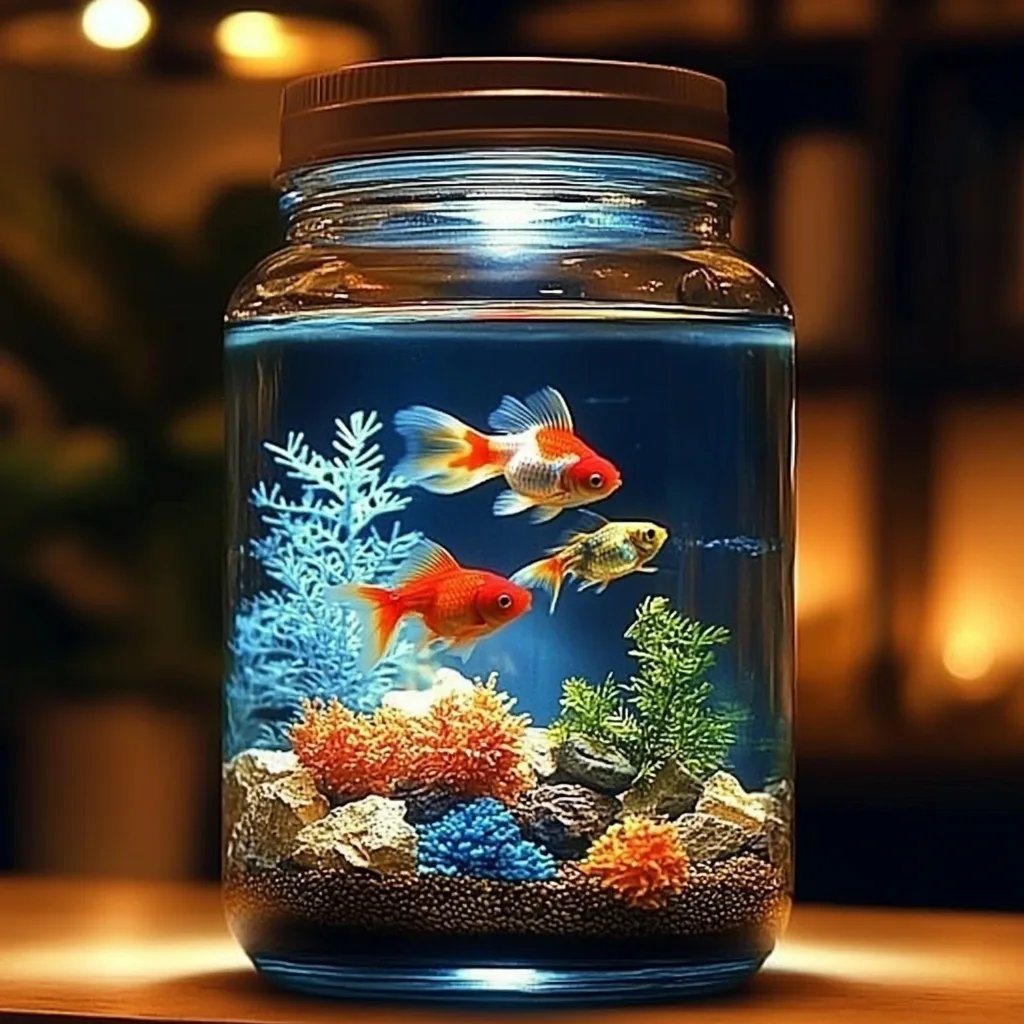
Creating a Mason Jar Aquarium is not just a trend; it’s a delightful way to bring a slice of nature into your home. They're gaining popularity for several reasons: they’re budget-friendly, easy to care for, and, most importantly, they add a splash of creativity and life to any space. Whether you're looking for a unique conversation starter, a serene centerpiece for your desk, or a perfect gift for a fish-loving friend, making a DIY Mason Jar Aquarium could be the perfect project for you.
The Allure of a Mason Jar Aquarium
Mason jars are versatile. They’re often associated with canning and kitchen storage, but in recent years, they’ve made their way into the home décor and crafting world in a big way. Their rustic charm complements any environment, and using them as aquariums gives a beautiful view of aquatic life without requiring a full-scale aquarium setup. Plus, they can be a wonderful project for families, schools, and DIY enthusiasts wanting to learn about ecosystems.
In this article, I’ll guide you through the process of creating a stunning DIY Mason Jar Aquarium step-by-step. I’ll share tips, insights, and my personal experiences to ensure your aquarium becomes a thriving little ecosystem!
Materials Needed
Before we leap into the tutorial, let's gather our supplies. Many of these materials can be found around your home or easily sourced from local craft or pet stores.
- A large Mason jar (at least 32 ounces; wide-mouth jars are recommended)
- Small aquatic plants (such as Anubias, Java Fern, or Water Wisteria)
- Small fish (like Betta fish, guppies, or neon tetras—remember to confirm that your fish can live in smaller environments)
- Aquarium gravel or pebbles
- Activated charcoal (for filtration)
- Dechlorinated water (tap water left out for 24 hours or water conditioner can work)
- Decorative items (e.g., rocks, driftwood, or other non-toxic aquarium decorations)
- Aquarium thermometer (optional but recommended for temperature regulation)
- Fish food (specific to the fish species you choose)
Step-by-Step Tutorial
Step 1: Prepare Your Mason Jar
First, it’s crucial to clean the jar thoroughly. Using warm, soapy water, wash the jar and rinse it well. Ensure no soap residue remains as it can harm aquatic life. Remember, the cleanliness of your aquarium will help prevent algae growth and maintain a healthy environment for your fish.
Tip: Consider making this a family activity. Assign different tasks such as washing the jar or selecting decorative elements.
Step 2: Layer the Base with Gravel and Charcoal
Start by adding about an inch of activated charcoal to the bottom of the jar. This is an essential step as it helps filter the water and prevent odor. Next, add a layer of aquarium gravel or pebbles—approximately two inches should suffice. This layer is not just for aesthetics; it provides a medium for beneficial bacteria to establish.
What Could Go Wrong: Ensure the gravel is rinsed before placing it into the jar. Otherwise, you may end up with cloudy water.
Step 3: Add Plants
Choose small aquatic plants that will thrive in a jar environment. Once the gravel is in place, you can begin placing your plants. Arrange them thoughtfully—it’s best to position larger plants at the back for better visibility.
Tip: Trim the roots of your plants if they are too long and be gentle while planting them into the gravel to avoid an uprooting.
Step 4: Fill the Jar with Water
Now, gently fill the jar with dechlorinated water. To avoid displacing your gravel, it’s helpful to pour the water over a small plate or cup placed inside the jar. This way, the water gently displaces without stirring up the substrate.
Tip for Success: Let the jar sit for a few hours to allow the water temperature to stabilize, which is crucial when introducing fish.
Step 5: Introduce the Fish
Once the temperature is stable, it's time to add your fish. A gentle acclimatization process is vital. Place the fish bag in the jar for about 30 minutes before releasing them. This way, they can adjust to the new water temperature gradually. After 30 minutes, gently release the fish into the aquarium.
Safety Warning: Always ensure that your fish are compatible with the size of the aquarium. Bettas, for instance, can be territorial, while tetras might like to be in schools.
Step 6: Decorating Your Aquarium
If you haven’t already, now is the time to place any additional decorative items. Make sure everything is clean and fish-safe. Consider how your items work with the plants. Ensure the decorations provide hiding spots and entertainment for your fish.
Creative Variation: You might want to create a themed aquarium, like a mini beach scene with sand, shells, and small pieces of driftwood.
Maintenance and Troubleshooting
Maintaining your Mason Jar Aquarium is essential for keeping your fish healthy. Here are some tips:
- Water Changes: Regularly check the water levels and change 10-20% of the water weekly. This prevents buildup of harmful toxins.
- Check Temperature: Make sure to monitor the temperature, maintaining it within the ideal range for your fish.
- Algae Growth: If algae begins to grow, reduce the amount of light the aquarium receives!
What Could Go Wrong? If your fish show signs of stress (rapid gilling or hiding excessively), ensure the water parameters (temperature, pH) are appropriate.
Final Thoughts
Creating a DIY Mason Jar Aquarium can be a fun and rewarding experience. It’s an opportunity to learn about aquatic ecosystems while unleashing your creativity. Whether you decide to make it a project for yourself or involve friends and family, it's sure to make an impression in your living space. Remember, every little step in this process plays a significant role in ensuring a healthy habitat for your new fish friends.
Should you find any challenges during your journey, like an algae bloom or your fish not eating, remember that every aquarium keeper faces obstacles. I encourage you to be patient, observant, and proactive in resolving any issues that arise.
May your new aquatic journey flourish, and should you have any questions or need assistance, don’t hesitate to reach out or share your experience. Here’s to creating beautiful memories in your very own Mason Jar Aquarium!