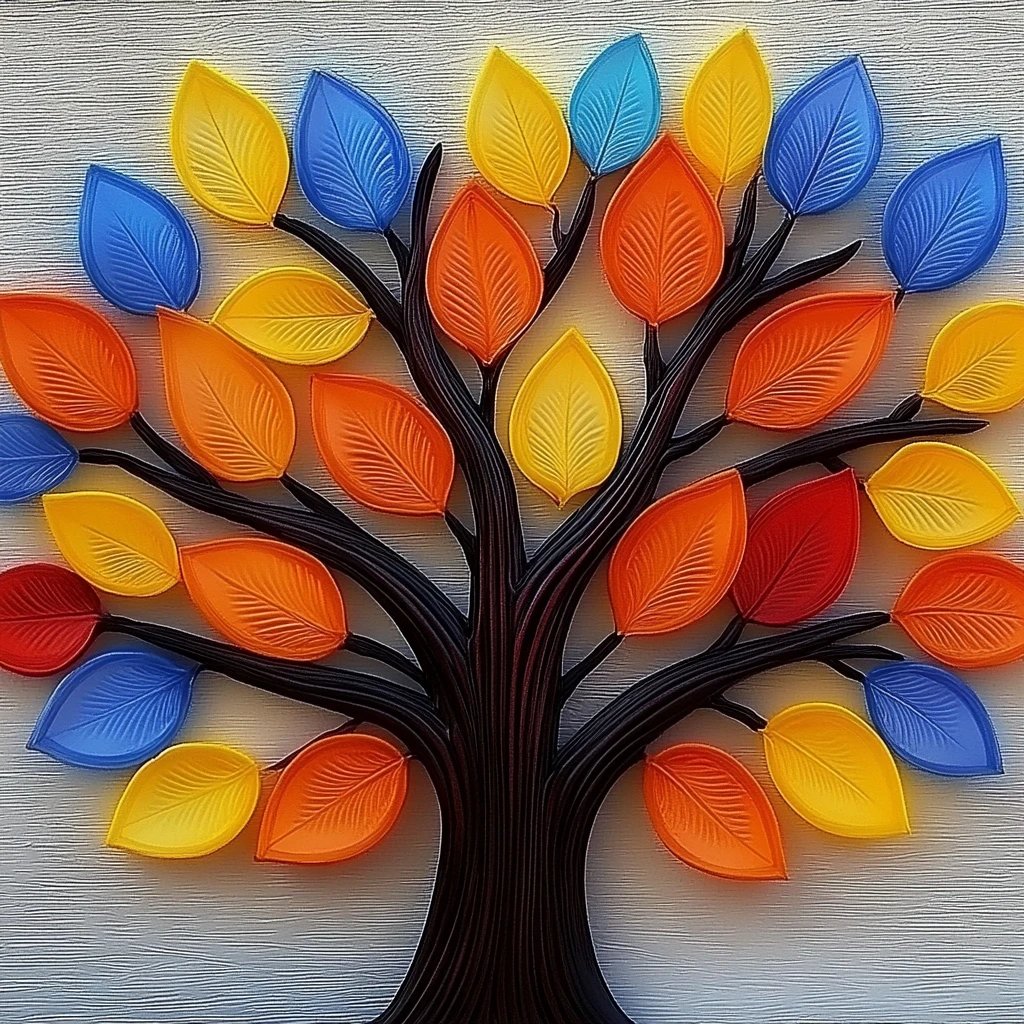
How to Make a DIY Fall Tree: A Crafting Journey Through Autumn Splendor
Hello, fellow crafters! As the leaves begin to turn brilliant shades of amber, crimson, and gold, I find that my creative spirit is ignited with the vibrant essence of fall. There's something so inviting about this season—a cozy aura that beckons us to gather, celebrate, and decorate our spaces. One of my all-time favorite DIY projects that encapsulates this autumnal beauty is creating a DIY Fall Tree. It’s not only a delightful centerpiece that embodies the spirit of the season, but it's also a wonderful activity that adds a personal touch to your home decor.
In this post, I’ll take you through the step-by-step process of crafting your very own DIY Fall Tree, share tips, and share some of my experiences along the way. Let’s gather our materials and dive into this autumn adventure!
The Allure of the DIY Fall Tree
Why is the DIY Fall Tree so popular, you may wonder? For many, it serves as a beautiful representation of the changing seasons. It can be used as a centerpiece for a Thanksgiving gathering, a decorative piece during the Halloween season, or simply as a charming embodiment of fall that can last until the first snowfall. Plus, making this tree is a soulful and meditative process. You can customize it to reflect your unique style and creativity.
Materials You'll Need
Before we start crafting, let’s ensure you have all the necessary materials at hand. Here’s what you’ll need:
- Base Material:
- A sturdy foam cone (about 12-18 inches tall)
- A small pot or vase to hold the cone
- Tree Trunk:
- A small branch or wooden dowel
- Leaves:
- Faux leaves in various autumn colors (reds, oranges, yellows)
- Optional: Hand-cut leaves from colored paper for a personal touch
- Adhesive:
- Hot glue gun and glue sticks
- Craft glue for paper leaves
- Decorative Elements:
- Small pine cones
- Acorns
- Mini pumpkins (real or faux)
- Twine, ribbons, or embellishments of your choice
- Tools:
- Scissors
- Wire cutters (if needed for branches)
Step-by-Step Tutorial
Step 1: Preparing the Base
The first step is to set up the base of your Fall Tree. Take your foam cone and place it upright in your pot or vase. We'll secure it later with some stones or foam for stability, so it doesn’t wobble.
Why This Matters: A sturdy base is essential for ensuring that your tree stays upright and won’t topple over due to added decorations. If your cone is unstable, using heavier objects (like stones or floral foam) can help stabilize it.
Step 2: Create the Trunk
Next, take your branch or wooden dowel and attach it to the top of the foam cone using hot glue. If you're using a branch, try to position it so that it looks natural and resembles a tree trunk.
Tip: Allow the glue to cool completely before continuing. This will give your trunk a solid connection to the tree.
Step 3: Adding the Leaves
Now comes the fun part—decorating! Start gluing your faux leaves onto the foam cone, beginning from the bottom and working your way up to the top. Overlap the leaves slightly to create depth and dimension.
What Could Go Wrong: You may find that some leaves don’t stick well or that they fall off. If this happens, check if your glue gun is hot enough or consider switching to a stronger adhesive.
Creative Variation: If you're feeling adventurous, consider cutting your own leaves from colorful scrapbook paper. This personalization adds a lovely handmade touch that can complement your interior decor.
Step 4: Layering with Decorative Elements
Once your leaves have been glued on, it’s time to add in the decorative elements. Start placing your mini pumpkins, acorns, and pine cones among the leaves, gluing them into place. This is where you can really bring your tree to life—arrange them in clusters or single placements based on your aesthetic!
Personal Anecdote: When I first made my Fall Tree, I used a mix of faux pumpkins and real acorns. The contrast was stunning, and my guests loved the organic feel it brought to my home.
Step 5: Finishing Touches
For the final flourishes, you can use twine or ribbon to wrap around the base of your tree trunk, or you can hang small ornaments from the branches. This is also a great time to check that all pieces are securely glued.
Safety Warning: Be cautious when using the hot glue gun and ensure you don't burn yourself. Always work in a well-ventilated area.
Step 6: Display Your Tree
Once everything is securely in place and the glue has set, find a lovely spot to display your DIY Fall Tree. It can serve as a lovely centerpiece for your table, a statement piece on a shelf, or an inviting decoration by your front door.
Alternative Method: If you’d like your tree to be a permanent decoration, consider sealing it with a clear spray varnish to protect it from dust and fading.
Tips for Success
- Plan Ahead: Before starting, it may be helpful to layout how you want the leaves and decorations to be arranged. A visual map can save time and frustration later.
- Be Creative: There’s no right or wrong way to create your Fall Tree! Let your personality shine through by using colors and decorations that resonate with you.
- Embrace Imperfection: If something doesn’t turn out how you envisioned, embrace it! The beauty of handmade crafts lies in their uniqueness.
Conclusion
Creating a DIY Fall Tree is not only a fun project but a meaningful way to celebrate the beauty of the season. Each step provides an opportunity to express your creativity, and the final product will fill your home with warmth and spirit. I hope this guide inspires you to roll up your sleeves, gather those materials, and enjoy the process as much as you adore the finished result. Happy crafting, and may your Fall Tree bring joy and beauty to your autumn festivities!