How to Make a DIY Dino Egg Piñata: A Comprehensive Guide from an Experienced Crafter
If you’re looking for an exciting and unique addition to a birthday party or a playful surprise for your kiddo’s next playdate, you’ve landed at the right place! Today, I’m thrilled to share with you how to create your very own DIY Dino Egg Piñata. Not only is it a fun activity, but it also serves as a delightful centerpiece and an engaging game that kids of all ages will love! So let’s dig in and hatch an egg-citing adventure together!
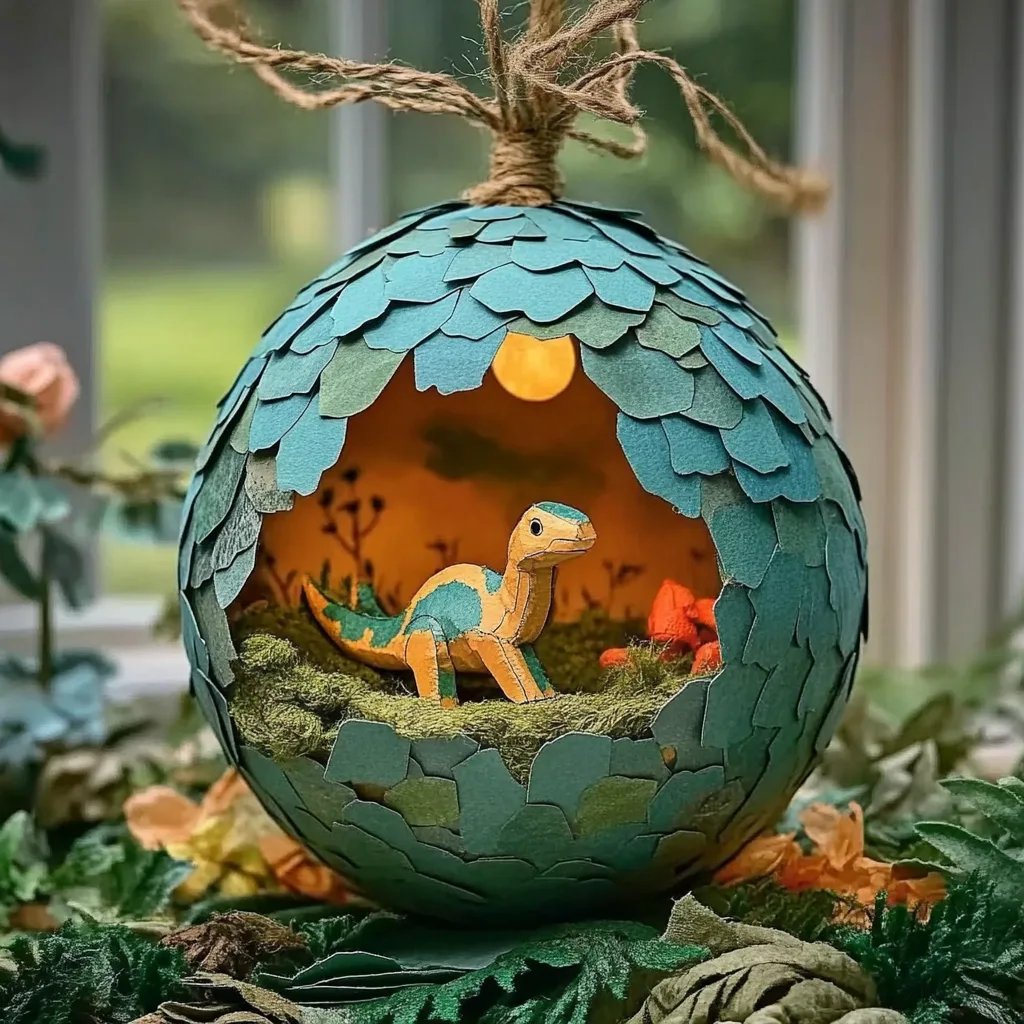
What is a Dino Egg Piñata?
A Dino Egg Piñata is a charming and colorful craft you can fill with candies and small toys, waiting to be broken open at events like birthday parties or family gatherings. They’re becoming increasingly popular, especially for dinosaur-themed parties, and for good reason! There’s something magical about witnessing the joy on children's faces as they take swings at a piñata, and the surprise of goodies spilling out makes it that much more thrilling.
When to Use a Dino Egg Piñata
Perfect for birthday bashes, holiday celebrations, and themed parties, these piñatas can infuse an element of fun wherever they’re used. You can personalize them for an adventurous dino birthday theme, or simply use them to add some playful flair to any occasion. Kids will love the challenge of breaking open the dinosaur egg, and if you’re lucky, you might just hear them roar like the mighty beasts they are!
A Note on DIY Crafting
Before diving into the nitty-gritty details, I’d like to encourage you to embrace creativity. Making a piñata is not just about following steps; it’s about creating something that reflects your taste and personality. Personalize it with colors and designs that resonate with you and the intended recipient!
Materials You'll Need
*Materials for the Outer Shell:*
- Balloon (large) – This will serve as the base shape for your dinosaur egg.
- Newspaper or tissue paper – For the paper mache, which forms the outer layer.
- Flour (1 cup) – For the paste that binds everything together.
- Water (1 cup) – To mix with the flour and make the paste.
- Paint (acrylic or tempera) – For decorating your piñata, bright and vibrant colors work best.
- Paintbrushes – For the painting process.
- Clear tape – To secure any pieces that may not stick properly.
*Materials for the Filling:*
- Candies/Small Toys – You can use jelly beans, chocolate eggs, or dino-themed toys!
- Confetti (optional) – For added excitement when the piñata breaks.
*Tools:*
- Scissors – For cutting the paper.
- Mixing bowl – To prepare the paste.
- Bucket – For collecting any overflow of paste.
- Plastic sheet or tarp – To protect your workspace.
Step-by-Step Tutorial
Step 1: Create the Balloon Base
*Why This Matters:* The balloon serves as a mold for your piñata. The size of the balloon determines the final size of your dino egg, so choose wisely based on the scale you desire.
Instructions:
- Inflate the balloon to your desired size and tie a knot. The bigger the balloon, the larger your egg will be!
- Set it aside on a plastic sheet or tarp, as things might get a tad messy.
Step 2: Make the Paper Mache Paste
*Why This Matters:* A strong glue is essential to keep your paper layers intact and robust enough to withstand the big reveal.
Instructions:
- In a mixing bowl, combine 1 cup of flour with 1 cup of water. Mix thoroughly until there are no lumps—this is your paper mache paste.
- If the paste is too thin, add a bit more flour. If it's too thick, just add more water. The right consistency is like pancake batter!
Step 3: Prepare the Paper Strips
*Why This Matters:* The paper strips should be of uniform size to ensure even adhesion and a smooth finish.
Instructions:
- Tear your newspaper or tissue paper into strips (about 1-2 inches wide and 5-6 inches long). You can make the strips longer if you wish!
- Once torn, set them aside and ensure they are not folded, as this may cause uneven drying.
Step 4: Apply the Paper Mache Layers
*Why This Matters:* Layering allows you to build strength in the piñata, ensuring it can take some hits without falling apart.
Instructions:
- Dip each strip into the paste, allowing the excess to drip off to prevent a sloppy finish.
- Place the strips over the inflated balloon, overlapping them slightly, and continue until the entire balloon is covered.
- For best results, apply at least three layers, allowing each layer to dry for about 24 hours. This is crucial! If you skip drying, your piñata may collapse when you start swinging at it.
Step 5: Pop the Balloon
*Why This Matters:* Popping the balloon creates the hollow space needed for your piñata.
Instructions:
- Once dry, carefully deflate the balloon by inserting a pin or sharp object. Gently pull out the remnants of the latex.
- You may need scissors to help remove it entirely, but ensure not to damage the paper mache itself.
Step 6: Cut a Hole for Filling
*Why This Matters:* This is how you’ll load up the delights that will be unleashed upon impact!
Instructions:
- Cut a small flap on the top or the side of the piñata large enough to fill it with treasures. Be cautious not to create a hole that’s too large; you want your goodies secure until the grand reveal!
Step 7: Fill the Piñata
*Why This Matters:* The filling is what makes the piñata exciting! Choose a mix of candies and toys that are appropriate for the age group.
Instructions:
- Carefully fill the piñata with candies, and perhaps some fun little dinosaur toys or confetti for added surprise.
- Replace the flap you cut earlier with clear tape to secure it shut.
Step 8: Decorate Your Dino Egg
*Why This Matters:* This is where the magic happens! Decorating makes your piñata uniquely yours.
Instructions:
- Use paint to add designs! Whether you want to mimic dinosaur scales, use bold colors, or go for a more cartoonish look, let your creativity flow.
- You can also use tissue paper for added texture. Simply cut out shapes of color, glue them on, and layer them for a fun 3D effect!
Step 9: Hang the Piñata
*Why This Matters:* A properly hung piñata will ensure safety during the party and make for a better swinging experience.
Instructions:
- Use string or rope to securely attach the piñata to a branch, a sturdy hook, or even a doorway.
- Make sure it’s hung high enough that kids can swing at it, but low enough for everyone to reach!
Tips for Success
- Be Patient: Crafting takes time! Allow everything to dry before moving on to the next step.
- Double-check the Stability: Once dried, tap the piñata lightly to ensure no areas are too fragile.
- Safety First: If younger children are participating, supervise them while hitting the piñata.
What Could Go Wrong?
- The Paste Might Be Too Thin: If you find your paper strips won’t stick, add a bit more flour to your paste.
- Too Few Layers: If you skimp on layers, you risk your piñata breaking prematurely. Be sure to add at least three.
- Uneven Drying: If the piñata doesn’t dry evenly, some parts may be too fragile, leading to a disappointing result. Make sure to check for complete dryness before moving on!
Creative Variations
- Theme It Up: Instead of a standard dino egg, create an entire set of dino characters to add to the fun.
- Glow-in-the-Dark Paint: For a Halloween or nighttime event, use glow-in-the-dark paint for a whimsical effect.
- Natural Dye: Use beet juice or spinach blended with water for eco-friendly coloring options.
Conclusion
Making a DIY Dino Egg Piñata is not just a craft; it’s a heartwarming experience filled with laughter, creativity, and camaraderie. Whether you’re celebrating a special occasion or simply indulging in a crafting day with family, I hope you find joy in this process. Wrap up your creation and get ready for the smiles and laughter as little hands take swings at your handcrafted masterpiece! With this guide, I trust you’ll find it both simple and rewarding. Happy crafting!