How to Make a DIY Crystal Growing Kit for Kids: A Crafting Adventure
Hello, fellow crafters! Today, I'm excited to dive into a project that is not only fun but also educational—the creation of a DIY Crystal Growing Kit for kids. This project has gained immense popularity because it combines science with hands-on creativity, making it a fantastic educational experience for young minds. Whether you’re looking for an exciting afternoon project, a birthday party activity, or even a unique gift, a crystal-growing kit will surely delight kids and spark their interest in science.
In this guide, I’ll walk you through the entire process—from gathering materials to troubleshooting challenges—while sharing personal anecdotes and tips I've learned over the years. So, grab your crafting tools and let’s embark on this colorful crystallization journey together!
What You’ll Need
Materials:
- Borax (sodium borate) – 1 cup
- Water – 3 cups
- Glass jar – Large enough to hold your crystal-growing solution
- String or pipe cleaners – To help form your crystals
- Pencil – To suspend your string or pipe cleaner in the solution
- Food coloring (optional) – For colorful crystals
- Stirring stick – A wooden spoon or stick
- Pot for heating water – A small saucepan
Safety Gear:
- Gloves (optional, for sensitive skin)
- Eye protection (if using boiling water)
Why This Matters
Creating a DIY Crystal Growing Kit is more than just making pretty decorations. It provides hands-on experience in scientific principles like saturation and crystallization. As kids observe the transformation of a simple solution into dazzling formations, they gain a better understanding of chemistry and the natural world. Not to mention, it’s a fantastic way to spend quality time together, igniting creativity and curiosity.
Step-by-Step Guide to Making Your DIY Crystal Growing Kit
Step 1: Prepare Your Workspace
Before we dive into the project, I encourage you to set up a designated crafting space. This could be your kitchen table or a backyard picnic area. Lay down some newspapers or an old tablecloth for easy cleanup. Trust me; a clean workspace makes the whole process much more enjoyable!
Step 2: Create the Crystal Solution
- Boil Water: Pour 3 cups of water into your pot and bring it to a boil. This step is essential; hot water helps dissolve the borax more effectively, allowing for larger crystals to form.
- Add Borax: Once the water is boiling, carefully add 1 cup of borax to the pot. It’s best to do this slowly while stirring with your stick. The goal is to fully dissolve the borax in the water. This mixture should be very saturated; if you notice borax settling at the bottom, continue to stir and let the solution boil a little longer.
Tip: Always monitor your child during this step. Make sure they’re a safe distance away from the hot stove.
Step 3: Color Your Crystals (Optional)
If you’d like colorful crystals, now’s the time to add a few drops of food coloring to the solution. Swirl gently to mix; this can create all sorts of vibrant hues that will emerge when your crystals start to grow!
Step 4: Prepare Your Crystal Base
- Shape Your Pipe Cleaner: If you're using pipe cleaners, bend them into fun shapes—stars, hearts, or simple spirals. This step allows kids to express their creativity.
- Attach String: If using string, tie a sturdy knot at one end and submerge this end into the crystal solution. The other end can be tied to the pencil so that the solution doesn’t touch it.
Step 5: Suspend and Wait
Carefully suspend your pipe cleaner or string setup into the jar. Ensure that it doesn't touch the sides or bottom of the jar—this could interfere with crystal growth. Lay the pencil across the top of the jar as a support system.
Step 6: Let the Magic Happen!
Place your jar in a location where it won’t be disturbed. Now, wait! It may take several hours or even overnight for crystals to begin forming. As you wait, encourage the kids to observe and discuss what might be happening in the jar.
What Could Go Wrong?
- No Crystal Formation: If after a day or two you don’t see crystals, your solution might not be saturated enough. You can try heating more water and dissolving additional borax, then reintroducing it to the jar.
- Crystals Look Cloudy: This could happen if there was too much borax dissolved initially. Experiment with lower concentrations next time!
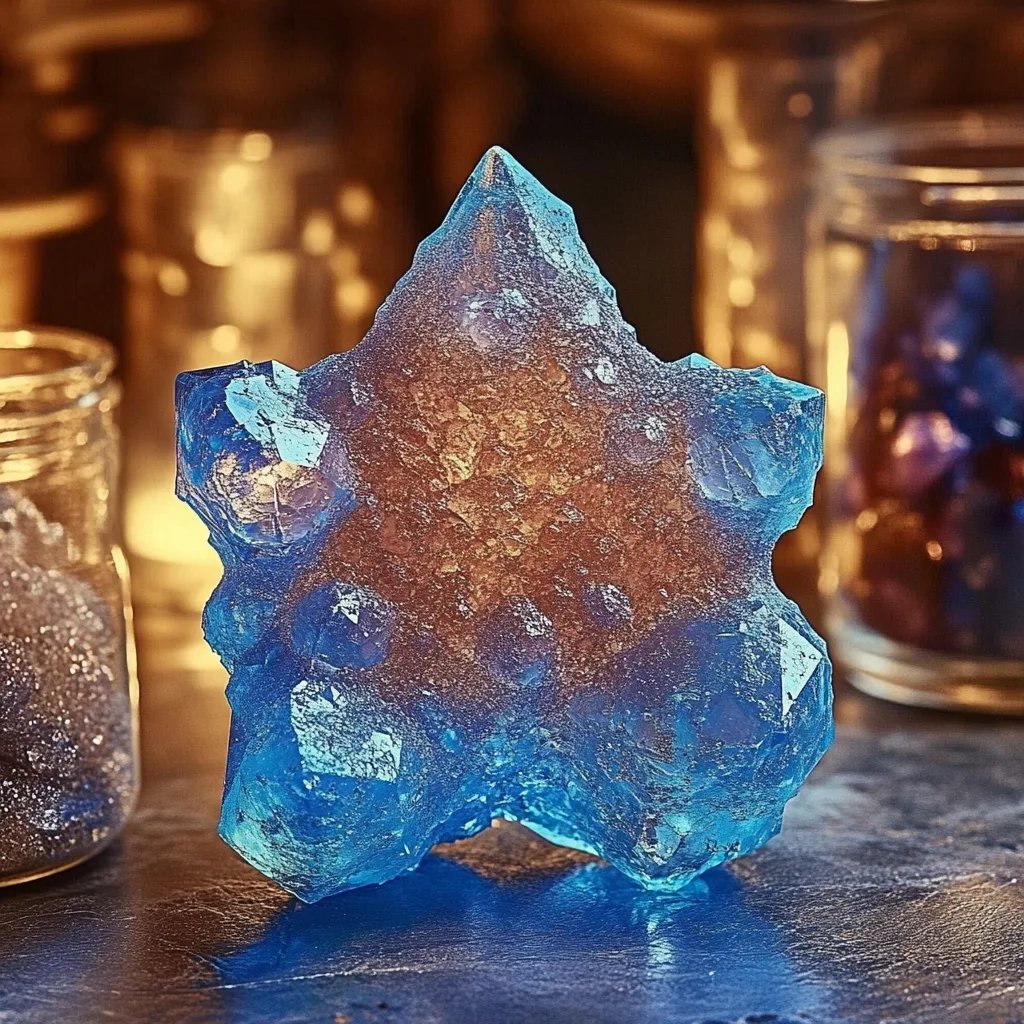
Step 7: Enjoy Your Crystals!
Once your crystals have formed to your liking, carefully remove them from the jar. If you used a pipe cleaner, you can snip it with scissors. Allow your crystals to dry for a bit, and then display them where they can catch the light!
Personal Anecdotes and Creative Variations
I remember the first time I did this with my niece. We shaped our pipe cleaners into dinosaurs, and when the crystals formed, they looked like giant colorful dino spikes! Kids love personalization; let them experiment with different shapes. You could even create themed crystal kits—like ocean shapes for a beach party or stars and moons for nighttime fun!
Alternative Methods
If you want to explore beyond borax, Epsom salts or sugar can also be used for crystal growing. The method is similar, but expect different types of crystals to form with each substance.
Conclusion: The Joy of Crafting and Learning
Creating a DIY Crystal Growing Kit for kids is a delightful blend of crafting, science, and creativity. With just a few basic materials and a sprinkle of patience, you can cultivate beautiful, sparkling crystals while bonding with your little ones. Remember, the process is just as valuable as the final product—cherish the time spent exploring together and celebrating the wonders of crystallization.
Now, go ahead! Gather your materials, involve the kiddos, and let the crystal growing adventure begin! Happy crafting!