How to Make a Bubble Snake Blower: A Comprehensive Guide
Hello fellow crafters! Today, I’m thrilled to share with you a delightful and whimsical project that has captured my heart and the hearts of children and adults alike—the Bubble Snake Blower. This fun, easily made gadget creates long, snaking streams of bubbles that dance and shimmer in the sunlight, creating sheer joy for anyone lucky enough to see it in action.
Whether you’re looking for an engaging outdoor activity for a sunny afternoon, planning a backyard birthday party, or simply wanting to embrace your inner child, the Bubble Snake Blower is perfect for any occasion. Its popularity derives from the sheer joy it brings, along with the ease of making it. Plus, it’s an eco-friendly alternative to store-bought bubble wands that often leave a lot to be desired!
So roll up your sleeves, gather your materials, and let’s dive into this bubbly adventure!
What You’ll Need
Before we start concocting some bubble fun, let’s gather our supplies. Don't worry—they're all simple and easy to find!
Materials:
- Plastic bottle (empty, a 16 oz. size works great)
- Sock (preferably an old, clean one)
- Scissors
- Bubble solution (you can purchase or make your own)
- Straw (any size works, but wider ones create bigger bubbles)
- Water (for mixing with the soap)
- Dish soap (you can use dishwashing liquid)
Homemade Bubble Solution Recipe:
- 1 cup water
- 2 tablespoons dish soap
- 1 tablespoon corn syrup (for extra long-lasting bubbles)
Step-by-Step Tutorial
Step 1: Preparing Your Base
First things first—let’s transform our plastic bottle into a bubble blower!
- Start by thoroughly rinsing your empty plastic bottle to ensure there’s no residue left. This is crucial, as any leftover substances can interfere with your bubble solution and its performance.
- Use scissors to cut the bottom of the bottle off. Make sure to cut straighter if you want a neater blowing surface. This section acts as the base into which we’ll slide our sock, creating a bubble-making surface.
Tip: If your cut isn’t perfectly even, don’t sweat it! Bubbles come from joy, not perfection!
Step 2: Creating the Blowing Surface
Now, let’s create our bubble-generating tool!
- Take your clean sock and stretch it over the cut end of the plastic bottle. Ensure that the sock covers the opening completely, as this will catch the bubble solution and help form those magical orbs.
- If you find the sock slipping down, secure the rim with a rubber band to hold it tightly in place.
What Could Go Wrong: If the sock is too loose, it may come off while you’re blowing bubbles. A firm cotton sock works best for an efficient bubble blow.
Step 3: Making the Bubble Solution
Let’s whip up a batch of bubble solution!
- In a bowl, mix the water, dish soap, and corn syrup together gently. The corn syrup increases the viscosity of the bubbles, giving them more staying power.
- Allow your mixture to sit for a couple of minutes. This way, the ingredients can fully integrate.
Anecdote: I once skipped letting it sit, and my bubbles were disappointingly short-lived! Patience is key!
Step 4: Dipping and Blowing Bubbles
With everything prepared, it’s time to create some bubble magic!
- Dip the sock-covered end of the bottle into your bubble solution, making sure it’s soaked but not dripping.
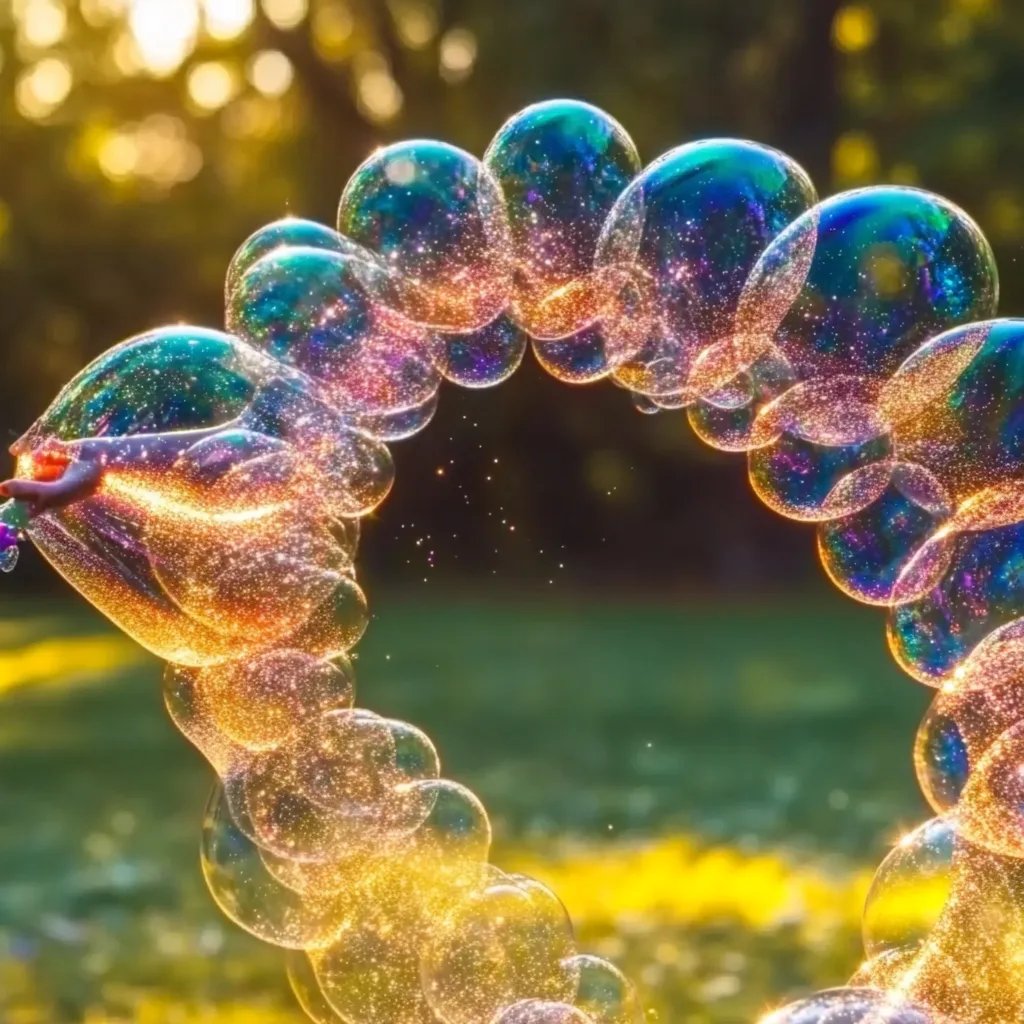
- Take a straw and place it into the top of the bottle. Now, it’s your time to shine! Blow gently into the straw and watch as the bubble snake emerges.
Safety Warning: Don’t blow too hard, or you may end up with a not-so-pleasant wet face!
Step 5: Experiment and Enjoy
Now that you can create bubble snakes, let yourself get creative!
- Try different volumes of bubble mixture. Smaller bubbles for delicate wands or larger bubbles for a grand display!
- Experiment with blowing techniques—fast for small but numerous bubbles, slow for elongated snakes!
Troubleshooting Common Issues
- Bubbles Not Forming: If you find that bubbles are not forming, check your sock coverage, ensure it’s soaked adequately in the solution, or revisit your measurements in your bubble solution.
- Short-Lived Bubbles: Not enough corn syrup? That might be the reason. Adjust your recipe accordingly.
Creative Variations
- Colorful Bubbles: Add a few drops of food coloring to your bubble solution for dazzling hues as the bubbles drift through the air.
- Bubbles with Glitter: For a sparkling effect, use edible glitter in your solution. Note: This option requires a more careful cleanup afterward!
Final Thoughts
Making a Bubble Snake Blower is not just about creating bubbles; it’s about creating memories and bringing a smile to everyone’s face. My favorite moments often come from sharing this craft with loved ones, watching their delight as they pop the bubble snakes together.
So gather your materials, dive into the joyful process of bubble-making, and let your creativity flow!
Remember, crafting is a journey, and every bubble snake you make is a step on that path. Enjoy every moment, and don’t forget to share your bubbly creations with friends and family!
Happy bubbling, and may your days be filled with colorful bubbles that float as high as your imagination!