How to Make a Breathtaking DIY Galaxy Jar: A Step-by-Step Guide
Introduction: The Cosmic Allure of the Galaxy Jar
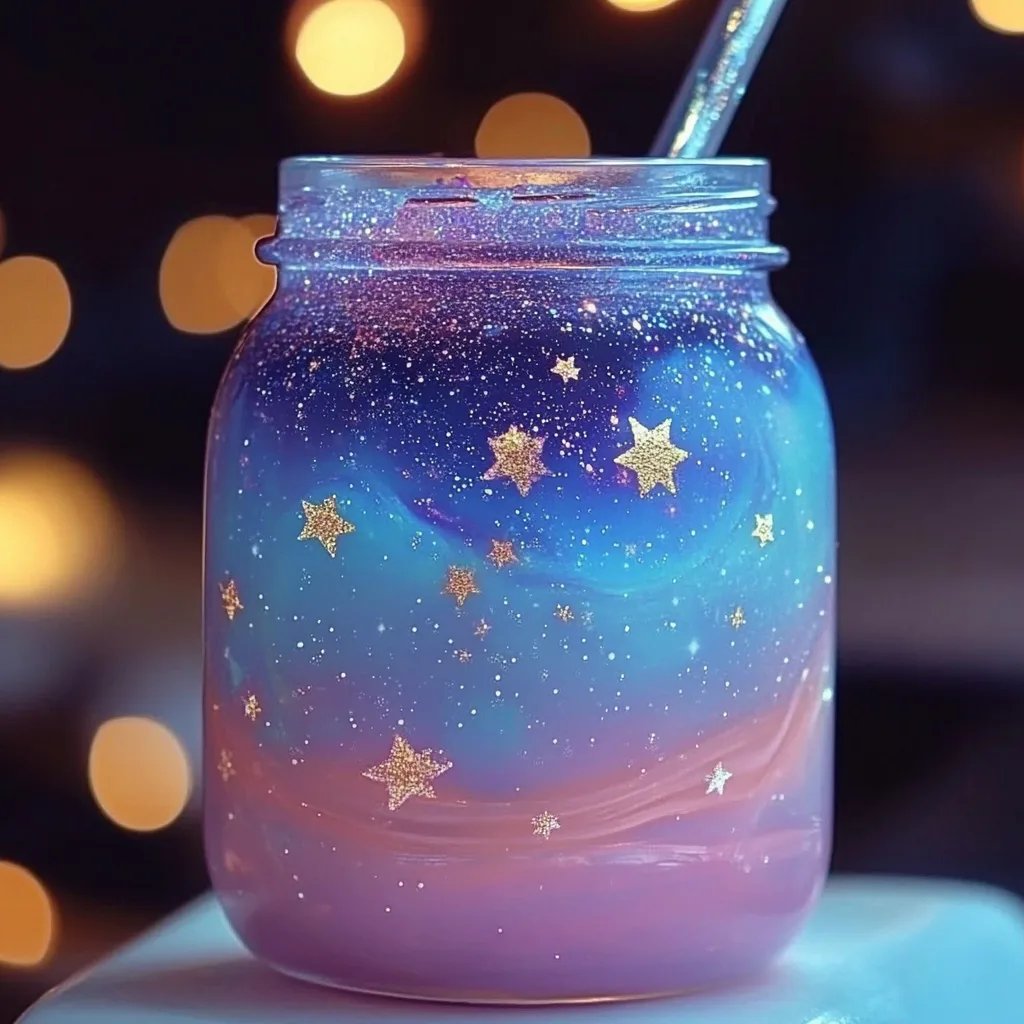
Hello fellow crafters! I'm thrilled to share one of my favorite DIY projects with you today: the enchanting Galaxy Jar. You might have seen these stunning creations floating around on social media or perhaps in a craft store, shimmering like a piece of the cosmos captured in a glass container. The Galaxy Jar isn’t just a beautiful decoration; it's a canvas for our imagination, a source of relaxation, and an excellent gift for friends and loved ones.
So, why are Galaxy Jars so popular? Their mesmerizing colors, reminiscent of the night sky, can evoke feelings of wonder, serenity, and creativity. Whether you’re looking to create a calming nightlight for a child’s room, a unique centerpiece for a special event, or a personalized gift, a Galaxy Jar is the perfect solution. I often use mine during relaxation sessions; the gentle glow helps me unwind after a busy day.
Today, I'm here to guide you through crafting your very own Galaxy Jar, using simple and accessible materials. So, roll up your sleeves, gather your supplies, and let's dive deep into this cosmic crafting adventure!
Materials You Will Need
Before we start, let’s gather everything you'll need for this project. I've made sure to keep this list accessible, so don't worry if you don't have everything on hand right away.
- A clean glass jar (Mason jars work well, but any clear jar will do!)
- Cotton balls or white yarn (for the "starry" part)
- Dark blue or purple food coloring
- Water
- Baby oil or clear vegetable oil
- Glitter (silver, gold, or holographic for that starry effect!)
- A small funnel (optional, but helps with pouring)
- Essential oil (optional; lavender or any other calming scent works great!)
- A glue gun (to secure the lid if you wish)
Step-by-Step Tutorial on Making Your Galaxy Jar
Step 1: Prepare Your Jar
Start with a clean glass jar—this is essential. Any residue can cloud the beautiful layers we will create. Wash your jar in hot, soapy water, then rinse it well. Dry it thoroughly before moving on, or you might end up with water spots that detract from the final look.
Step 2: Create Your Galaxy Layer
In a bowl, mix anywhere from ¼ to ½ cup of water with dark blue or purple food coloring. Depending on your preferred hue, you might want to add a drop of black food coloring as well. Stir it well until you achieve a rich, deep shade reminiscent of the night sky.
Tip: Start with a small amount of coloring. You can always add more, but it's tough to lighten it up once it's too dark!
Step 3: Layer the Foods and Oils
Now, with the funnel, pour the colored water into the jar. Leave some space at the top; you'll need room for the oils and other elements.
Next, pour baby oil or clear vegetable oil into the jar. As a general rule, a 1:1 ratio works wonderfully. The oil will settle on top of the water, creating that dreamy, galaxy-like separation.
What Could Go Wrong: If you pour too quickly or fill the jar to the brim, you might end up with a messy phenomenon! If this happens, carefully spoon out excess liquid or use a paper towel to dab around the top.
Step 4: Add the Glitter
Sprinkle your choice of glitter into the jar. I usually opt for a blend of silver and gold for a captivating effect, but feel free to get creative—holographic glitter can give a stunning star-like effect too!
Personal Anecdote: The first time I made a Galaxy Jar, I went a little crazy with the glitter. While it looked fantastic, the jars became less transparent over time. I recommend moderation unless you want a full-on glitter explosion!
Step 5: Create Your Star Layer
Now it's time to add the cotton balls or yarn. Tear the cotton into smaller pieces and plump them up to resemble fluffy clouds or stars. Place them gently into the jar on top of the glitter.
Why This Step Matters: The cotton adds an ethereal quality. You'll want to keep your clouds a little separated to mimic varying depths of the universe!
Step 6: Scent it Up (Optional)
Add a few drops of your favorite essential oil to the jar. I love using lavender to promote relaxation, but feel free to pick a fragrance that resonates with you. This will elevate your Galaxy Jar into a sensory experience.
Step 7: Seal the Jar
If you want to avoid possible spills, consider using a glue gun to secure the lid tightly. This way, your decorations are safe, and you can confidently display them anywhere!
Step 8: Admire Your Creation
Now it's time for the best part—turn off the lights and observe your Galaxy Jar's beauty! You can give it a gentle shake to mix all the elements or let it sit still like the night sky.
Creative Variations & Alternatives
- Different Colors: Experiment with various color palettes like green, blue, or pink for a dreamy pastel galaxy jar.
- Layering Effects: Use multiple layers of colored water for a more complex look. Just ensure that each layer is properly separated before pouring in the next.
- Themes: You can even create seasonal jars! Think about using red and green for Christmas or orange and yellow for autumn.
Safety Warnings
Though most materials are non-toxic, always supervise children during this crafting session. Keep essential oils out of reach of little hands, and ensure that glass jars are handled with care to avoid any breaks.
Final Thoughts
Crafting a DIY Galaxy Jar can be a rewarding experience, allowing you to express your creativity while providing a calming decoration for your space. I hope these steps have encouraged you and made you feel confident to dive into this fun project.
Feel free to share your Galaxy Jar creations with me; I'd love to see how you personalize them! Happy crafting, and may your Galaxy Jar light up your evenings like the stars above! 🌌