How to Make a Beginner-Friendly Crochet Pumpkin: A Step-by-Step Guide
As the leaves turn golden and the crisp air of autumn settles in, there’s something inviting about crafting seasonal decor. One of my absolute favorite projects to create during this time is a charming crochet pumpkin. Not only do these pumpkins add a lovely touch to your fall decorations, but they also make for an excellent beginner-friendly project! In this article, I’ll share my personal method for making these adorable pumpkins, along with tips, tricks, and insight to ensure your crafting experience is as enjoyable as possible.
Why Crochet Pumpkins are So Popular
Crochet pumpkins have become increasingly popular in recent years for several reasons. They are:
- Timeless Decor: Unlike real pumpkins, these can last forever. You can use them year after year, adding a touch of handmade charm to your seasonal decor.
- Customization: You can easily customize the size, style, and colors to match your home’s aesthetic.
- Stress Relief: Crocheting is a fantastic way to relax and unwind. The rhythmic motion of hooking yarn can be meditative and calming.
- Gift Potential: Crochet pumpkins make lovely gifts, perfect for housewarmings, fall parties, or simply as a thoughtful gesture.
Now, let’s get started on making your own delightful crochet pumpkin!
Materials You’ll Need
Before diving into the step-by-step process, you'll need some accessible materials:
- Yarn: Choose a medium-weight yarn (worsted weight) in orange for the pumpkin body and green for the stem or leaves. I love using 100% acrylic yarn for its durability and vibrant colors.
- Crochet Hook: A size G (4.0 mm) hook works well for this project.
- Stuffing: Polyester fiberfill is ideal for stuffing the pumpkin. You could even recycle old fabric scraps if you want an eco-friendly option!
- Yarn Needle: For weaving in the ends and sewing pieces together.
- Scissors: To trim the yarn.
- Stitch Marker: Optional, but helps keep track of rounds.
Step-by-Step Tutorial
Step 1: Create a Magic Ring
A magic ring is a technique that allows you to start your crochet project with a tight circle, avoiding any gaps. Here’s how to do it:
- Wrap the yarn around your fingers to form a loop.
- Insert your hook into the loop.
- Yarn over and pull up a loop.
- Yarn over again and pull through the first loop on the hook (this creates your first chain).
*Tip*: Practice makes perfect! It may take a couple of tries to get it tight, but don’t worry—you can always pull tighter on the tail once you’re done!
Step 2: Crochet the First Round
- Chain 1 (this doesn’t count as a stitch).
- Work 6 single crochet (sc) stitches into the magic ring.
At this point, when you pull the ring tight, you should have a small circle with 6 stitches around it.
*Common Pitfall*: If your circle is too loose, the pumpkin shape may end up looking “saggy.” Keep your tension consistent!
Step 3: Increase the Rounds
Now we’re going to increase the number of stitches for the second round:
- Round 2: Work 2 sc in each stitch around. This will give you a total of 12 stitches.
- Round 3: Work *1 sc in the first stitch, then 2 sc in the next stitch*; repeat around for 18 stitches.
This increase will help the pumpkin take shape.
*What Could Go Wrong*: If you accidentally miss a stitch, just count the number of stitches at the end of each round. It’ll help you keep track!
Step 4: Continue Crochet Rounds
- Round 4 through Round 9: Work in sc around without increasing. This creates the “body” of the pumpkin.
- Make about 6 rounds of straight sc for a medium-sized pumpkin. Feel free to adjust the number of rounds according to the size you prefer.
Step 5: Begin Decreasing
To close the top of the pumpkin, we’ll start decreasing:
- Round 10: Work *1 sc in the first stitch, then 2 together*; repeat around for 12 stitches.
- Round 11: Work 2 together around until you have 6 stitches left.
Remember to stuff the pumpkin with fiberfill as you go, making sure not to overstuff it. You want it to maintain its shape without bursting at the seams.
Step 6: Finish the Pumpkin
- Cut the yarn, leaving a long tail.
- Use the yarn needle to thread the tail through the remaining stitches and pull tight to close the top.
Now, flip your pumpkin right-side out and give it a gentle squeeze to shape it.
Step 7: Add the Stem
- For the stem, create another magic ring in green yarn.
- Work 6 sc in the ring. Then, increase rounds like you did for the pumpkin, but we’ll want this stem to be short—about 4 rounds of stitches.
*Tip*: For added texture, you could make the stem bumpy by crocheting into the back loops only.
Step 8: Attach and Finalize
- Sew the stem to the top of the pumpkin using the yarn needle.
- Optionally, you can crochet some leaves and sew them next to your stem for a cuter look.
Creative Variations and Personal Touches
Now that you’ve mastered the basic crochet pumpkin, let’s explore some creative twists:
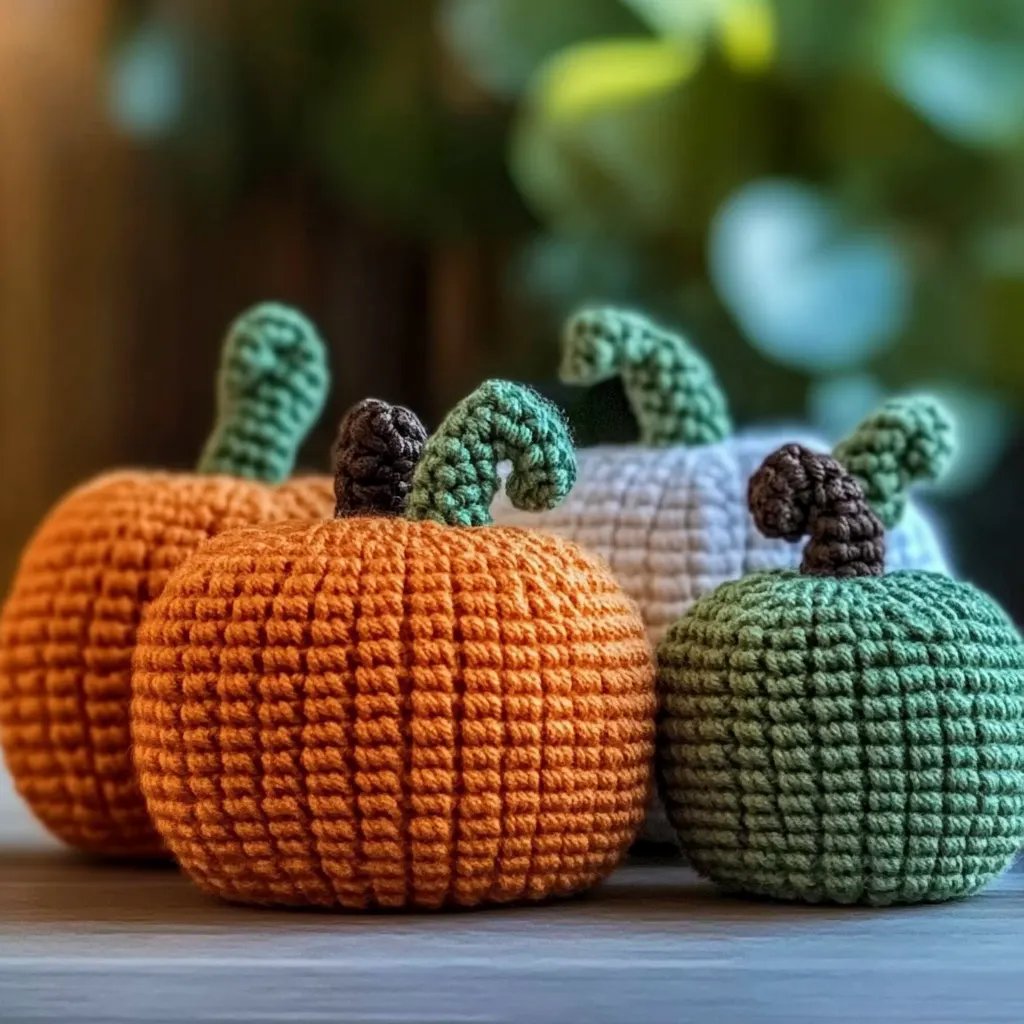
- Different Colors: Think outside the box! Try using white yarn for ghost pumpkins or dark purple for a more whimsical design.
- Addressing Size: Change your hook size or yarn thickness. A smaller hook paired with finer yarn can create mini pumpkins perfect for table settings.
- Texturing: Use a stitch pattern like the bobble stitch to create a textured, fun design.
Conclusion: Crafting Connections
I hope this detailed guide inspires you to dive into making your own crochet pumpkins. Trust me, there’s nothing quite as rewarding as completing a project and showcasing it in your home.
As I often remind my crafting friends, the key is to enjoy the process. Mistakes may happen, but they are simply part of the journey. So grab your yarn and hook, and let’s crochet our way into a cozy autumn! Happy crafting!