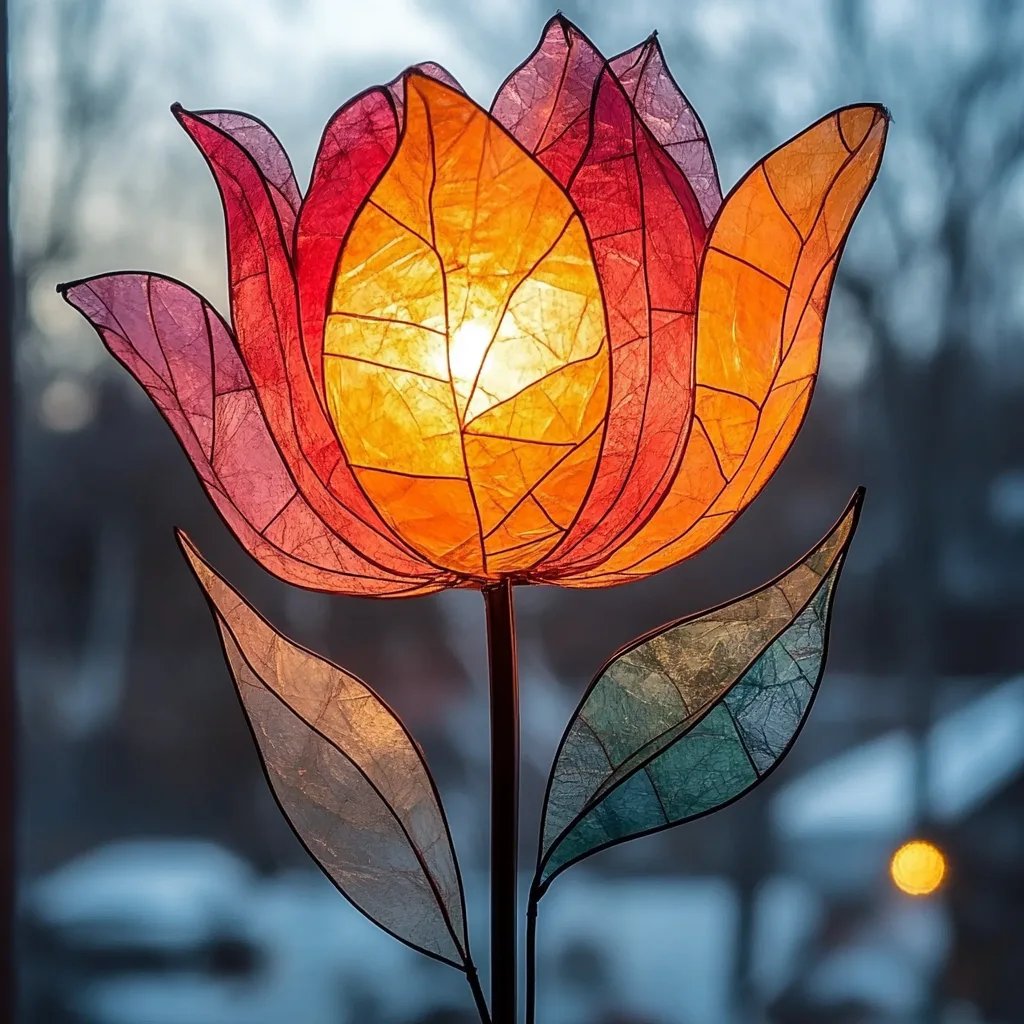
How to Make a Beautiful Tulip Suncatcher Craft: A Step-by-Step Guide
As a passionate crafter, I believe in the joy of bringing beauty into our lives through simple, creative projects. One of my recent favorites is the Tulip Suncatcher, a vibrant and delightful piece that not only brightens your space but serves as a wonderful reminder of spring. These suncatchers are especially popular for their cheerful aesthetic and the way they catch the sunlight, scattering delicate colors across your room. Plus, they make perfect gifts for loved ones or charming decorations for your windows during the blooming season.
Why a Tulip Suncatcher?
Tulips are synonymous with spring and renewal, making this craft a timely project that can brighten any room. Whether for your home, for a friend’s housewarming gift, or as an engaging activity for children, these suncatchers are the perfect combination of fun and beauty. They can also be used as decorations for spring holidays like Easter or as a whimsical touch for garden parties. The best part? The materials are simple and affordable, making this craft accessible for everyone from beginners to experienced crafters.
Materials You Will Need
Before we dive into the process, let's make sure you have everything you need. Here’s a comprehensive list of materials required for creating your very own Tulip Suncatcher:
- Clear Plastic Sheets (like overhead projectors or clear packaging)
- Permanent Markers (various colors; think bright and cheery)
- Black Permanent Marker (for outlining)
- Mod Podge or PVA Glue (for sealing and adherence)
- Paintbrush (for applying glue)
- Hanging Cord (suitable for hanging your suncatcher)
- Scissors
- Hole Puncher (optional)
- Pencil and Eraser (for sketching)
Step-by-Step Tutorial
Step 1: Sketching Your Tulips
Begin by sketching your tulip design on the clear plastic sheet with a pencil. Don’t worry about perfection; the beauty of crafting lies in its imperfections! Consider drawing multiple tulips in varying sizes or orientations to add dimension.
Tip: If you’re unsure of your drawing skills, you can print tulip templates from online resources and trace them onto the plastic.
Step 2: Outlining the Design
Once you’re happy with your sketch, use the black permanent marker to outline your tulips. This outlines will define your design and help the colors stand out once we fill them in.
Keep in Mind: Allow the marker time to dry completely to avoid smudging. It can be frustrating if you accidentally smudge your outline, so take this step seriously!
Step 3: Coloring Your Tulips
Now comes the fun part! Grab your colored permanent markers and fill in the tulips with vibrant hues. You can play with shades of red, pink, yellow, or even purple to create a diverse and lively garden effect.
Personal Anecdote: My daughter loves to mix colors! Sometimes she combines yellow and orange to create a sunny tulip. Don’t be afraid to experiment—crafting is all about personal expression!
Step 4: Applying Mod Podge
After your coloring is complete, it’s time to seal in your masterpiece! Using a paintbrush, apply a layer of Mod Podge over your colored tulips. This step is crucial because it not only protects your artwork but adds a glossy finish that enhances color vibrancy.
Tip: Apply thin layers and allow each to dry before adding more. Too thick of a coat might lead to bubbling or streaking once it dries.
Step 5: Cutting Out Your Suncatcher
Once everything is dry, carefully cut around your tulips. You can choose to keep the shapes as is, or create a design with a border, depending on your aesthetic preference.
Warning: Cut slowly and be cautious with your scissors, especially if you're crafting with children. Always supervise young crafters during this step to prevent accidents.
Step 6: Creating a Hanging Mechanism
To hang your suncatcher, you’ll need to punch a hole (or two) at the top of your piece. If you plan to display your suncatcher outdoors, consider using a grommet for added durability.
Alternative Method: Instead of a hole, you can use clear fishing line to tie your suncatcher like a mobile!
Step 7: Finding the Perfect Spot
Hang your Tulip Suncatcher in a sunny window to see it come to life! The way sunlight interacts with the colors can create a stunning display on your walls—an absolute delight during sunny days!
Troubleshooting Common Issues
- If your colors bleed: Ensure that the permanent markers you use are truly permanent. Non-permanent markers may not behave well with Mod Podge.
- If the suncatcher is dull: A second coat of Mod Podge might be just what you need! As mentioned, apply it lightly and allow it to dry thoroughly.
- If the suncatcher curls: This can happen with thinner plastic. Try using slightly thicker plastic or reinforcing the edges with tape.
Creative Variations
After mastering the classic Tulip Suncatcher, consider exploring other floral designs—daisies, sunflowers, or even abstract shapes! You can experiment with different color schemes or layering multiple pieces to create a stained glass effect. Add glitter or other embellishments to enhance your creations.
Final Thoughts
Crafting is not just about the final product; it’s the experiences and joy we glean from the process. As I guide you through making a Tulip Suncatcher, I encourage you to make it your own. Invite friends or family to join, share laughs, and create beautiful memories.
Remember, every crafty mishap is just a stepping stone to honing your skills. Embrace creativity, and let your Tulip Suncatcher not only serve as a decoration but as a testament to your craft journey. Happy crafting!