How to Make a Beautiful CD Suncatcher: A Step-by-Step Guide
Hello fellow crafters! As someone who has spent countless hours bringing creative ideas to life, I'm thrilled to share one of my favorite projects with you: making a CD suncatcher. This whimsical craft is perfect for brightening up your home, hanging in your garden, or even gifting to friends. With its vibrant colors reflecting sunlight and transforming any space into a cheerful vista, it's no wonder that CD suncatchers have become popular in DIY circles.
Why Make a CD Suncatcher?
The beauty of a CD suncatcher lies not only in its aesthetic appeal but also in its simplicity and eco-friendliness. With just a few easy-to-find materials, you can breathe new life into old CDs that may have otherwise ended up in the trash. So why do we love making CD suncatchers? Here are a few reasons:
- Eco-Friendly: Recycling old CDs gives them a second chance and reduces waste.
- Customizable: You can use any colors or patterns that speak to you, making each suncatcher unique.
- Versatile: These suncatchers can adorn windows, gardens, or even be used as decorative pieces in a child’s room.
- Fun for All Ages: This craft is perfect for kids and adults alike, making it a great family bonding project.
Getting Started: Materials You'll Need
Before we dive into the tutorial, gather these materials:
- Old CDs or DVDs (preferably ones you no longer need)
- Clear varnish or Mod Podge (to seal)
- Acrylic paints (in various colors)
- Paintbrushes (preferably one flat and one fine-tipped)
- String or fishing line (for hanging)
- Scissors
- Hole punch (optional for various designs)
- Craft glue (for embellishments)
- Decorative embellishments (like sequins, beads, or glitter)
- Newspaper or an old plastic sheet (to protect your work surface)
Step-by-Step Tutorial to Create Your CD Suncatcher
Step 1: Prepare Your Workspace
Start by preparing your crafting area. Lay down newspaper or an old plastic sheet to protect your surface from paint spills. As with any crafting project, organization is key! Gather all the materials within reach so you can focus on the fun.
Step 2: Paint the CDs
Take your old CDs and decide on a color scheme. I usually go for bold colors for a striking impact. Using the flat paintbrush, apply acrylic paint to the shiny side of the CD. The beauty of acrylic paint is its quick drying time and vibrant finish.
Tip: Make sure to paint in thin layers to prevent drips. Let each layer dry before applying another. This step is crucial because thick paint layers tend to crack when dry.
Potential Issue: If you accidentally get drips, simply use your fine-tipped brush to correct them while the paint is still wet. If it’s already dry, sand it lightly and apply a thin layer of paint to even it out.
Step 3: Add Depth with More Colors
Once the base color is dry, you can add additional colors for depth. Swirl or sponge on different shades for a marbled effect or create fun patterns using tape as a stencil. Remember: there’s no right or wrong way, so let your creativity flow!
An Anecdote: I once created a CD suncatcher that looked like a beautiful sunset, using reds and oranges that blended together. It turned out to be a favorite for friends and family!
Step 4: Sealing the Paint
After you're satisfied with your painted masterpiece, it’s time to seal it. Apply a layer of clear varnish or Mod Podge on top. This not only protects the paint but also adds a lovely shine.
Safety Warning: Ensure that you're working in a well-ventilated space, especially when using varnish.
Step 5: Add Embellishments (Optional)
This is where the fun really begins! If you have sequins, beads, or other embellishments, now’s the time to apply them. Use craft glue to attach them in whimsical patterns. This step can make your suncatcher uniquely you.
Tip: Don’t overdo the embellishments; sometimes, less is more. Make sure they won’t cover too much of your painted surface.
Step 6: Prepare for Hanging
Use a hole punch to create a hole near the top of the CD. If you don’t have a hole punch, you can carefully use scissors to make a small cut. Thread your string or fishing line through the hole and tie a secure knot.
Potential Issue: If your hole is too close to the edge and the CD breaks, don’t be disheartened! Consider using a decorative frame or backing, or start with a new CD.
Step 7: Hang Your Creation
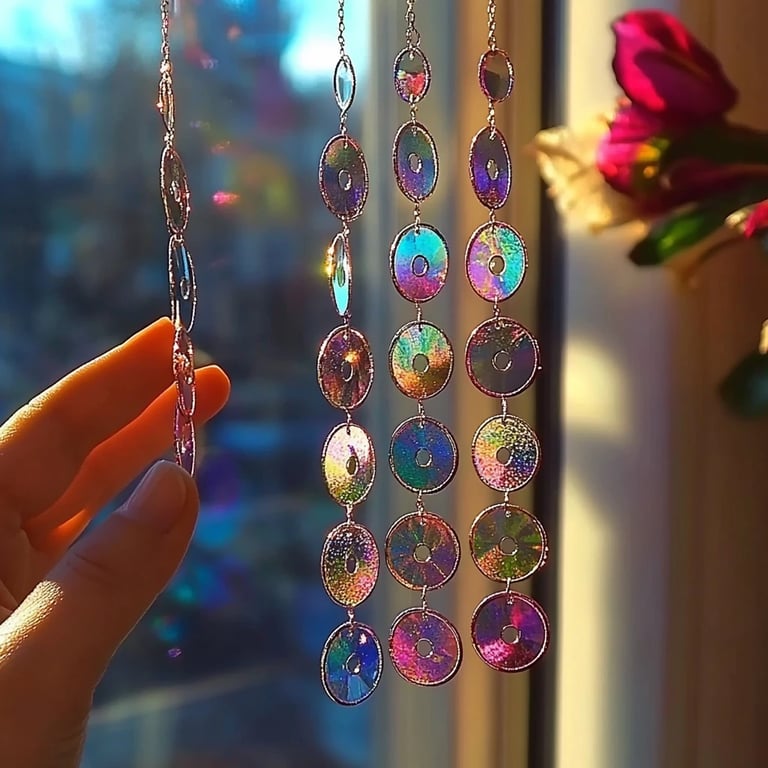
Now comes the exciting part! Choose a spot where it will catch the sunlight—perhaps by a window or outside in your garden. When sunlight hits your suncatcher, you’ll see beautiful rainbows dancing around.
Alternatives and Creative Variations
If you’re looking to switch things up, consider these alternatives:
- Different Shapes: Instead of CDs, you could use clear plastic lids or cut out shapes from colored acetates for a totally different look.
- Themed Designs: Create seasonal suncatchers—pastel colors for spring, warm hues for fall, or festive designs for the holidays.
- Layering: Create multiple layers of different-sized CDs for a stunning three-dimensional look.
Final Thoughts
Crafting is such a wonderful way to express creativity, and making a CD suncatcher is a perfect entry point for beginners. The key takeaway is to enjoy the process, learn from your mistakes, and embrace the joy of creating something beautiful.
Remember, the beauty is in the imperfections. These suncatchers are not just art; they tell your story. I hope this guide encourages you to gather your supplies and get crafting! If you have any questions or need further advice, feel free to reach out. Happy crafting!