How to Make a Balloon Science Experiment: A Fun and Educational DIY
Have you ever been curious about the science behind balloons? As a long-time crafter and DIY enthusiast, I can tell you that a balloon science experiment is not just a fun activity; it also serves as a brilliant educational tool. Whether you’re a teacher looking for engaging lesson plans, a parent searching for activities to do with your kids, or just someone looking to satisfy your inner scientist, this experiment will captivate you. You can perform it during birthday parties, science fairs, family gatherings, or even just a rainy afternoon at home.
In this article, I'll guide you through the steps to create your own balloon science experiment. We’ll explore the wonders of chemical reactions in an accessible and enjoyable way. So, grab your materials, and let’s dive into the whimsical world of balloon science!
Why Balloon Science Experiments Are Popular
Balloons are universally loved, and they combine joy with science in a magical way. This particular experiment showcases the principles of chemical reactions, making it a captivating learning experience. Kids (and adults) are amazed when a simple mix can launch a balloon into the air or inflate it without the need for breath. Plus, it serves as a fantastic way to introduce fundamental concepts such as gas production, reactions, and basic physics.
Materials You’ll Need
Before we jump into the step-by-step process, let’s gather everything you’ll need. Here’s a list of accessible materials for our balloon science experiment:
- Balloons (regular party balloons work great)
- Baking soda (1-2 tablespoons)
- Vinegar (around 1 cup)
- A plastic bottle (empty soda or water bottle is ideal)
- Funnel (to make pouring easier)
- A piece of tissue or paper towel (optional, but helpful for clean-up)
- Safety goggles (for protection)
Step-by-Step Guide to the Balloon Science Experiment
Step 1: Prepare Your Materials
In the spirit of organization and safety, start by gathering all your materials on a clean work surface. It’s essential to set up your project in a well-ventilated area, as the experiment might get a bit messy (in a fun way)!
*Tip:* Always wear safety goggles when working with vinegar and baking soda, as a precaution against splashes.
Step 2: Prepare the Balloon
Using your funnel, carefully add 1-2 tablespoons of baking soda into the balloon. Make sure the balloon is empty before you start this process to avoid spills. If you don’t have a funnel, creating a paper cone can work too—just make sure to secure the paper carefully.
*What Could Go Wrong?:* If you overfill the balloon, it might pop during the reaction. Starting with smaller amounts gives you better control and reduces the risk of mess.
Step 3: Prepare the Bottle
Pour about 1 cup of vinegar into your plastic bottle. This is where the magic happens! The vinegar and baking soda will react to create carbon dioxide gas, which will inflate the balloon (or, if you’re lucky, send it flying).
*Alternative Method:* If you don't want to use a bottle, you can also do this on a plate. Just be prepared for a bigger mess!
Step 4: Combine and Observe
Here comes the exciting part! Carefully stretch the neck of the balloon over the mouth of the bottle, making sure not to spill any baking soda into the vinegar yet. Once the balloon is securely attached, lift it and let the baking soda fall into the vinegar.
*What to Expect:* You should see the balloon begin to inflate almost immediately! The reaction between vinegar (an acid) and baking soda (a base) creates carbon dioxide gas, which fills your balloon.
*What Could Go Wrong?:* If you notice nothing is happening, there might be a leak in the balloon or the mixture may not be fresh. Check for holes or make sure your baking soda and vinegar aren’t too old.
Step 5: Watch the Reaction
Stand back and watch the magic unfold! You’ll see bubbles form in the bottle as the chemical reaction occurs. Take a moment to marvel at the science; this is chemistry in action!
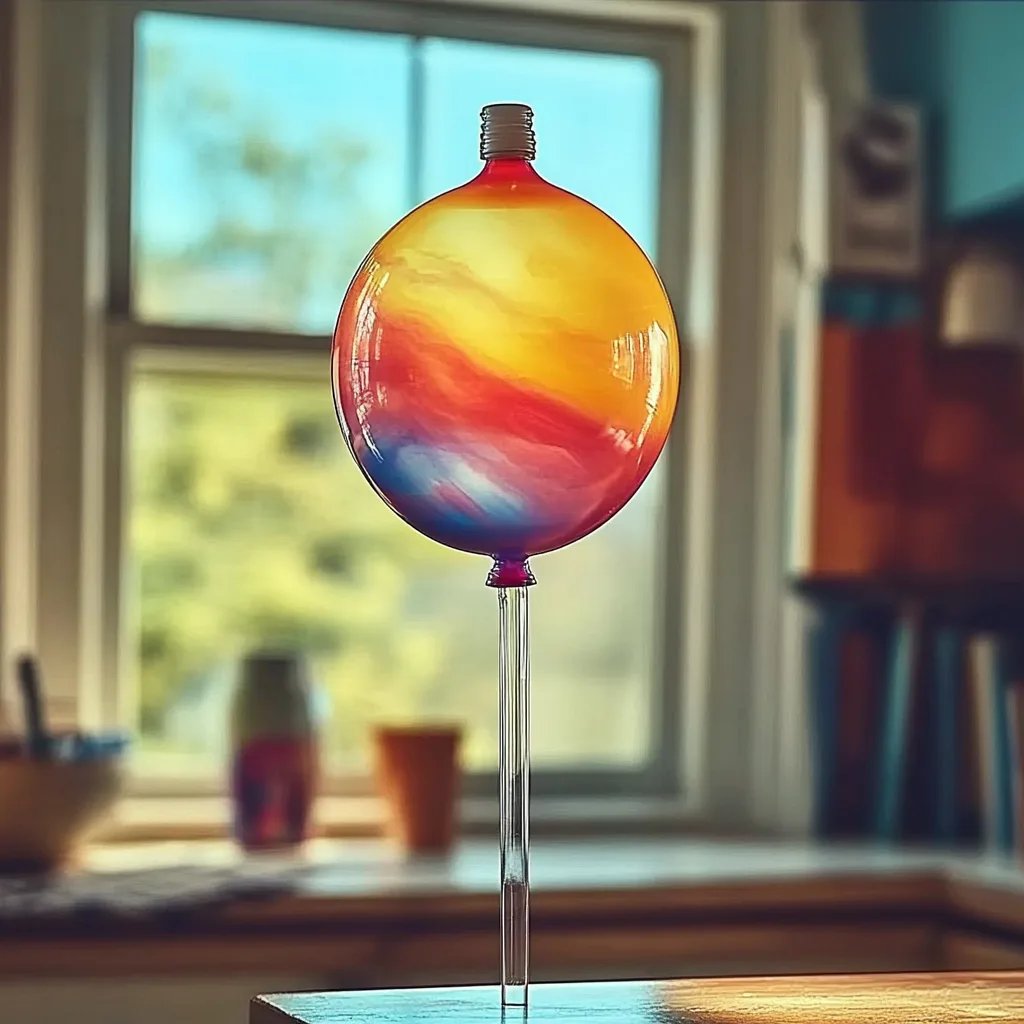
*Creative Variation:* If you want to make it colorful, try adding a few drops of food coloring to the vinegar before you combine it with baking soda!
Step 6: Discuss the Science
As the balloon inflates, engage in a discussion with your participants. What do you think is happening? Talk about how acids and bases react to produce carbon dioxide gas, a fundamental concept in chemistry.
Step 7: Clean Up
Once the experiment is complete, carefully detach the balloon from the bottle and dispose of the content properly. Remember that baking soda and vinegar are eco-friendly, so they can be safely washed down the sink.
*Pro Tip:* Keep some paper towels handy for any spills or splashes. It’s always better to be prepared!
Additional Tips and Insights
- Safety First: Always use safety goggles and do this in an area that can be easily cleaned.
- Experiment with Quantities: Change the amounts of vinegar or baking soda to see how it affects the strength of the reaction and the balloon's size.
- Try Different Liquids: Instead of vinegar, experiment with other liquids (like lemon juice) to see how varying acidity affects the reaction.
- Incorporate Math: For older kids or students, add a math element by measuring and comparing the volumes of gas produced.
- Document Findings: Encourage participants to write down their observations, which can enhance learning and retention.
Conclusion
There you have it! A simple yet fascinating balloon science experiment that will elevate your crafting and educational endeavors. This project not only teaches about chemical reactions but also sparks curiosity and excitement about science in a playful way.
I hope you feel encouraged and ready to dive into this experiment. Whether you're doing it solo, with kids, or with friends, it can provide hours of fun and learning. Keep experimenting, stay curious, and embrace the joy of discovery!