How to Make 4th of July Gumdrops: A Festive Delight for Your Celebration
Ah, the 4th of July! A day filled with barbecues, fireworks, and some of the most cherished traditions in American culture. Among the myriad of ways to celebrate, I’ve found that creating colorful, homemade gumdrops can add that special sparkle to any gathering. These delightful chewy treats are as fun to make as they are to eat, and they embody the spirit of the holiday with their vivid red, white, and blue hues. Join me as I guide you through the process of crafting these delicious confections from scratch, complete with tips and tricks to ensure your gumdrops turn out perfectly.
What Are 4th of July Gumdrops?
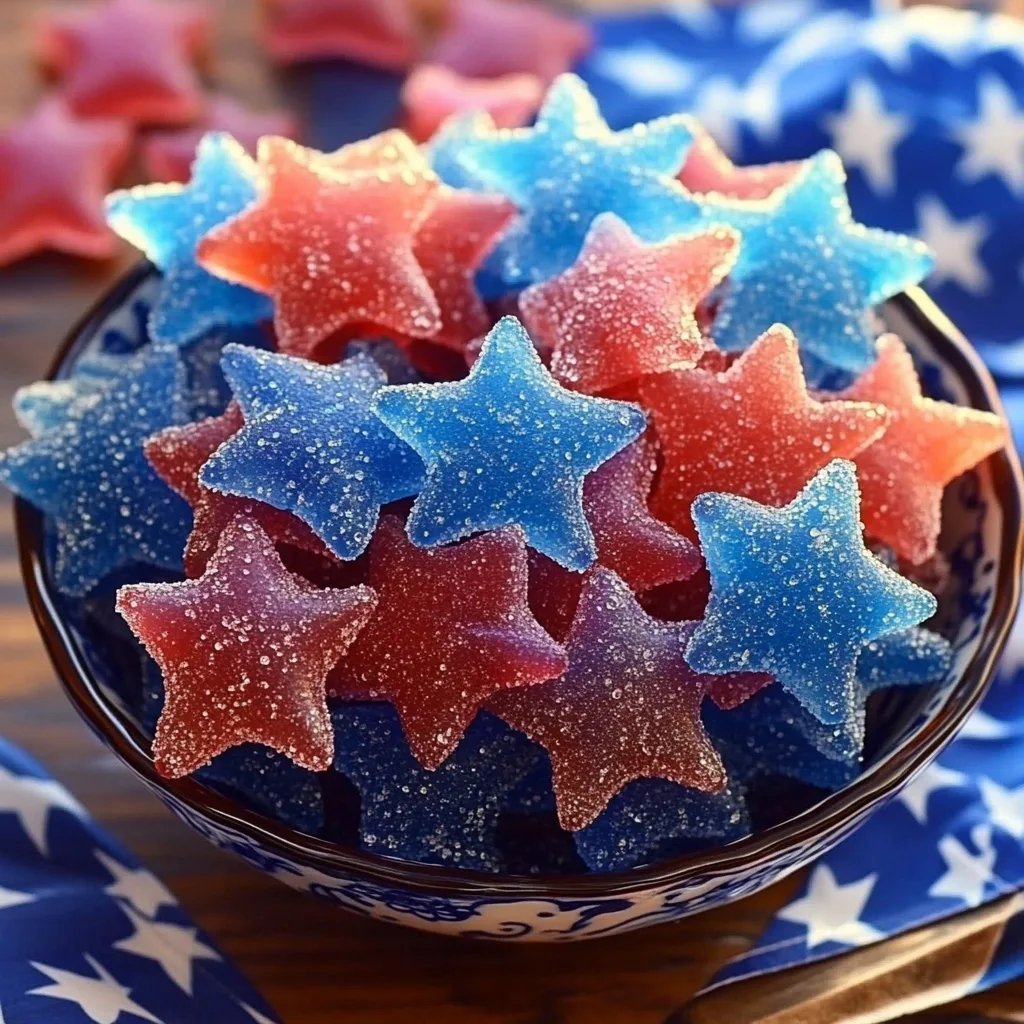
Gumdrops are small, chewy candies that are usually coated with sugar and flavored with various fruit essences. For the 4th of July, I like to create a version that’s not only delicious but also visually stunning—think vibrant red cherry and blue raspberry flavors, with a snowy white coating that evokes the American flag. These candies can be enjoyed as a festive snack, used as decorative elements in desserts, or even gifted in pretty jars to friends and family.
When to Make 4th of July Gumdrops
I recommend making these gumdrops a day or two before your celebration. They require some drying time, which builds their texture and intensifies the flavors. Plus, making them ahead allows you to focus on other preparations as the holiday approaches. Your guests will love the personal touch of homemade treats, and they’re great for sharing—just make sure to save a few for yourself!
Ingredients You'll Need
Before we dive into the step-by-step tutorial, here's a list of the ingredients you’ll need:
Essential Ingredients
- 2 cups granulated sugar: This provides sweetness and helps with the texture.
- 1 cup water: For dissolving the sugar and creating the syrup.
- 3/4 cup corn syrup: This helps prevent crystallization and gives the gumdrops a chewy texture.
- 2 envelopes (about 4 tablespoons) unflavored gelatin: This is the key ingredient that gives gumdrops their unique texture.
- Flavoring oils or extracts: Natural extracts like cherry, blue raspberry, or lemon will provide the distinct flavors.
- Food coloring: Red and blue food coloring—go for gel types for vibrancy.
- 1 cup granulated sugar for coating: This adds a delightful sweetness and keeps the gumdrops from sticking to each other.
Optional Ingredients
- Citric acid: For a sour kick.
- Corn starch: To dust the trays and prevent sticking if you choose not to use a sugar coating.
Tools You’ll Need
- Medium saucepan
- Whisk
- Measuring cups and spoons
- Candy thermometer (optional, but helpful)
- 9×9-inch square baking pan
- Parchment paper or cling wrap
- Cutting board
- Chef’s knife or pizza cutter
- Airtight container for storing
Step-by-Step Tutorial
Step 1: Prepare Your Workspace
Before you start, ensure your workspace is clean, and you have all your ingredients ready. Measure out your ingredients, as candy-making requires precision. Line your baking pan with parchment paper or cling wrap for easy removal later, and lightly dust it with cornstarch to prevent sticking.
Step 2: Create the Base
In a medium saucepan, combine the 2 cups of granulated sugar, 1 cup of water, and 3/4 cup of corn syrup. Stir over medium heat until the sugar is fully dissolved. This step is crucial—if you don't dissolve the sugar completely, you risk crystallization later on.
Tip: Use a candy thermometer if available. You want your syrup to reach 240°F (soft ball stage). This temperature gives the right texture to the gumdrops.
Step 3: Add Gelatin
While the sugar mixture heats, prepare your gelatin. In a separate bowl, mix the two envelopes of unflavored gelatin into 1 cup of cold water and let it bloom for about 5 minutes. This step is vital, as blooming the gelatin ensures consistent distribution in the mixture.
Step 4: Combine and Flavor
Once your sugar mixture has reached the desired temperature, remove it from heat. Incorporate the bloomed gelatin, stirring continuously until it fully dissolves. This creates a smooth and cohesive mixture.
Now comes the fun part! Divide the mixture into three bowls: one for red, one for blue, and leave one untouched for the white (you can add a bit of citric acid to this one if you want a slight tang).
Add red food coloring and cherry flavoring to one bowl, blue food coloring, and blue raspberry flavoring to the second, and keep the last one white and plain or add a touch of lemon extract for zest.
Step 5: Pour and Set
Pour each flavored mixture into your prepared baking pan. Gently spread the mixtures to ensure an even layer. Use a spatula if necessary. Let the mixtures sit at room temperature for about 6-8 hours, or ideally overnight, to fully set.
Step 6: Cutting the Gumdrops
Once set, it’s time for the fun part—cutting! Use a sharp knife or pizza cutter to cut the gumdrops into small squares or any desired shape.
Tip: Run your knife under warm water periodically to ensure clean cuts.
Step 7: Coat the Gumdrops
In a shallow bowl, pour out the remaining sugar. Roll each gumdrop in sugar to coat them fully. This not only adds sweetness but also gives them that signature gumdrop finish while preventing them from sticking together.
Step 8: Storage
Place the coated gumdrops in an airtight container lined with parchment paper. Store them at room temperature for up to two weeks, though they rarely last that long in my house!
Troubleshooting Common Mistakes
- Gumdrops too sticky? This can happen if they didn't set long enough or if the sugar syrup didn't reach the proper temperature. Make sure to allow enough time to dry and check your thermometer for accuracy.
- Crystallization? If your sugar crystallizes, dissolving it back can be tricky. Next time, ensure all sugar is dissolved in the heating stage, or consider adding a tiny drop of vinegar to your sugar-water mix to help prevent this.
- Color not vibrant? If your colors aren't vivid, invest in gel food coloring—liquid colors tend to dilute the mixture.
Creative Variations
Feel free to play with flavors and colors! Consider these variations:
- Tropical Twist: Use coconut and pineapple flavorings with yellow coloring.
- Spicy Cinnamon: Add cinnamon flavoring for a unique twist on the traditional gumdrop.
- Layered Gumdrops: Pour each layer one after another for a beautiful layered effect.
Conclusion
Making homemade 4th of July gumdrops isn’t just about the end product; it’s about the joy of crafting, celebrating creativity, and indulging in a tasty treat that you can proudly share with loved ones. Experiment with colors, flavors, and shapes, and don’t be afraid to make it your own!
I hope this guide inspires you to dive into the delightful world of candy-making. With a little patience and creativity, you’ll have a beautiful batch of gumdrops to enjoy during your celebration—or any time you need a little sweetness in your life! Happy crafting and happy 4th of July!