How to Make 4th of July Glow-in-the-Dark Candy Apples: A Sweet Celebration!
Ah, the 4th of July! A time to celebrate our nation's independence with fireworks, barbecues, and festive decorations. One of my favorite ways to mark this day is by creating delightful snacks that not only taste great but also add a unique twist to any gathering. This year, I’m excited to share my recipe for Glow-in-the-Dark Candy Apples — a whimsical treat that combines nostalgia with a dash of creativity. The best part? They're not just a delight for your taste buds; they also light up the night with a fun glow!
Why Glow-in-the-Dark Candy Apples?
These eye-catching candy apples are perfect for outdoor celebrations and late-night festivities. They’re fun, visually striking, and impress not only children but adults alike. Plus, the glowing effect adds an enchanting touch to your dessert table, making your 4th of July gathering one to remember.
Overview of Glow-in-the-Dark Candy Apples
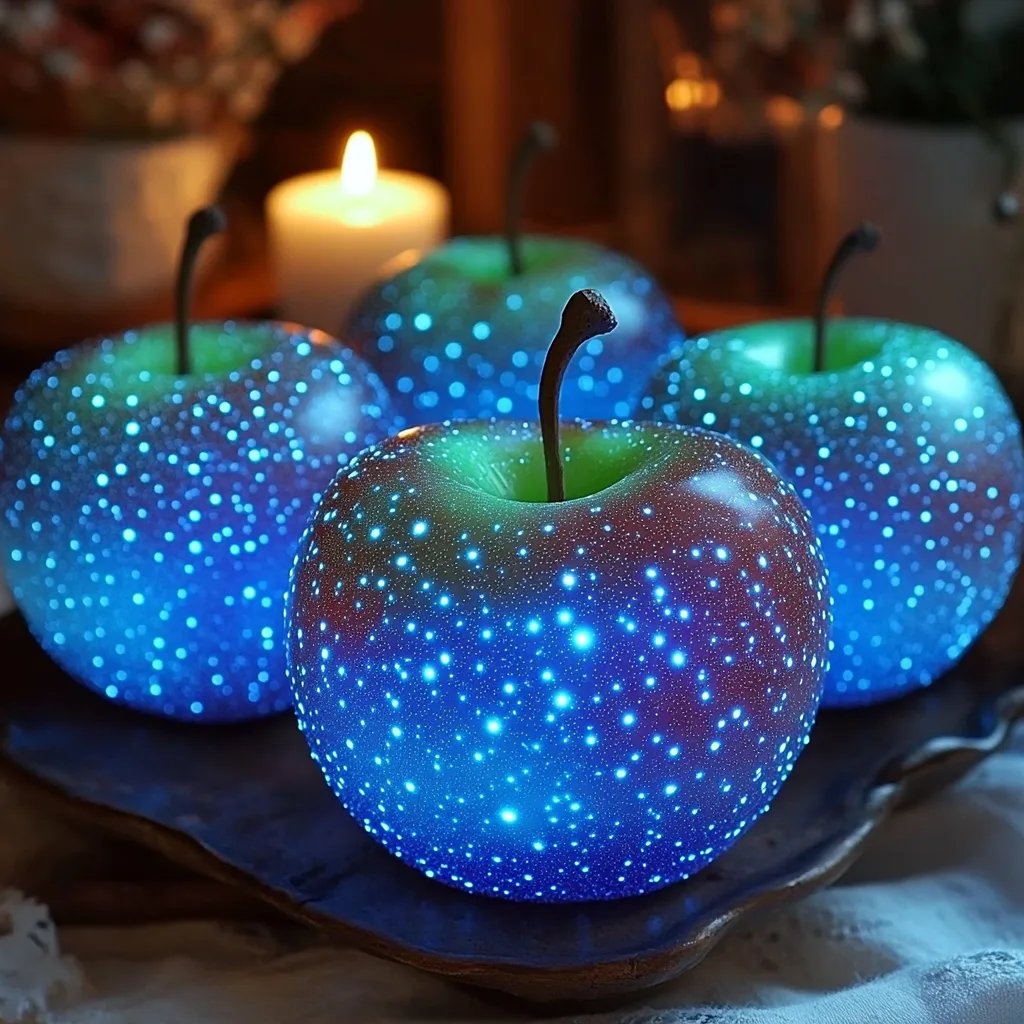
You'll be making crisp, juicy apples covered in a sweet, glossy candy coating that glows in the dark thanks to tonic water (the secret ingredient!). While they may sound complicated, I promise they’re manageable even for novice crafters. Let’s dive into the fun of creating these yummy treats!
Materials Needed
- Fresh apples (Granny Smith apples work well for their tartness, but you can use your favorite variety)
- Wooden sticks or skewers (to serve as handles)
- 2 cups granulated sugar
- 1/2 cup light corn syrup
- 1/2 cup tonic water (not diet — the quinine is what makes it glow!)
- 1/4 teaspoon red food coloring (optional, for a festive touch)
- 1/4 teaspoon blue food coloring (optional, for that red, white, and blue vibe)
- Parchment paper (to cool the apples)
- A pot for heating the candy mixture
- Candy thermometer
- A whisk or wooden spoon
- Pouring jug or cup (for easy pouring)
- Small bowl of ice water (for testing the candy)
Step-by-Step Tutorial: Let's Get Crafting!
Step 1: Prepare Your Apples
To start, wash your apples thoroughly to remove any wax coating. Pat them dry with a clean towel. Work with room-temperature apples to help the candy coating stick better. Insert a wooden stick into the top of each apple, pushing it in about halfway.
Why This Step Matters: Clean, dry apples ensure that the candy coating adheres well without slipping off.
Tip: If the sticks seem wobbly, get a thicker stick or securely tie the apple with some twine around the stick for additional stability.
Step 2: Assemble Your Candy Mixture
In a medium pot, combine 2 cups of granulated sugar, 1/2 cup of light corn syrup, and 1/2 cup of tonic water. Stir gently over medium heat until the mixture begins to dissolve.
Important: As the mixture heats, avoid stirring vigorously. This can create unwanted sugar crystals, which ruin the smooth candy surface.
Step 3: Heat the Mixture to the Right Temperature
Insert a candy thermometer into the pot. Heat the mixture until it reaches 300°F (hard crack stage). This temperature is crucial for achieving that perfect candy shell.
Troubleshooting Tip: If you don’t have a candy thermometer, you can test the candy by dropping a small amount into your bowl of ice water. If it forms hard, brittle threads, you're ready for the next step!
Step 4: Add Color and Glow
Once you reach the hard crack stage, carefully remove the pot from heat. Stir in your red and blue food coloring, adjusting the amounts to achieve your desired vibrant color.
Safety Warning: The mixture will be extremely hot. Handle it with care, and avoid touching it to prevent burns.
Step 5: Dip the Apples
Now comes the fun part! Holding an apple by its stick, dip it into the candy mixture until fully coated. Let the excess drip off before placing it on a sheet of parchment paper.
Common Mistake: If the candy doesn’t coat evenly or starts sliding off the apple, the apple may still be too cold. Try warming it up slightly with warm water (patting it dry afterward) before dipping again.
Step 6: Allow the Apples to Cool
Let the candy-coated apples sit at room temperature on the parchment paper until completely cooled and hardened. This usually takes about 30 minutes.
Creative Variation: You can sprinkle edible glitter or star-shaped sprinkles on top of the candy before it hardens for an extra festive touch!
Step 7: Make Them Glow!
After the apples harden, take them outside as the sun starts to set or inside a dark room. Turn off all the lights, and marvel as they glow under the UV light emitted by the tonic water!
Personal Anecdotes: Making Memories
One of my favorite memories is making these glow-in-the-dark candy apples with my niece. As her giggles filled the kitchen and we accidentally spilled sugar everywhere, we created not just delicious treats, but also cherished moments. Crafting is always about the journey, so don't stress if things don’t turn out perfectly!
Tips for Success
- Use Fresh Ingredients: Fresh apples and new sugar will yield the best results.
- Stay Focused: Candy making requires your full attention to avoid temperature mishaps.
- Get Creative: Consider adding a glaze of melted chocolate or sprinkling nuts on top for added texture and flavor.
Final Thoughts
Glowing candy apples are a fantastic way to celebrate the 4th of July with a unique twist. They bring joy, creativity, and a touch of whimsy to your celebration. Trust me—once you try them, they will become a staple for Independence Day festivities! Happy crafting, and may your celebrations be as bright as your glowing apples!