How to Create Your Own Monster Jar Eruption: A Step-by-Step Guide
Hello, fellow crafters! Today, I’m excited to share with you a fun, interactive project that will spark joy and ignite imaginations—Monster Jar Eruption. This vibrant, mesmerizing creation resembles a mini-volcano, captivating both kids and adults alike. Whether you’re preparing for a birthday party, looking for an engaging summer activity, or simply want to add a splash of creativity to your day-to-day life, the Monster Jar Eruption is the perfect solution.
What is Monster Jar Eruption?
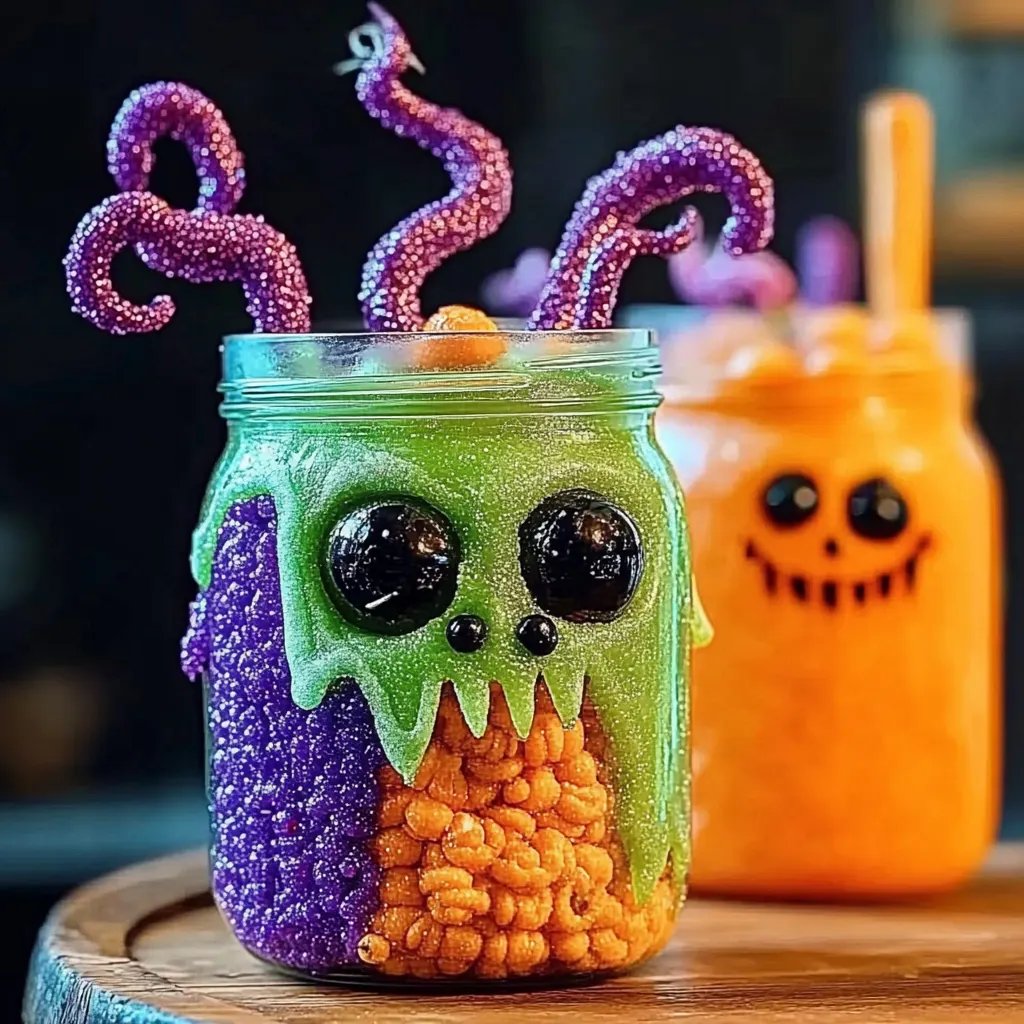
Monster Jar Eruption is a playful, DIY sensory experience that combines simple ingredients to create an eye-popping eruption in a jar. It typically resembles a colorful explosion, making it perfect for science-themed parties or as a fun interactive learning experience! The popularity of this craft lies in its visual appeal and the excitement it generates. Plus, it’s a fantastic way to teach kids about chemical reactions in a hands-on manner.
When and How Can You Use It?
The beauty of Monster Jar Eruption is its versatility. You can create it for:
- Birthday Parties: Surprise guests with a mystical eruption while telling fun stories about monsters!
- Educational Experiences: Perfect for science experiments at home or school to illustrate chemical reactions and safe science.
- Rainy Day Activities: Keep kids entertained indoors with this colorful activity.
- Seasonal Celebrations: Whether it's Halloween or just a bright, sunny day, it's always a good time for a little eruption.
Now that you’re as excited about Monster Jar Eruption as I am, let’s dive into the fun part – crafting it yourself!
What You’ll Need
Let’s gather our supplies. This project is simple and utilizes materials you might already have at home:
- A Clear Jar or Container: A mason jar, glass, or plastic container will do. The clearer, the better for observing the eruption.
- Baking Soda: This is the key ingredient that causes the eruption.
- Vinegar: Another critical component to trigger the eruption.
- Food Coloring: Choose your favorite colors to create a vibrant eruption. Red and blue work wonderfully together!
- Dish Soap: This helps to create foam during the eruption.
- Optional Add-Ins: Glitter or small toys like plastic monsters or bugs to enhance the visual appeal.
Step-by-Step Tutorial
Step 1: Gather Your Materials
Before we start creating our Monster Jar Eruption, ensure all your materials are close by. This makes the process smooth and efficient. I cannot emphasize enough how important it is to have everything within reach! It’s like being in a cooking show—no one wants to run around hunting for ingredients while their recipe is bubbling away!
Step 2: Prepare the Base
Begin by placing your clear jar onto a protective surface, like a tray or old newspaper. This is crucial as your Monster Jar Eruption can get messy (think of it as an edible science project!).
Next, pour hot water into the jar until it’s filled halfway. This helps to dissolve the baking soda more efficiently, producing a better eruption later. Keep it hot but manageable—be cautious of spills!
Step 3: Add the Baking Soda
Adding about 2 tablespoons of baking soda to the hot water is our next step. Stir gently to ensure it's fully dissolved. This is a critical step; if it doesn’t dissolve entirely, your eruption won’t be as explosive. I've had past experiences where clumps of baking soda ruin the fun. If this happens, just add a bit more hot water and stir!
Step 4: Incorporate the Dish Soap
Now, let's add a squirt of dish soap. This not only creates a beautiful foamy effect but also enhances the overall eruption. Whisk it gently into the mixture until it’s well blended.
Step 5: Add Food Coloring
This is where you can let your creativity shine! Add a few drops of food coloring to the mixture. Swirl it lightly, but don't overmix; we want those vibrant colors to create a marbled effect as it erupts. Feel free to mix shades—red and blue create a purple eruption, so don’t be shy!
Step 6: Prepare for the Eruption
Once everything is set, it’s time for the big moment! Gather your vinegar in a separate container. You’ll want to do this step quickly but carefully.
Step 7: The Eruption!
Pour the vinegar into the jar. Stand back, and watch as your Monster Jar erupts in a glorious foam explosion! Children (and adults!) will be delighted to see this colorful mix bubbling over.
Note: If by chance the eruption is less intense than expected, don’t worry! Sometimes, using cold water can inhibit the reaction; in that case, switch to hot water for your next attempt.
Tips for Success
- Experiment with Ratios: If you’d like a more subtle trickle instead of a large spray, experiment with the amount of baking soda and vinegar.
- Safety First: While vinegar and baking soda are non-toxic and safe, supervise young children at all times.
- Storing Leftovers: If you have excess mixtures, such as the leftover vinegar solution, it can be stored in an airtight container for a few days, but always start fresh to achieve that explosive effect.
- Adjust for Color: Experiment with different colors and layers. Remember, the more colors you add, the more vibrant it gets!
Creative Variations
I’ve found that variations of this project can be equally exciting. Here are a few ideas:
- Monster Add-Ins: Instead of just a foam eruption, add in some plastic monster toys to swim in the molten colors. Kids love discovering their little monsters amidst the eruptions.
- Glow-in-the-Dark Versions: Mix glow-in-the-dark paint with water for a magical nighttime eruption!
- Scented Options: Try adding scented oils to the mixture for a multi-sensory experience. It’s amazing how a simple smell can enhance the theme!
Final Thoughts
Crafting your own Monster Jar Eruption is not just an engaging activity—it's a wonderful way to spark curiosity in young minds about science and creativity. It’s empowering to teach children through experimenting and experiencing firsthand the magical reactions created with household items.
The best part? It's an ongoing learning experience. Feel free to tweak the materials based on what you have at home or what sounds most exciting! I’d love to hear about your experiences or any innovative variations you come up with. Happy crafting, and may your Monster Jar Eruptions be as fantastically colorful as your imagination allows!