How to Create Your Own DIY Terrarium: A Step-by-Step Guide
As a seasoned crafter, there’s something incredibly satisfying about creating your own little oasis in the form of a terrarium. Over the years, I’ve turned my small living space into a botanical wonderland filled with lush greens, colorful textures, and striking designs—all within mini-environments that are terrariums. In this guide, I’m excited to share my extensive knowledge and experience with you, helping you to craft your very own DIY terrarium that you can display proudly in your home or gift to a friend.
What is a Terrarium?
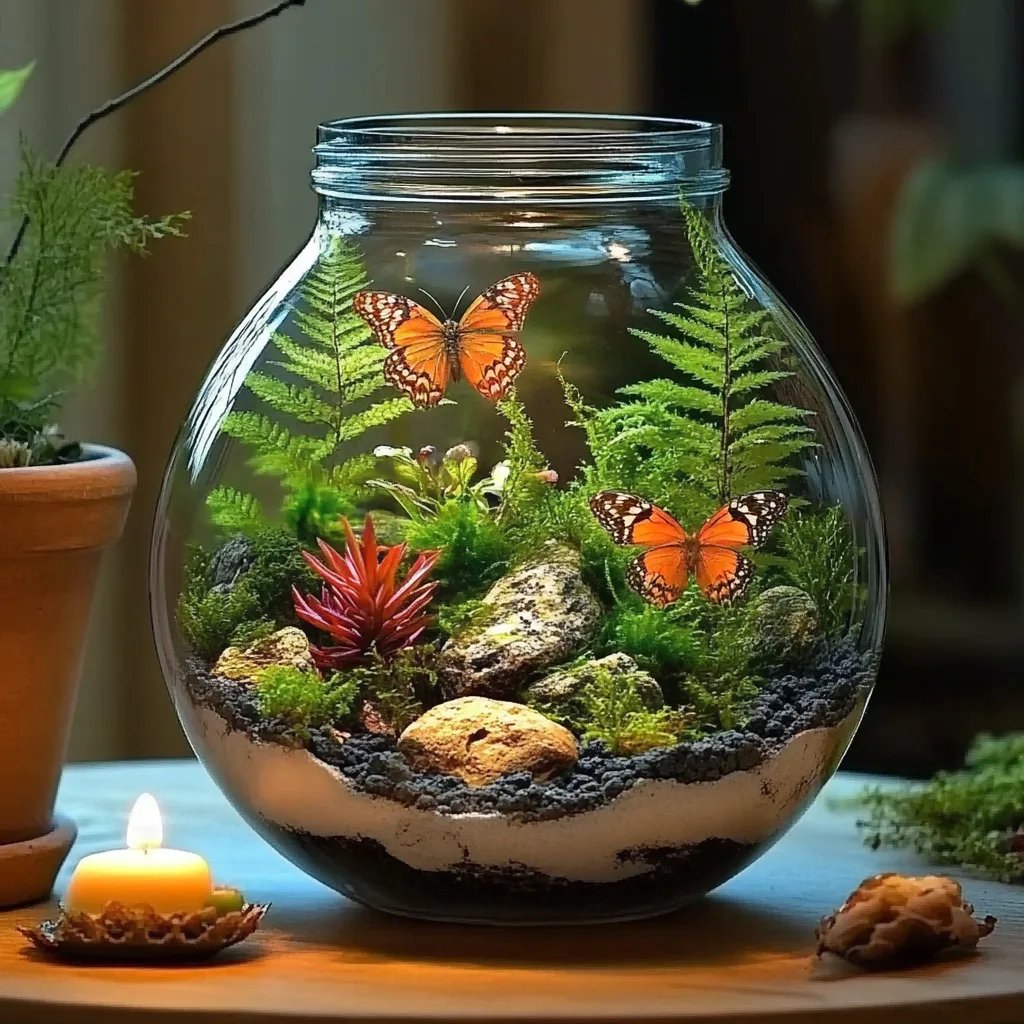
A terrarium is essentially a miniature garden encapsulated in a glass container. These captivating creations can house a variety of plants and sometimes even little decorations to enhance their beauty. Originally becoming popular in Victorian times, terrariums are making a significant comeback due to their aesthetic appeal and the therapeutic benefits of caring for plants. Whether you want to brighten up your living room, create a unique gift, or simply indulge your creativity, a terrarium is the perfect project.
Why Make a Terrarium?
- Accessibility: They require minimal space, making them perfect for apartments or small homes.
- Low Maintenance: Terrariums are self-sustaining ecosystems. With the right plants and setup, they can thrive for months with little intervention.
- Creative Freedom: You have the liberty to design and personalize them to reflect your style and preferences.
- Therapeutic Benefits: Engaging in craft projects like creating a terrarium can be meditative and reduce stress.
When to Use a Terrarium
Terrariums can be used year-round. They make fantastic housewarming gifts, centerpieces for dinner parties, or even delightful additions to your home office. As an extra bonus, watching your plants grow can be incredibly rewarding!
Step-By-Step Tutorial for Making a DIY Terrarium
Materials You’ll Need
- Glass Container: Clear glass jars, fish tanks, or even bowls work wonderfully.
- Pebbles or Small Rocks: For drainage.
- Activated Charcoal: This keeps the terrarium fresh by preventing mold and unwanted odors.
- Potting Soil: Choose a soil appropriate for the plants you select. Succulent soil is excellent for cacti and succulents, while regular potting soil is ideal for ferns and tropical plants.
- Plants: Select small plants that thrive in terrarium conditions. Good options include succulents, moss, ferns, and air plants.
- Decorative Elements (Optional): Stones, miniature figurines, or even fairy lights to add character to your terrarium.
- Tools: A spoon, tweezers, and long-handled tongs can be helpful.
Step 1: Selecting Your Container
Start by choosing a clear glass container. I’ve found that the size and shape of the glass can impact the designs you can create. A wide mouth works well for larger plants, while a narrow neck is perfect for smaller, delicate specimens.
Tip: Make sure your container has an opening wide enough to allow your hand or tools to fit inside comfortably.
Step 2: Layering the Base
- Pebbles/Rocks: Begin by adding a 1-2 inch layer of pebbles at the bottom of your container. This layer acts as a drainage system, preventing root rot by allowing excess water to escape.
- Activated Charcoal: Next, sprinkle a thin layer of activated charcoal over the pebbles. This is crucial for odor control and mold prevention.
- Potting Soil: Now, add your potting soil. Aim for about 2-4 inches deep, depending on what plants you’ll be using. It’s important to pack the soil slightly, as this will help to anchor your plants.
Step 3: Adding Your Plants
It’s finally time to introduce your plants to their new home!
- Prepare Your Plants: Before placing them in the terrarium, gently remove them from their pots and shake off excess soil. Trim any dead or damaged leaves for a clean look.
- Plant Placement: Consider how the plants will look from all angles. Start with the largest plant in the back or center, then fill in with smaller plants around it. Arrange them so they have enough space to grow and breathe.
Common Pitfall: Don’t overcrowd your plants! They need air circulation and space to flourish. If they seem crammed, gently remove and reposition them.
Step 4: Adding Decorative Elements
This step is where your creativity shines! You can personalize your terrarium with cute figurines, stones, or crystals. Just be mindful that too many decorations can overwhelm the plants.
Personal Anecdote: I like to place a small dinosaur figurine in my terrarium as a nod to my childhood. It brings a little nostalgia into my crafting!
Step 5: Watering and Maintenance
Once your terrarium is set up, mist the plants lightly using a spray bottle. The enclosed environment will trap moisture, so you won’t need to water as frequently as you would for regular potted plants.
Safety Warning: Avoid overwatering! If the soil feels excessively moist, you might need to open the lid occasionally or remove a few plants to allow for better airflow.
Troubleshooting Common Terrarium Issues
- Condensation: If your terrarium gets too moist and starts to fog up, remove the lid temporarily until the moisture levels stabilize.
- Yellowing Leaves: This could be a sign of overwatering or too little sunlight. Adjust accordingly!
- Mold Growth: If you see mold at any point, take the affected plants out, clean the container, and add a fresh layer of charcoal.
Creative Variations
- Themed Terrariums: Try creating a holiday-themed terrarium with seasonal decorations or colors. For instance, a winter wonderland terrarium with frosty decorations for Christmas can be a delightful touch.
- Layered Terrariums: Experiment with layering different soil types for a unique look, or even add colored sand for depth and texture.
- Hanging Terrariums: Use glass orbs or cones for a stunning hanging feature in your home.
Final Thoughts
Creating your own DIY terrarium is a fulfilling project that allows you to combine creativity with nature. Through this process, I've found joy, relaxation, and wisdom. Remember, every terrarium reflects your unique style, and there’s no single “right” way to assemble it. Embrace your creativity, learn from any mistakes, and enjoy the journey of nurturing your tiny ecosystem!
Through these steps and tips, I hope you feel empowered to create a beautiful terrarium that’s uniquely yours. So gather your materials, unleash your creativity, and let’s get crafting!