How to Create Stunning Egg Geodes: A Step-by-Step Guide
Hello, fellow crafting enthusiasts! Today, I'm thrilled to share one of my favorite DIY projects: making beautiful egg geodes. If you’re not familiar with egg geodes, they’re fascinating decorative pieces that resemble the stunning crystals found in natural geodes, all created from simple materials you likely already have at home. These sparkly treasures are not just a feast for the eyes; they’re also a fantastic project for kids and adults alike. Whether you're looking for a unique centerpiece, an educational craft to do with children, or just a relaxing afternoon activity, egg geodes fit the bill perfectly.
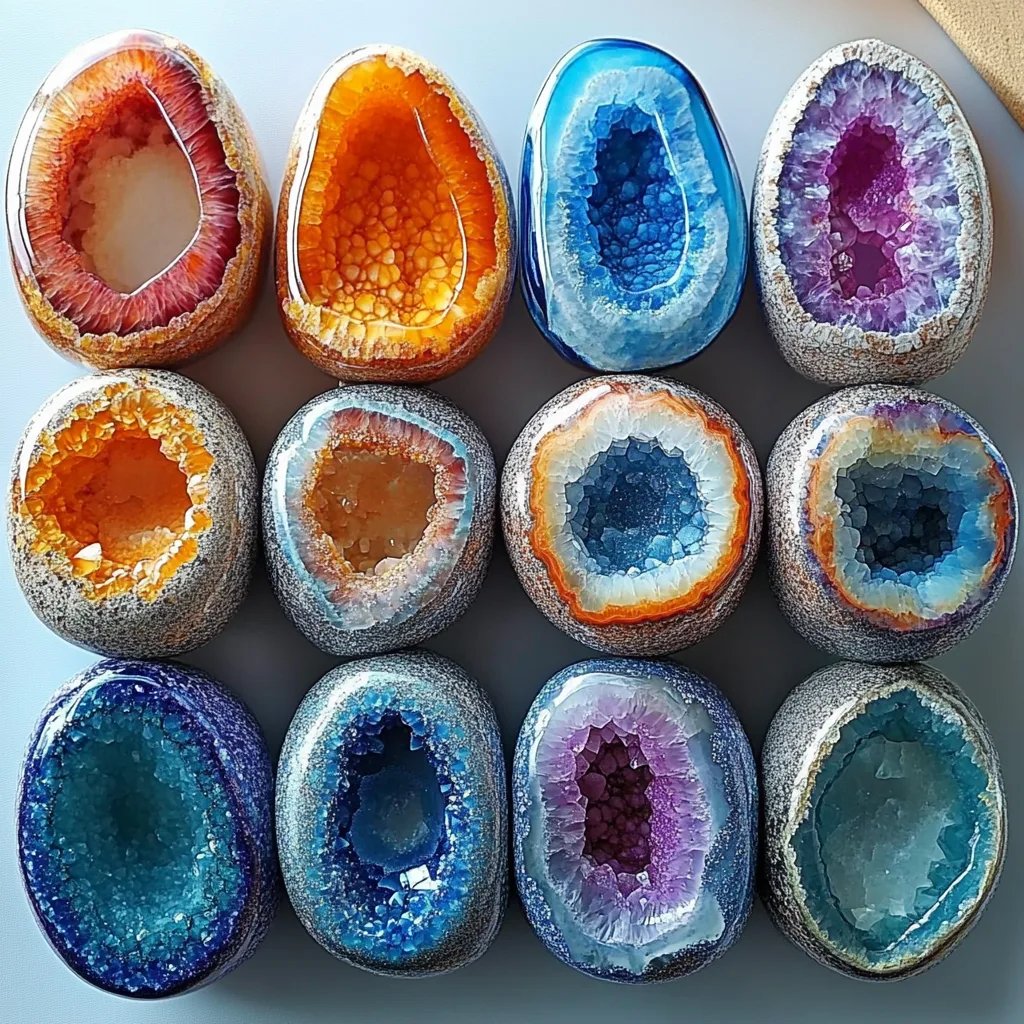
The Appeal of Egg Geodes
Egg geodes have surged in popularity for a few reasons. First, they’re visually striking – The iridescent colors and glittery crystals mimic the look of real geodes, making them eye-catching decor. Second, the craft is incredibly versatile. You can customize the colors to match your home decor, make them as large or small as you like, and use different types of shells to create variations. Lastly, they provide a wonderful opportunity to learn about geology, crystals, and the science behind the formation of real geodes.
Now, let’s dive right into the process of making your very own egg geodes.
Materials You'll Need
Before we start, let’s gather our supplies. This project uses accessible materials.
- Eggshells: Use hollowed eggs; take care not to break them too much.
- Epsom salts or baking soda: These will form your crystals.
- Boiling water: Essential for dissolving the salts.
- Food coloring: To create colorful crystal solutions.
- A bowl: For mixing your solution.
- Plastic wrap: To cover your eggs as they set.
- A spoon: For stirring.
- Paper towels and an egg carton: For drying and draining the eggs.
Step-by-Step Instructions
Step 1: Prep the Eggshells
* Why this step matters: Clean, intact shells ensure a better outcome for your geodes.
To start, carefully crack your eggs (you can save the contents for a delicious breakfast later!). Rinse the shells with water, taking care to remove any egg residue. Allow the shells to dry completely, then set them upright in an egg carton.
* Tip: If your shells have sharp edges, sand them lightly with fine-grit sandpaper to prevent any cuts.
Step 2: Creating the Crystal Solution
* Avoiding potential pitfalls: If the water isn’t boiling, your crystals won’t form correctly.
Bring about 1 cup of water to a boil in a small pot. Once boiling, add 1/2 cup of Epsom salts (for larger crystals) or baking soda (for a different texture). Stir until dissolved completely.
If the solution seems too thick, you can add a little more boiling water. For color, add a few drops of food coloring – feel free to experiment with different colors to create a vibrant mix!
Step 3: Pouring the Solution
* Crucial factor: The shells need to be balanced; otherwise, the solution can spill out.
Carefully pour your colored solution into each egg shell until it’s about 3/4 full. If you’ve created multiple colors, you can layer by pouring in one color and allowing it to settle, then adding another color on top. This creates beautiful effects.
Step 4: Cover and Wait
* Why this step matters: Covering prevents evaporation and helps retain heat.
Gently cover the filled shells with plastic wrap. Place them in a warm area of your home. Now comes the hardest part – you’ll need to be patient! Leave them undisturbed for at least 24 hours, or even up to 3 days, depending on how quickly you want your crystals to form.
Step 5: Cleanup and Reveal
Once your wait is over, carefully remove the plastic wrap and pour out any excess liquid. You may want to do this over a sink to avoid mess. Gently tap on the shell to break it away from the crystals (this part can be a bit tricky).
* Tip: If the eggshell is too delicate, you can use a sharp knife to carefully cut it away.
Step 6: Displaying Your Egg Geodes
Now it's time to display your creations! Place them in an egg carton or a decorative bowl. You can even add some faux moss or faux flowers around them to enhance their beauty.
Creative Variations
Feeling adventurous? Here are some creative variations to try with your egg geodes:
- Start with Different Shells: Try using quail or emu eggs for larger and more dramatic results.
- Add Glitter: Mix glitter with your crystal solution for an extra shimmer.
- Use Different Dyes: Mix natural dyes from fruits or tea for a unique color palette.
- Create a Geode Garden: Make multiple geodes and arrange them in a miniature gardening scene.
Common Issues and Solutions
- Crystals Not Forming: If your crystals don’t appear, ensure your solution was hot enough and properly saturated. Too little salt or baking soda can also hinder crystal growth.
- Broken Shells: If your eggs break, don’t despair! You can always use the essence of what remains to “re-geode” the pieces using glue or resin.
Safety Tips
- When working with hot boiling water, be sure to handle it with care to avoid burns.
- Always supervise children, especially during the boiling water phase.
Final Thoughts
Crafting egg geodes is an enjoyable, educational, and creative process that brings a touch of nature inside your home. I hope you find joy and fulfillment in creating these little masterpieces, just as I have. With a bit of patience and creativity, you can make stunning pieces that inspire wonder in everyone who sees them. Happy crafting, and may your egg geodes sparkle as brightly as your imagination!