How to Create Dazzling Foam Explosion: A Step-by-Step Guide
Hello, fellow crafters! If you’re anything like me, you love a good project that mixes creativity and a dash of science. Today, I'm thrilled to share how to make a Dazzling Foam Explosion—a vibrant, fun, and visually stunning craft that's perfect for parties, science experiments, and just plain old playtime! Whether you're an experienced DIYer or a curious beginner, this guide will help you create this explosive foam art with confidence and creativity.
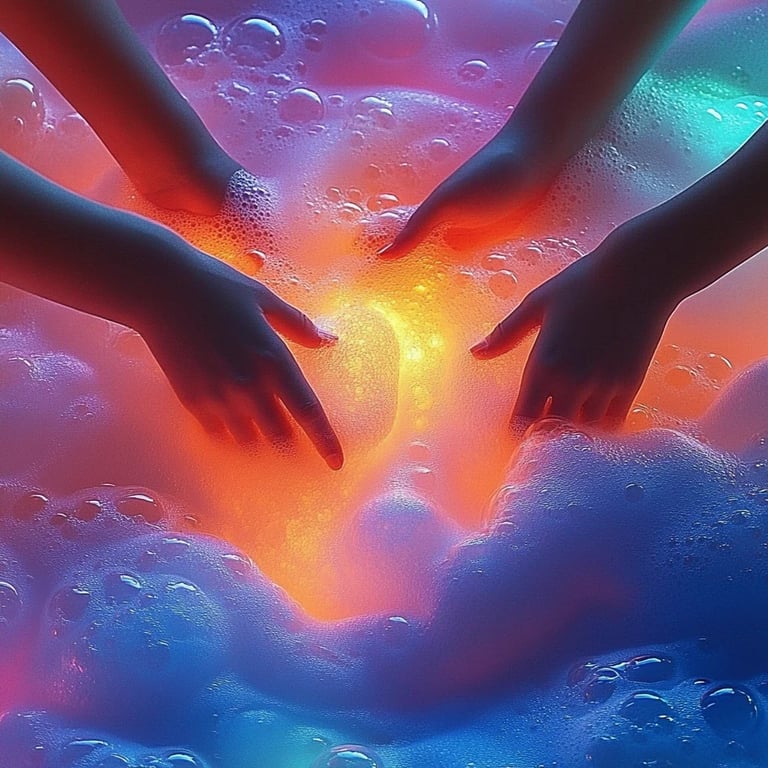
What is Dazzling Foam Explosion?
The Dazzling Foam Explosion is a colorful, bubbly concoction that primes the senses with its fun colors and playful eruption of foam. It’s popular for a good reason; not only does it astonish kids and adults alike with its vibrant display, but it also serves as a quick activity for birthday parties, science fairs, and even educational demonstrations. The best part? It can be tailored to fit any occasion or theme!
Why Is It Popular?
- Visual Appeal: The colorful foam creates a mesmerizing spectacle that captures attention.
- Educational Value: It's a fantastic way to dive into chemistry concepts, such as reactions and gas production, while sneaking in some fun.
- Easy to Customize: You can adapt the colors and ingredients to fit any theme, making it a versatile choice for various events.
Let's get started on crafting this beautiful foam explosion!
Materials You’ll Need
Before diving into the crafting process, it’s vital to gather all the materials. Here's what you'll need:
- Baking soda (1/2 cup) – This will be the base that reacts.
- Vinegar (1 cup) – This acidic ingredient creates the fizzy reaction with baking soda.
- Dish soap (1 tablespoon) – This adds bubbles and thickness to your foam.
- Food coloring – Choose vibrant colors for a dazzling effect; liquid or gel works fine.
- A large container – A baking tray or a large bowl will do.
- Safety goggles – Always a good idea when working with reactive ingredients.
- Spoon or stirring stick – To mix your ingredients.
- Optional: Corn syrup or glycerin (1 teaspoon) – This will help thicken the foam.
Step-by-Step Tutorial
Now that we have everything ready, let’s get into creating our Dazzling Foam Explosion.
Step 1: Set Up Your Workspace
Why This Step Matters: Setting up is crucial to ensure a clean and safe working area. Foam will drizzle everywhere, and you want to be prepared.
I recommend laying down a protective layer, such as a plastic tablecloth or newspaper, to catch any spills. Be sure to have all your ingredients within reach, and wear your safety goggles throughout the process for added safety.
Tip: Use a shallow container, as it allows the foam to spread out beautifully!
Step 2: Mix Baking Soda and Dish Soap
In your large container, add 1/2 cup of baking soda and 1 tablespoon of dish soap. Stir them together until they are fully combined.
Why This Step Matters: Mixing baking soda and soap first helps create a base that will hold the foam when the reaction starts.
What Could Go Wrong: Failing to mix thoroughly may lead to uneven reactions. If this happens, simply stir again until well mixed.
Step 3: Prepare Your Colorful Vinegar
In a separate container, pour out 1 cup of vinegar. This is where the magic happens! Add a few drops of your chosen food coloring(s) into the vinegar, and stir gently to combine. Feel free to mix colors for unique combinations.
Personal Anecdote: I remember the first time I experimented with different food colors; my foam looked like a rainbow explosion. The kids were in awe, and I loved the extra vibrancy!
Step 4: Combine Both Mixtures
Once your vinegar is ready, pour it slowly into the baking soda mixture. Make sure to stand back initially, as the foam may shoot up or expand dramatically!
Why This Step Matters: The reaction between the baking soda and vinegar creates carbon dioxide gas, which is responsible for the foamy eruption.
What Could Go Wrong: If you add the vinegar too quickly, it can overflow. To fix this, simply use a larger container next time or pour more slowly.
Step 5: Enjoy the Show!
As you pour the vinegar mixture, be prepared for the Dazzling Foam Explosion! Delight in the bubbles and colors erupting, watching it overflow in colorful waves.
Tip: If you want to keep the foam going, consider pouring additional vinegar mixture into the same container gradually.
Creative Variations
- Layered Foam: Try using different food coloring layers. Pour a small amount of colored baking soda mixture, followed by a contrasting vinegar solution for a layered effect.
- Themed Foam Explosions: Use colors that match holidays—red and green for Christmas, orange and black for Halloween, etc. This adds a festive twist!
Safety Warnings
While the Dazzling Foam Explosion is generally safe, here are a few considerations:
- Avoid ingestion: Make sure young children understand not to taste any of the ingredients.
- Wear goggles: Protect your eyes from any accidental splashes, especially if you or children are overly enthusiastic during the solution pouring!
Alternatives and Ingredient Substitutions
If you're unable to source dish soap or vinegar, there are alternatives.
- Baking soda can be substituted with washing soda for a different reaction.
- Liquid soap can be replaced with bubble bath solution if you're looking for a more fragrant experience.
- For a more fabulous foam, corn syrup or glycerin will add additional thickness and longevity to the bubbly display.
Final Thoughts
Creating a Dazzling Foam Explosion is not just an entertaining experience; it’s also a wonderful way to learn about chemical reactions while enjoying the creative process. With just a few simple ingredients, you can become a mini-experimenter, demonstrating splashes of color, fun, and science in one exciting package.
I hope this guide encourages you to dive headfirst into the world of foamy creativity. Remember, the best part of crafting is allowing your creativity to flow, experimenting, and adapting this project to your liking. Don’t shy away from making mistakes; they can lead to fantastic discoveries. Happy crafting!