Homemade Window Clings: An Amazing Ultimate Guide to 5 Fun Designs
Homemade window clings are a fantastic way to brighten up your space while indulging your creative side. These delightful decorations can transform any window into a canvas, allowing you to express your personality and style. Whether you're preparing for a holiday, decorating your kids' rooms, or simply want to jazz up your home decor, window clings are an excellent choice.
Creating homemade window clings is also an incredible bonding activity for families or friends. You can spend quality time together, and each individual can showcase their creativity through countless designs. Furthermore, these clings are easy to make and remove without leaving any sticky residue. So, what’s not to love about them?
In this guide, you'll find amazing insights into the process of making homemade window clings. We'll delve into various designs, preparation time, materials needed, and step-by-step instructions to create stunning decorations that will impress everyone. So gather your friends or family and get ready to create something wonderful!
Why You’ll Love This Recipe
Homemade window clings bring a unique charm and personality to your living space. Here are some notable reasons why you’ll adore this craft:
- Endless Creativity – You can explore numerous designs and colors, ensuring your window clings fit your unique style.
- Safe and Non-Toxic – Most materials used are harmless, making them suitable for homes with children and pets.
- Easy to Remove – You can effortlessly peel them off your window, changing your decor with the seasons or your mood.
- Inexpensive Materials – With just a few basic supplies, you can create beautiful decorations without breaking the bank.
- Fun for All Ages – This activity is an exciting way for everyone—kids, teens, and adults—to express their artistic side.
- Great for Special Occasions – Whether it's Halloween, Christmas, or a birthday party, homemade window clings are perfect for any event.
These factors contribute to the sheer joy of crafting your own decorations and the satisfaction of seeing your designs take shape right before your eyes!
Preparation and Cooking Time
The entire process of creating homemade window clings is straightforward and doesn’t take much time. Here’s a summary of the timeline you can expect:
- Preparation Time: 15-20 minutes
- Drying Time: 1-2 hours (depending on the humidity)
- Total Time: Approximately 1-2 hours including drying
These times are flexible and may vary based on your design intricacy and the conditions of your workspace.
Ingredients
- White school glue or clear PVA glue
- Food coloring or liquid watercolor
- Wax paper or parchment paper
- Scissors
- Paintbrush or squeeze bottles
- Optional: Toothpicks (for detailing)
Step-by-Step Instructions
Creating your own homemade window clings is simple when following these steps:
- Prepare Your Workspace: Choose a clean, flat surface where you can work comfortably. Lay down some wax or parchment paper to protect the surface.
- Mix Glue and Color: In a small bowl, mix the white school glue with a few drops of food coloring or liquid watercolor until you reach your desired hue.
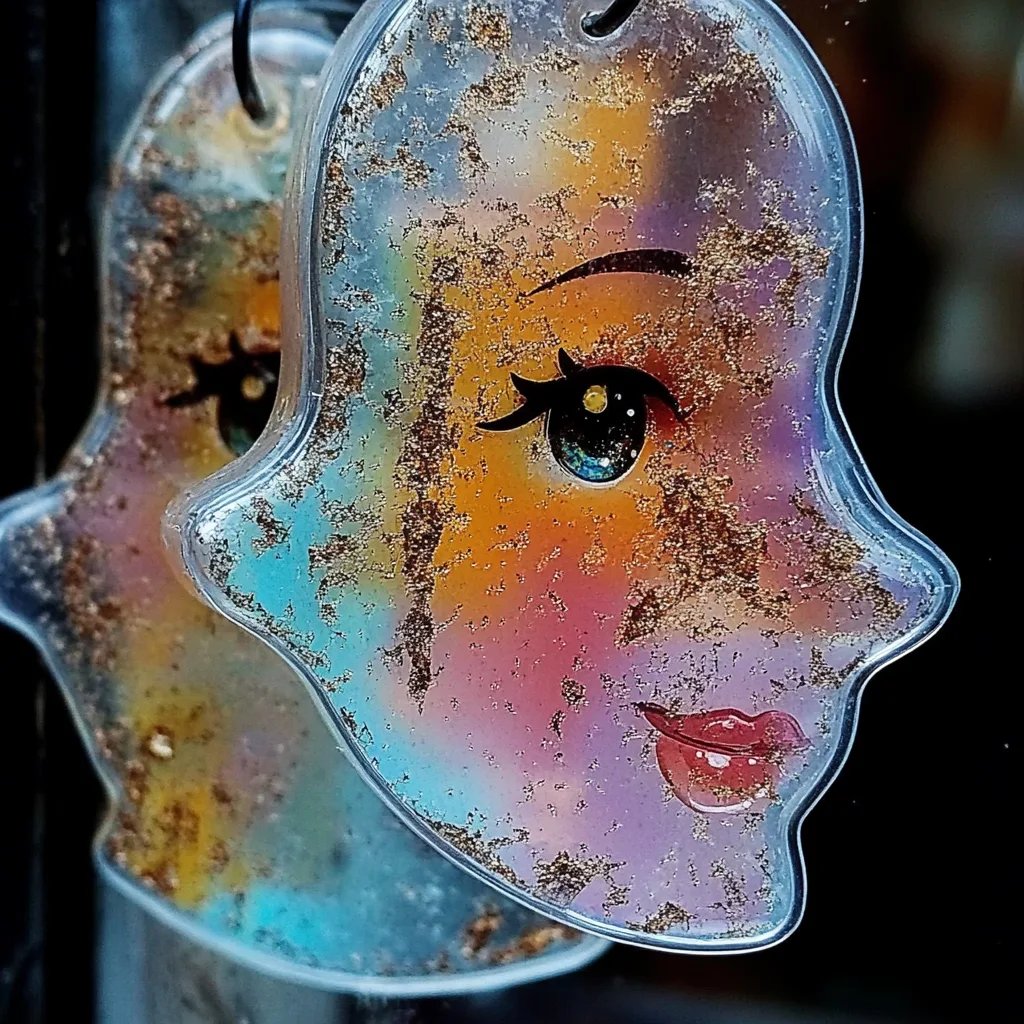
- Design Your Clings: Using a paintbrush or squeeze bottle, draw your desired shapes on the wax paper. You can create various designs such as flowers, snowflakes, or even cartoon characters.
- Add Details: For more intricate designs, use a toothpick to add small details or outlines to your clings.
- Dry the Designs: Allow the designs to dry completely. This could take anywhere from 1-2 hours depending on the thickness of the glue and the humidity in the room.
- Peel and Decorate: Once dry, carefully peel the window clings off the wax paper. Your clings should be flexible yet sturdy.
- Apply to Windows: Simply stick your new window clings to clean glass surfaces. They will adhere well without any need for adhesives.
How to Serve
Now that you’ve made your colorful homemade window clings, it’s time to display and enjoy them! Here are some creative ways to serve and showcase your new decor:
- Strategic Placement: Place your window clings in locations where they’ll catch the sunlight, enhancing their vibrant colors. Living rooms, children's rooms, and kitchens are great spots.
- Seasonal Decorations: Change your window clings according to seasons or holidays to keep your home fresh and festive throughout the year.
- Mix Designs: Combine different designs for larger windows or glass doors to create a more dynamic look.
- Create Themes: Coordinate your window clings with room decor, party themes, or special events for an enhanced ambiance.
- DIY Memories: Encourage friends or family to create custom clings during gatherings. These moments of creativity will add a personalized touch to your living space and create lasting memories.
By incorporating these tips, your homemade window clings can elevate your home decor, making it lively and inviting for all who enter. Enjoy the process of creativity and the delight your designs bring!
Additional Tips
- Experiment with Colors: Don't hesitate to mix and match different shades of food coloring. Bright, vibrant colors can bring your homemade window clings to life!
- Test Adhesion: Before applying your clings to a new surface, do a small test. This ensures they will stick properly without any issues.
- Use Stencils: If you struggle with freehand designs, using stencils can help create neat and uniform shapes.
- Reuse Old Clings: If you want to refresh your designs, you can easily wash and reuse your old clings. Simply peel them off, clean the glass, and apply a new batch!
- Get Creative: Incorporate glitter, sequins, or other embellishments into your clings. This will add an extra layer of dimension and sparkle.
Recipe Variation
Transform your homemade window clings by trying these fun variations:
- Glow-in-the-Dark Clings: Add glow-in-the-dark paint or powder to your mixture. These are fantastic for special occasions or just creating a whimsical atmosphere at night.
- Glittery Clings: Mix in some glitter with your glue mixture. It will give your designs a sparkly finish that catches the light.
- Seasonal Features: Create themed clings for holidays, such as pumpkin shapes for Halloween or hearts for Valentine's Day. The options are limitless!
- Textured Clings: Experiment with adding materials like beads or fabric pieces to your designs for a unique texture.
Freezing and Storage
Special Equipment
To create beautiful homemade window clings, having the right tools will make the process smoother. Here’s what you’ll need:
- Mixing bowls: For preparing your glue and color mixture.
- Paintbrush or squeeze bottles: Essential for applying your design to the wax paper.
- Wax paper or parchment paper: A necessary surface for your clings to dry on without sticking.
- Scissors: Useful for cutting out any elaborate designs after your clings have dried.
- Optional: Toothpicks for intricate detailing.
Frequently Asked Questions
Can I use any glue for this project?
No, it's best to use white school glue or clear PVA glue as these dry flexible and are suitable for window clings.
How long do the window clings last?
With proper storage, homemade window clings can last for months. Just keep them in a flat, dry location.
Can I wash the window clings?
It's best to wipe them gently with a damp cloth instead of soaking them to ensure they retain their integrity.
Are these clings removable?
Absolutely! Homemade window clings can be easily peeled off glass surfaces, leaving no residue behind.
Can I make these clings with young children?
Yes! This activity is safe and fun for all ages, making it an excellent choice for family bonding.
Conclusion
Creating homemade window clings is more than just a fun craft; it’s an opportunity to add a personal touch to your home décor. You can transform windows into stunning displays of color and creativity. Whether you opt for seasonal themes, colorful patterns, or sparkling embellishments, these clings are sure to delight both you and your guests. So gather your materials, unleash your artistic side, and enjoy this delightful crafting experience with family and friends!