Homemade Kool-Aid Licorice Ropes: A Sweet Crafting Adventure
Hello fellow crafters and sweet-toothed enthusiasts! Today, I’m excited to share a delightful and colorful treat that will take you on a nostalgic trip down memory lane — Homemade Kool-Aid Licorice Ropes. These chewy, flavorful ropes are not just fun to make but also a fantastic way to engage kids in the kitchen or create unique snacks for a party. Whether you’re planning a special celebration, hosting a cozy movie night, or just want to indulge your sweet tooth, these homemade licorice ropes are versatile, fun, and oh-so-delicious.
Why Kool-Aid Licorice?
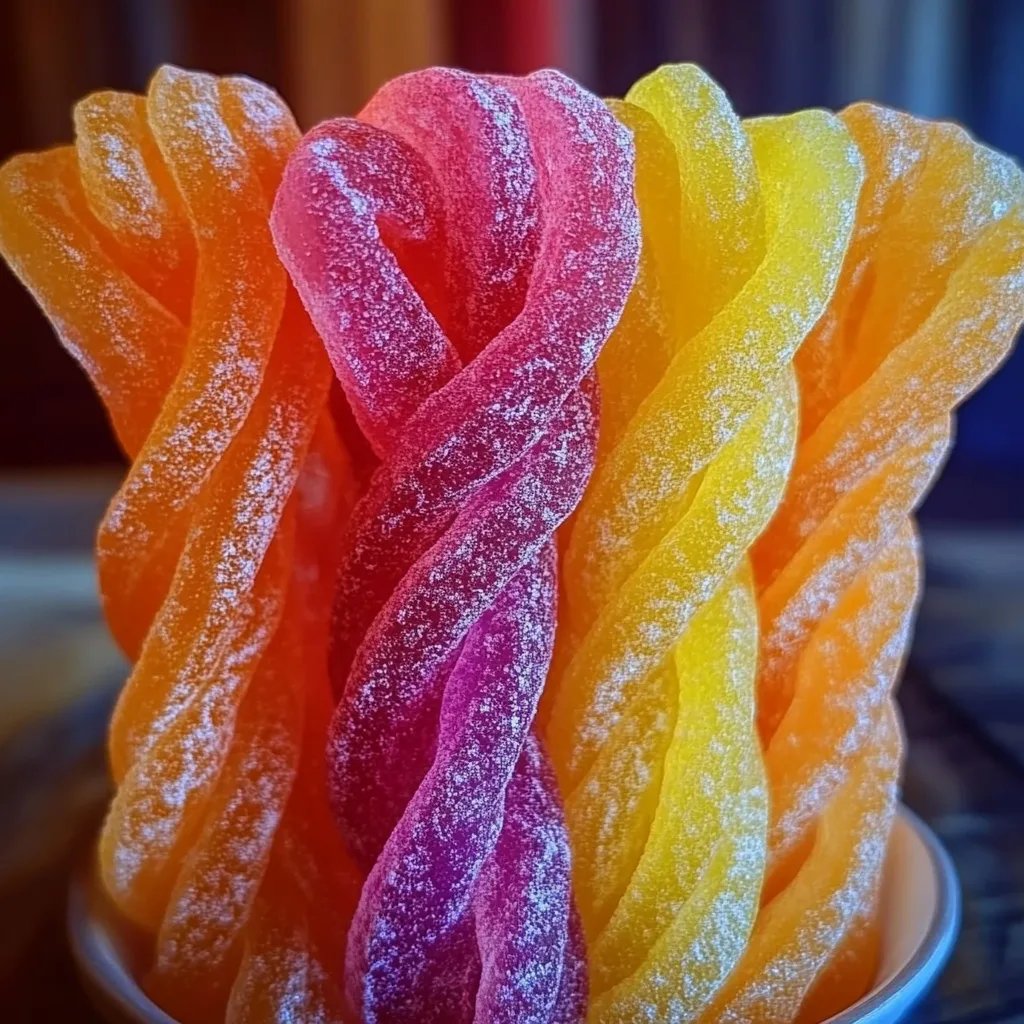
There's something irresistibly charming about Kool-Aid Licorice. This nostalgic treat combines the fun of candy-making with vibrant colors and flavors that excite both kids and adults. Made with Kool-Aid powder, these licorice ropes offer a fruity punch and chewy texture that is hard to resist. Plus, crafting your own snacking options allows you to experiment with flavors, adjust sweetness, and have a bit of fun along the way!
So, gather your ingredients, roll up your sleeves, and let’s dive into the wonderful world of candy-making.
Ingredients You’ll Need
Before I dive into the step-by-step guide, let’s gather everything we need:
- 1 cup of water
- 2 cups of granulated sugar
- 1 package (0.6 oz) of Kool-Aid powder (your flavor of choice)
- 1 tablespoon of corn syrup (to add that chewiness)
- 1 tablespoon of gelatin powder (this helps create the licorice texture)
- 1/4 cup of cornstarch (to prevent sticking and ensure a smooth finish)
- 1/4 teaspoon of food coloring (optional, for deeper color)
- Non-stick cooking spray (for greasing)
Step-by-Step Guide to Make Homemade Kool-Aid Licorice Ropes
Step 1: Prepare Your Workspace
This step may seem trivial, but it’s crucial! Ensure your workspace is clean, organized, and filled with joy. Lay down parchment paper or wax paper on a flat surface where you will shape the ropes. This not only protects the surface but also makes the transfer of your licorice much easier.
Step 2: Combine Your Ingredients
In a saucepan, combine the water, sugar, Kool-Aid powder, corn syrup, and gelatin. At this stage, your kitchen will start to smell delightful!
Why This Matters: Stirring right now helps to dissolve the sugar and gelatin fully, which is vital for the right texture. A common mistake is not mixing thoroughly, leading to uneven flavor and texture in your licorice.
Tip: Use a whisk to ensure even mixing. It makes all the difference!
Step 3: Heat the Mixture
Place the saucepan over medium heat. Continuously stir the mixture until it comes to a rolling boil. You may notice the colors intensifying, and the aroma becoming more pronounced—this is the magic of Kool-Aid!
What Could Go Wrong: If you stop stirring while heating, the sugar can crystallize and ruin the smooth texture you’re aiming for.
How to Fix It: If crystallization occurs, try adding a small splash of water to the mixture and gently reheating while stirring.
Step 4: Cool Down the Mixture
Once boiling, remove the saucepan from heat and allow it to rest for about 5 minutes. This step is important because you don’t want to burn your hands while handling the hot mixture!
Tip: This is a great time to prepare your molds—coat them lightly with non-stick spray to prevent sticking.
Step 5: Pour into Molds
Carefully pour the mixture into your prepared molds or onto the parchment paper in long strips. You can use a piping bag or a plastic bag with the corner snipped off for better control.
Pro Tip: Avoid large blobs; aim for long, thin strips to create that classic licorice look!
Step 6: Let Them Set
Let the licorice sit at room temperature until they are firm, which can usually take about 2-4 hours. Once set, you can cut them into ropes of your desired length.
What Could Go Wrong: If the humidity is high, your licorice ropes may not set properly, becoming sticky and unmanageable.
How to Fix It: If this happens, place them in the refrigerator for a short time to firm them up.
Step 7: Dust with Cornstarch
After your licorice ropes have set, dust them lightly with cornstarch. This helps prevent sticking and gives them that professional finish you find in store-bought candies.
Personal Anecdotes & Creative Variations
I fondly remember the first time I made these Kool-Aid Licorice Ropes with my kids. We experiment with flavors like Tropical Punch mixed with a hint of coconut extract for a summery twist. Surprise guests with unexpected flavors—like mixing grape Kool-Aid with a splash of lime juice for a unique blend!
Creative Variations:
- Add spices: A pinch of cayenne pepper or cinnamon can elevate flavors.
- Swirl with chocolate: Dip the ends in melted chocolate for a fabulous twist.
- Fruit juice infusion: Substitute water with fruit juice for a more natural flavor.
Safety Warnings
Remember, we’re working with hot sugar mixtures, so always exercise caution. Make sure children do not handle hot items directly, and supervise them closely during the entire process.
Final Thoughts
Homemade Kool-Aid Licorice Ropes are a fun, colorful, and delicious way to indulge your sweet tooth while also enjoying the crafting process. The joy of creating your own snacks at home is invaluable, and I hope this guide empowers you to step into the world of candy-making with confidence. Embrace the mess, share the fun, and most importantly, enjoy every delicious bite. Happy crafting!
Whether you choose the classic flavors or push the boundaries with new combinations, I’d love to hear your creativity shine through. Don’t hesitate to share your experiences and variations in the comments! Let’s keep the inspiration flowing.