Glow-in-the-Dark Jolly Rancher Candy Apple Slices: A Sweet Craft Adventure
Welcome to my candy crafting corner! Today, I’m thrilled to share with you the magical process of making *Glow-in-the-Dark Jolly Rancher Candy Apple Slices*. If you’re looking for a unique treat for Halloween, a birthday party, or just to impress your friends, these eye-catching sweets are not just delicious; they bring a whole new dimension to your treats with a glowing twist!
Why Are Glow-in-the-Dark Jolly Rancher Candy Apple Slices Popular?
The popularity of glow-in-the-dark candy isn’t just about their striking appearance; they are playful, nostalgic, and perfect for occasions that go bump in the night. Imagine serving these at a spooky Halloween gathering. As the lights dim, guests will be enchanted to see your candy transform, creating an atmosphere of fun and creativity. They also make for whimsical party favors, or simply a rewarding project to do on a cozy night spent indoors.
Now that you’re as excited as I am, let’s dive into the process of crafting these delightful candy apple slices!
Materials You’ll Need
Here’s what you need to embark on this candy-making adventure:
For the Candy:
- 1 Cup of Jolly Ranchers (choose a variety of flavors for colorful slices)
- 3 tbsp of Corn Syrup (helps with consistency)
- 1 tbsp of Water (to aid in melting)
- Glow-in-the-dark edible powder (available at specialty baking supplies or online; make sure it’s food-safe)
For Preparing the Apples:
- 2-3 Apples (Granny Smith apples work splendidly for their tartness)
- Stick (like a popsicle stick for easy handling)
For the Tools:
- Medium saucepan
- Candy thermometer (a must for precise temperatures)
- Baking sheet lined with parchment paper
- Silicone spatula
- Heat-resistant gloves (safety first!)
The Step-by-Step Process
Step 1: Prepare Your Workspace
Before we start melting candies, organization is key. Clear and clean your workspace, spread out all your materials, and lay out your tools. If you’re anything like me, you’ll appreciate a tidy area to keep track of everything!
Tip: Keep a damp cloth nearby to wipe up any sticky situations as they arise!
Step 2: Chop Your Apples
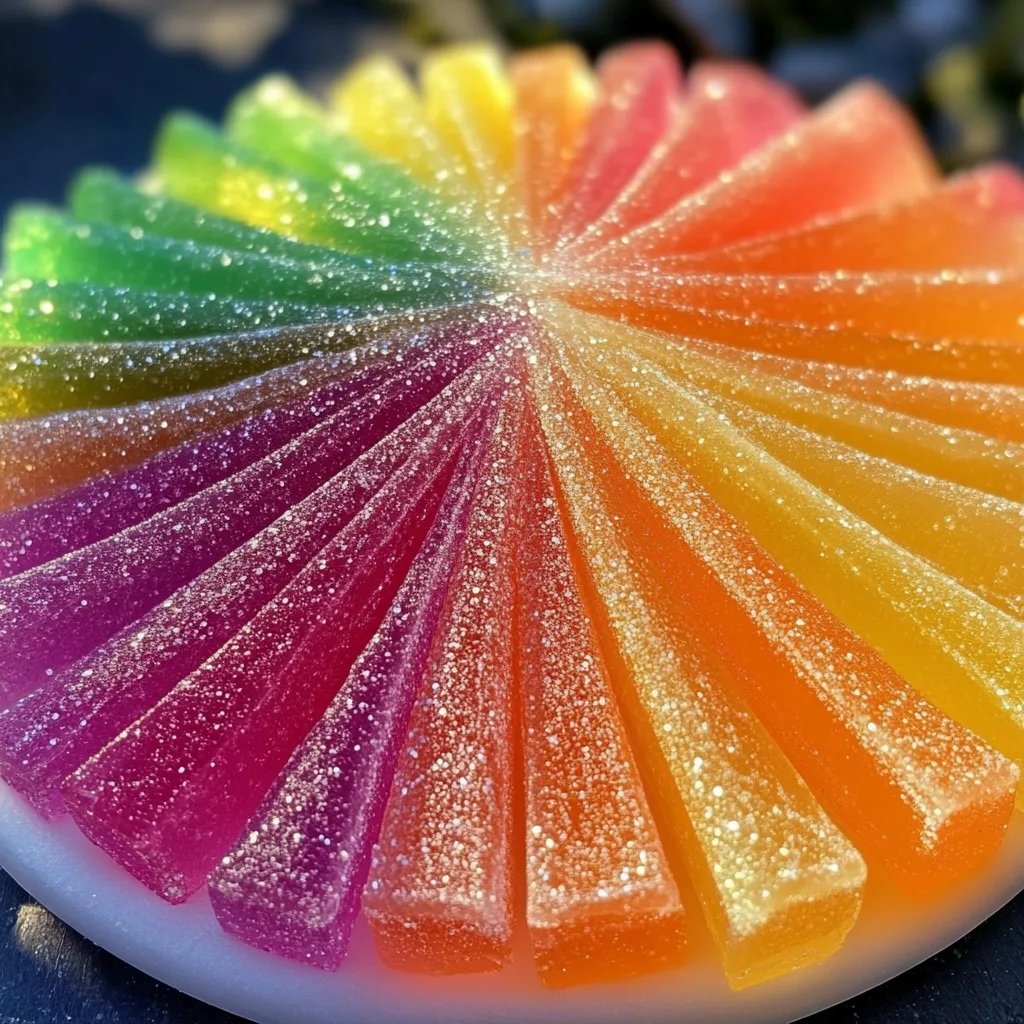
Wash your apples thoroughly, and ensure they are completely dried! Slice them into wedges — about 1/2 inch thick is ideal for candy coating. Insert a stick into the end of each slice and set them aside. This is where the candy magic will happen!
Why This Matters: Ensuring your apples are dry is crucial as moisture will prevent the candy from adhering properly.
Step 3: Unwrap the Jolly Ranchers
Now, this part is fun but can be a little tedious. Pour your Jolly Ranchers into a bowl and unwrap each piece. For an extra crunch, you can even crush them into smaller bits for a different texture. You might want to do this while watching your favorite show to make it less of a chore!
Step 4: Melt the Candy
In your saucepan, combine the unwrapped Jolly Ranchers, corn syrup, and water. Heat this mixture over medium-low heat, stirring occasionally. You’ll want to keep an eye on your candy thermometer. The goal is to heat the mixture until it reaches a temperature of 300°F (hard crack stage).
Common Mistake: If you don’t stir enough, the candy may burn. If you see it starting to darken, reduce the heat immediately.
Step 5: Add Glow-in-the-Dark Powder
Once you’ve reached the desired temperature, remove the pan from heat. Stir in your glow-in-the-dark edible powder. But wait! Here’s the next mistake many beginners make: not stirring well. Make sure it’s evenly distributed throughout the melted candy for optimal glow!
Step 6: Coat the Apple Slices
Working quickly, dip the apple slices into the melted candy and coat them well, using the silicone spatula if needed to spread the mixture evenly. Place the coated slices on your parchment paper. Be careful; the candy is hot!
Safety Warning: Use gloves when handling hot candy to avoid burns!
Step 7: Let Them Set
Allow your slices to cool and harden — this will take about 30 minutes. As they set, they will maintain their shine and glow beautifully when the lights go out!
Step 8: Display and Enjoy
Once cooled, your glow-in-the-dark Jolly Rancher apple slices are ready for display. Use them as a centerpiece or arrange them on fun plates for your guests.
Personal Anecdote: I once made these for a Halloween party, and they were the star of the night. People couldn’t keep their hands off them! The key is to create a dramatic presentation — dim the lights and watch their eyes light up!
Tips for Success
- Experiment with Flavors: Don't hesitate to mix your Jolly Rancher flavors for a unique taste experience.
- Use Different Fruit: Try oranges or even pears for a new twist!
- Color Combination: Use candies from the same color family for a more cohesive look.
Troubleshooting Common Issues
- Candy Not Sticking: If this happens, it could be due to moisture on the apple. Ensure they are thoroughly dried.
- Candies Start to Hardening: If you find that your candy starts to harden before dipping your apples, just gently reheat it on low!
Safety Warnings and Storage
Always remember, the melted candy is extremely hot. Avoid touching it directly. Store any leftovers in an airtight container in a cool, dry place to keep them fresh and glowing!
Alternative Methods or Ingredient Substitutions
- Instead of Jolly Ranchers, you can try other hard candies that melt well, like Werther’s Originals.
- If you can’t find glow-in-the-dark powder, you might want to consider using colored sugar or edible glitter for a sparkly effect instead.
Conclusion
Making *Glow-in-the-Dark Jolly Rancher Candy Apple Slices* is not just a crafting project; it’s an adventure filled with creativity and flavor! Whether you’re hosting a party or simply indulging in a sweet activity on a quiet night, I encourage you to try this fun recipe. Each slice is a little canvas of joy, just waiting to be filled with flavor and color. Happy crafting, and don’t forget to embrace the glow!