Glow-in-the-Dark Cotton Candy Cookies: A Sweet Creation for Every Occasion
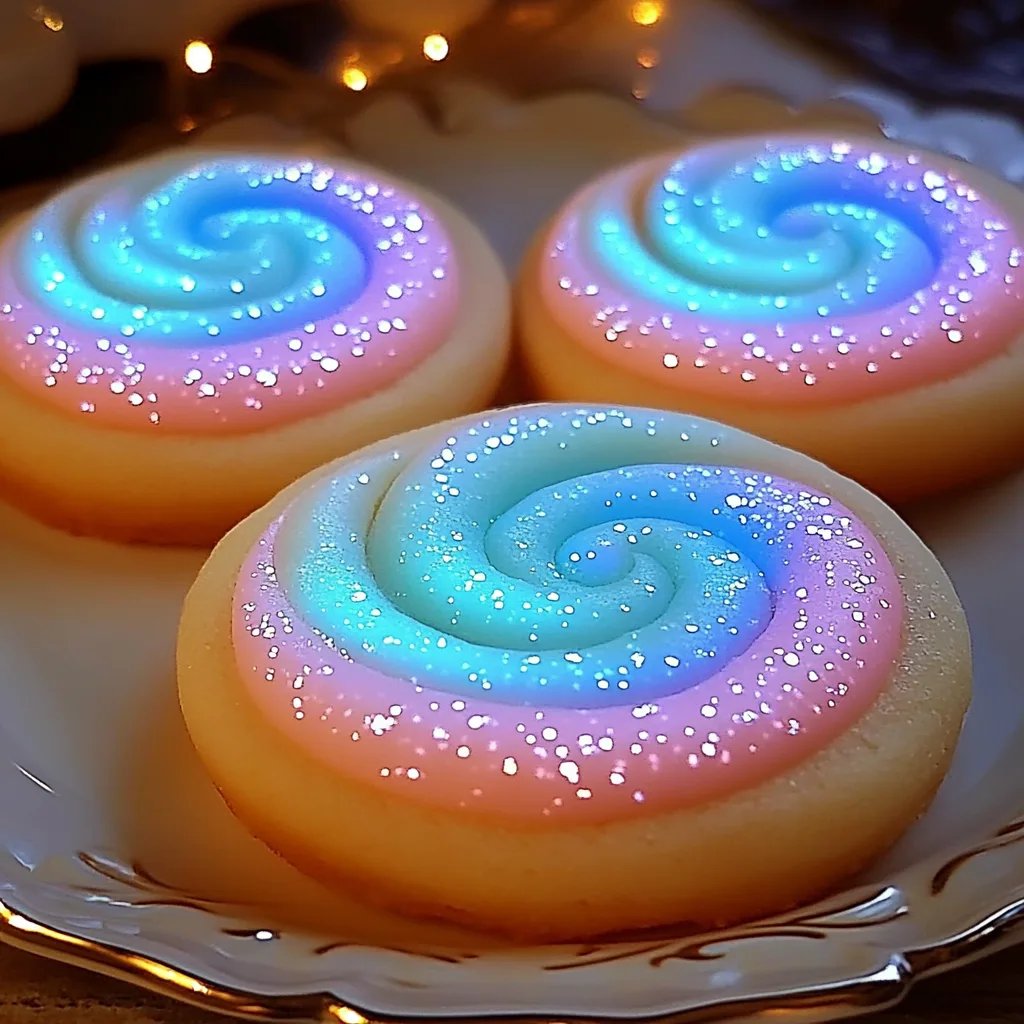
Hey there, fellow crafters! I’m thrilled to share one of my all-time favorite fun projects with you today—Glow-in-the-Dark Cotton Candy Cookies! As an avid baker and crafter, I love how this whimsical treat combines the nostalgia of carnival cotton candy with the imaginative thrill of glow-in-the-dark magic. These cookies are perfect for parties, sleepovers, or simply to make a fun night at home even more special.
Why Glow-in-the-Dark Cookies Are a Hit
These cookies aren't just your regular sugar cookies; they’re an eye-catching spectacle that excites both kids and adults. The vibrant colors of cotton candy and the surprise factor of glowing in the dark make them a favorite for themed parties—think birthday parties, Halloween, or even a summer picnic under the stars! Plus, making these cookies can be a delightful activity to share with family and friends. You can even teach kids how to bake while enjoying some quality time together!
Gathering Your Supplies
Before we jump into the fun, let’s gather our supplies. I promise you don't need fancy equipment—just some accessible ingredients from your local grocery store!
Ingredients:
- 2 cups all-purpose flour
- 1/2 teaspoon baking soda
- 1/2 teaspoon salt
- 1 cup unsalted butter, softened
- 1 cup granulated sugar
- 1/2 cup brown sugar, packed
- 2 large eggs
- 1 teaspoon vanilla extract
- 1 cup cotton candy flavoring (available at baking stores or online)
- Food coloring (pink, blue, and any other fun colors)
- 1 tablespoon tonic water or tonic syrup (the secret ingredient for glowing!)
Tools:
- Mixing bowls
- Baking sheets
- Parchment paper
- Cookie cutters (optional for fun shapes)
- Rolling pin (optional for a smoother finish)
- Measuring cups and spoons
- Electric mixer (though you can mix by hand if you prefer)
Step-by-Step Instructions
Step 1: Preheat Your Oven and Prepare Baking Sheets
Start by preheating your oven to 350°F (175°C). Line your baking sheets with parchment paper—a crucial step that ensures your cookies don’t stick and makes cleanup a breeze.
Why This Matters:
Preheating your oven is essential for even baking. If the oven isn’t up to the right temperature when the cookies go in, they may spread too much or remain undercooked.
Step 2: Mix the Dry Ingredients
In a mixing bowl, whisk together 2 cups of all-purpose flour, 1/2 teaspoon of baking soda, and 1/2 teaspoon of salt. This dry mixture is the backbone of your cookie dough.
What Could Go Wrong:
Skipping the whisking step can lead to uneven distribution of ingredients, which might result in a cookie dough that doesn’t lift properly or tastes off.
Step 3: Cream Butter and Sugars
In another bowl, use an electric mixer to cream together 1 cup of softened unsalted butter, 1 cup granulated sugar, and 1/2 cup brown sugar until the mixture is light and fluffy. This process typically takes about 2-3 minutes.
Why This Matters:
Creaming the butter and sugars incorporates air into the mixture, which helps your cookies rise nicely in the oven. If you don’t cream thoroughly, your cookies can end up dense rather than light.
Step 4: Add the Eggs and Flavorings
Next, beat in 2 large eggs one at a time, followed by 1 teaspoon of vanilla extract and your cotton candy flavoring. The flavoring is what gives your cookies that delightful sweetness, reminiscent of the fairground treat.
Safety Warning:
Ensure that your flavoring is food-safe. Some craft or non-food-grade flavorings may be toxic—always check before you buy!
Step 5: Combine Dry and Wet Mixtures
Gradually add your dry mixture to the wet, mixing slowly until just combined. Don’t overmix—this can lead to tough cookies.
Step 6: Color the Dough
Split the dough into portions, depending on how many different colors you would like. Add food coloring to each portion and mix thoroughly until you have vibrant, cotton candy-inspired hues.
Creative Variation:
You might add a little extra color or even mix the colors together to create a tie-dye effect, which could look great!
Step 7: Make the Dough Glow
Here comes the fun part—glow-in-the-dark magic! Mix 1 tablespoon of tonic water or tonic syrup into the dough. Not only will it add a subtle flavor, but the quinine in tonic water causes the glow when exposed to black light. It’s a fantastic secret that will delight your guests!
What Could Go Wrong:
If you add too much tonic water, the dough could become too wet. Start with a small amount, and gradually adjust if needed.
Step 8: Shape Your Cookies
Using your hands or a rolling pin, form the cookie dough into 1-inch balls and place them spaced apart on the baking sheets. You can also use cookie cutters if you want fun shapes!
Step 9: Bake
Pop your baking sheets into the oven for 10-12 minutes, or until the cookies are lightly golden at the edges but still soft in the center.
Step 10: Cool and Serve
Let your cookies cool on the baking sheets for a few minutes before transferring them to a wire rack to cool completely.
Safety Tip:
Glow-in-the-dark cookies should be approached with caution if you’re serving them to small children. It’s best to use caution around black lights and keep the glow-in-the-dark effects at a safe level, ensuring the glow doesn’t come from anything harmful.
Troubleshooting Common Issues
- Cookies Spread Too Much: This could happen if you didn’t chill the dough before baking. Next time, chill the dough for 30 minutes in the fridge to prevent spreading.
- Cookies Too Hard: Overbaking can dry your cookies out. Keep an eye on them, especially during the last few minutes of baking.
Wrapping Up
And voilà! You’ve created your own batch of dazzling Glow-in-the-Dark Cotton Candy Cookies! I hope you enjoy them as much as I do. Remember, baking is about experimentation. Don’t hesitate to add your twist—maybe sprinkle with edible glitter or mini marshmallows for an extra whimsy!
Whether these cookies are for a party or just a cozy night in, they are sure to bring joy and a bit of wonder to your kitchen. Happy baking, fellow creators! As you embark on this sweet adventure, remember to share your creations on social media and tag me—I can’t wait to see your colorful masterpieces come to life!