Garden Spoon Markers: An Amazing Ultimate Guide to 7 Creative Uses
Garden spoon markers are a fantastic way to add a personal touch to your garden. These little tools serve not only as markers for your plants but also play an essential role in enhancing the aesthetic appeal of your outdoor space. Made from old spoons, these charming markers are a wonderful DIY project that can elevate your gardening game. Imagine a delightful garden where each plant has its designated marker, adding a whimsical flair that sparks joy every time you step outside.
If you're tired of the generic plastic tags that fade and break over time, garden spoon markers present a durable and eco-friendly solution. They are perfect for labeling herbs, flowers, and vegetables while serving as a conversation starter for family and friends who visit your backyard sanctuary. With just a bit of creativity, you can transform simple spoons into personalized pieces that reflect your gardening style and preferences.
In this ultimate guide, you will discover why garden spoon markers are a fantastic addition to any garden, the preparation required to make them, and various creative ways to design your markers. So, grab your gardening gloves and get ready to dive into the wonderful world of garden spoon markers!
Why You’ll Love Garden Spoon Markers
Garden spoon markers might seem like a small detail, but they have several benefits that make them a must-have for any gardening enthusiast. Here are just a few reasons why you’ll fall in love with these amazing markers:
- Eco-Friendly: Repurposing old spoons means you’re keeping waste out of landfills, making a sustainable choice for your garden.
- Durability: Unlike paper or plastic markers, metal spoons withstand the elements, ensuring your plant labels last for years.
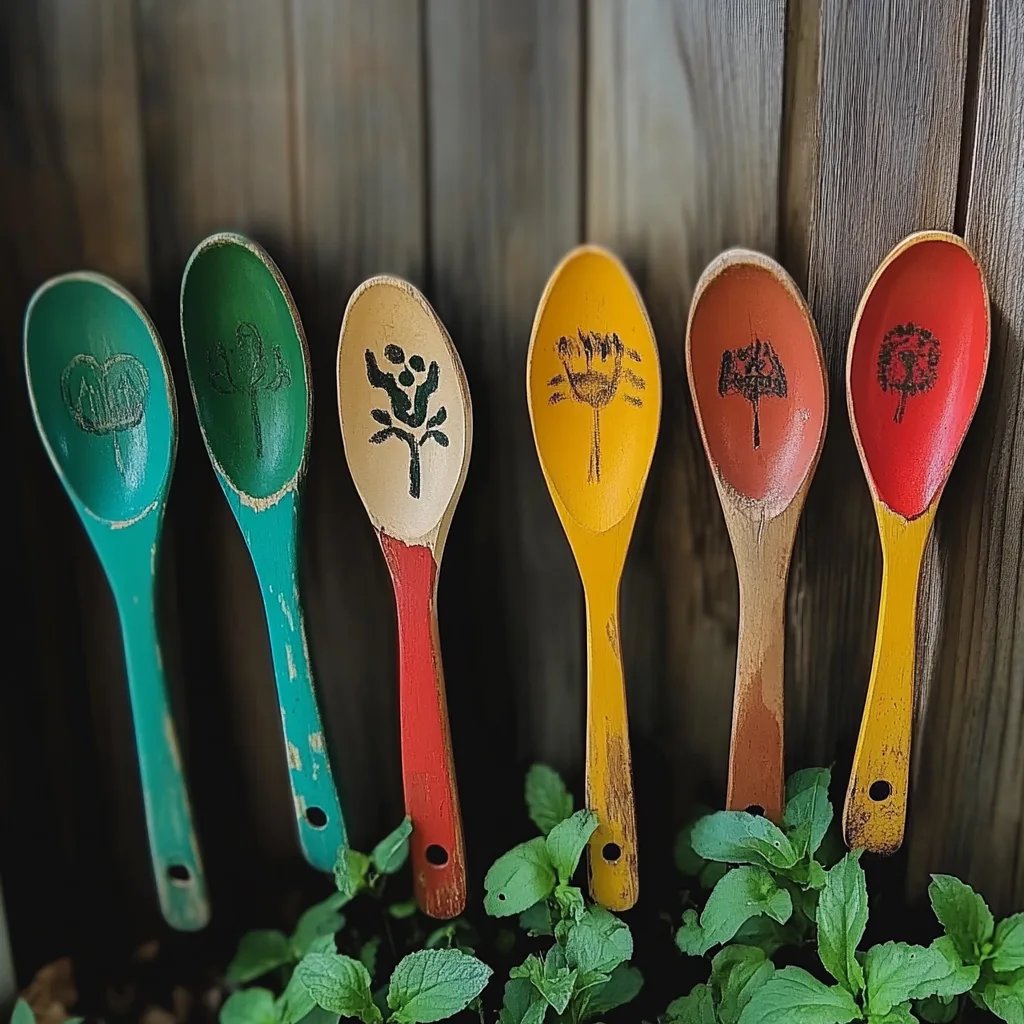
- Customizable: You can personalize them in any way you like, from engraving to painting, allowing you to express your creativity.
- Cost-Effective: Most gardeners have spare utensils lying around. This DIY project won't strain your wallet!
- Aesthetic Appeal: Their unique appearance adds a delightful touch to your garden, enhancing the overall look of your outdoor space.
- Functional: They clearly identify your plants, helping you remember what’s planted where.
- Fun DIY Project: Making garden spoon markers is an enjoyable activity that allows you to engage with your family, especially children.
With these compelling reasons to utilize garden spoon markers, it’s only fitting to move into the practical aspects of creating and using these beautiful tools.
Preparation and Cooking Time
Creating garden spoon markers doesn’t require much time or effort. Here's a simple preparation and crafting guide that outlines how long it generally takes:
- Preparation Time: 15-20 minutes (gathering materials)
- Crafting Time: 30-45 minutes (creating the markers)
Overall, you can expect to spend about 1 hour on this delightful craft project.
Ingredients (Materials)
To make your own garden spoon markers, you will need the following materials:
- Old metal spoons (dinner or dessert size)
- Hammer (for engraving)
- Permanent markers or paint (for customization)
- Paintbrush (if using paint)
- Clear sealant spray (optional for durability)
- Twine or ribbon (optional for decoration)
- Small container for planting or display (optional)
Step-by-Step Instructions
Creating stunning garden spoon markers can be a fun and fulfilling experience. Follow these steps to make your own:
- Gather Materials: Collect old metal spoons, a hammer, and your chosen markers or paints.
- Prepare the Spoons: If the spoons are dirty, wash and dry them before beginning your craft.
- Engrave the Spoons: Using the hammer, gently tap into the handle of the spoon to engrave the plant name. You can also create simple designs or patterns.
- Customize with Markers or Paint: If you prefer color, use permanent markers or paint to decorate the spoon. Bright colors make for fabulous visual appeal.
- Allow to Dry: If you’ve painted your spoons, let them dry completely.
- Apply Sealant (Optional): For added durability, spray the spoons with a clear sealant to protect your designs from the elements.
- Arrange in the Garden: Insert your newly made markers into the soil next to the plants they represent.
- Add Decorative Touches: Optionally, tie twine or ribbon at the base or hang small charms for an extra touch of charm.
Creating these garden spoon markers can be both enjoyable and meditative. The end result will add a unique flair to your space!
How to Serve
To make the most out of your garden spoon markers, consider the following tips:
- Placement: Place your markers in a visible spot near each plant so they are easy to read and admire.
- Grouping: Consider grouping similar types of plants together for a visually appealing arrangement alongside their markers.
- Personal Touch: Encourage kids or family members to create their own markers, promoting teamwork and creativity in the garden.
- Seasonal Changes: Update your markers as needed. For example, change plants seasonally or replace spoons as they wear down.
- Gift Idea: Garden spoon markers can make wonderful gifts for friends who enjoy gardening. Create a personalized set for a unique touch!
- Host a Marker-Making Party: Invite fellow gardening enthusiasts for a fun craft session. Share ideas, styles, and enjoy light refreshments together.
By incorporating these suggestions, not only will your garden become a beautiful haven, but you’ll also foster a deeper connection with your plants and the compliments sure to follow!
Additional Tips
- Experiment with Designs: Feel free to get creative with your markers. Use different techniques like stamping or stenciling to add unique patterns.
- Choose the Right Spoon: The shape and size of the spoon will affect legibility. Opt for larger spoons if you want more space for writing.
- Color Coordination: Use different colors to represent various plant types. For example, green markers for herbs and colorful ones for flowers.
- Weather Resistance: Consider the climate in your area. Using outdoor-friendly paints or sealants can prolong the life of your markers.
- Involve Kids: Encourage children to help make the markers, fostering a love for gardening and craftwork. It’s an excellent bonding activity.
Recipe Variation
If you want to spice up your garden spoon markers, consider these fun variations:
- Seasonal Themes: Change the color scheme or designs based on the season. For instance, autumn leaves for fall gardening or floral patterns for spring.
- Themed Gardens: If you have a themed garden, customize the markers accordingly. For a fairy garden, use pastel colors and whimsical designs.
- Material Mix: Combine metals with other materials like wood or stones for a diverse and textured look.
- Adding Photos: Attach small photos of the plant next to the spoon marker for visual identification, especially helpful for children.
- Miniature Garden Stakes: Instead of traditional spoons, use small forks or knives to create a unique set of garden markers.
Freezing and Storage
- Storage: If you decide not to use the markers right away, keep them in a dry place away from moisture to preserve their quality.
- Durability: Adding a sealant helps protect them from fading or rust, especially in humid climates or regions with heavy rain.
Special Equipment
Creating garden spoon markers requires minimal tools. However, here are some essential items you might need:
- Safety Goggles: Protect your eyes while hammering or engraving.
- Rubber Mallet: Instead of a regular hammer, a rubber mallet may provide more control while you engrave.
- Metal File: This can help smooth any rough edges after engraving.
- Stencils: If you find drawing or writing challenging, use stencils for letters and designs.
- Protective Gloves: Gloves may help keep your hands from getting hurt while working with metal spoons.
Frequently Asked Questions
How long will the garden spoon markers last?
With proper care and the use of sealants, your garden spoon markers can last many seasons, resisting rust and wear.
Can I reuse my spoon markers?
Yes, if you decide to change your garden layout or plants, you can scrape off the old labels and update them.
What if I make a mistake while engraving?
You can cover mistakes with permanent markers or paint, or start fresh on another spoon if needed.
Is this project suitable for kids?
Absolutely! It can be a fun and creative activity for kids under adult supervision, making it a great family project.
What if I don’t have old spoons?
You can often find inexpensive metal spoons at thrift stores or garage sales. Alternatively, consider purchasing new ones.
Conclusion
Garden spoon markers are not only practical but also add a unique artistic touch to your garden. They help in plant identification while allowing for a personal expression of creativity. Enjoy the process of making these markers, get the whole family involved, and watch your gardening space flourish with customized charm. With the right materials and inspiration from this guide, you can create a beautiful and functional garden that reflects your personality. So gather your spoons, get creative, and have fun gardening!