Fizzing Colorful Science Experiment: A Step-by-Step Guide to a Vibrant Learning Adventure
Hello, fellow crafters and science enthusiasts! Today, I’m thrilled to share with you one of my all-time favorite experiments: the Fizzing Colorful Science Experiment. This colorful concoction is not just visually mesmerizing; it’s an excellent opportunity to engage kids (and adults!) in hands-on learning while exploring chemical reactions. Whether you're a teacher, a parent looking for a fun weekend project, or simply a curious individual, you'll find joy in this delightful activity.
What is the Fizzing Colorful Science Experiment?
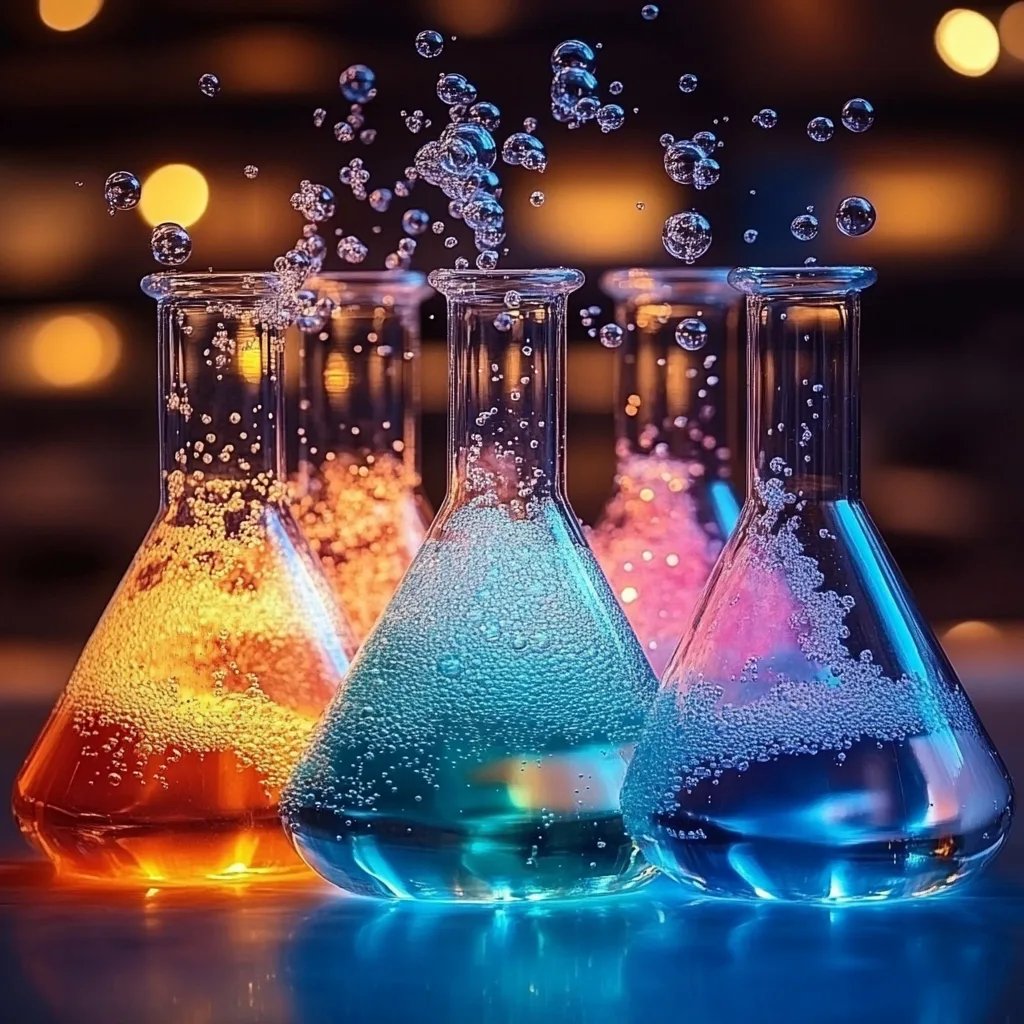
The Fizzing Colorful Science Experiment is a vibrant science activity that combines baking soda, vinegar, and food coloring to create a fun, fizzy reaction that’s utterly captivating. Mix in some imaginative surfaces (think trays or even a large shallow table), and you transform your space into a colorful explosion of bubbling colors! It's a fantastic way to illustrate basic scientific principles in chemistry and can be used for birthday parties, science fairs, or just a casual afternoon with the kids.
What makes this experiment so popular? It’s simple, requires minimal materials, and offers stunning visual results that will keep everyone engaged. Plus, who doesn’t love a good fizz? Let’s dive into the fun!
Materials Required
Before we get started, gather these accessible materials. You may already have them at home!
- Baking Soda – ½ cup
- Vinegar – 1 cup (white vinegar works best)
- Food Coloring – Various colors (red, blue, green, yellow, etc.)
- A tray or shallow dish – This helps contain the mess!
- Spoons or small cups for mixing – Easy for portioning out your ingredients.
- Squeeze bottles (optional) – For precise pouring and fun application.
- Paper towels – To clean up any spills.
- Safety goggles – A good practice, especially with younger kids, for eye protection.
The Step-by-Step Process
Now that we have everything we need, let’s jump right into the step-by-step guide for this experiment. I promise it's easier than it looks!
Step 1: Prepare Your Workspace
Before we mix any ingredients, it’s important to set up a tidy workspace. Lay down some paper towels, especially if you’re working on a surface that you want to protect. Make this area fun and inviting by incorporating colorful decorations!
*Tip:* If you’re doing this with kids, allow them to help set up—this adds excitement!
Step 2: Build Your Baking Soda Base
Pour ½ cup of baking soda into your tray or shallow dish. Use your hands or a spoon to spread it out evenly across the bottom. This is where the fizzing magic will happen!
*Why It Matters:* An even layer allows for uniform interaction with the vinegar, leading to a consistent and lovely fizzing effect.
*Potential Pitfall:* If you pack the baking soda too tightly, the chemicals won't react properly. Fluff it up a bit to prevent clumping!
Step 3: Add Some Color
Now comes the fun part! Using your food coloring, drop in various colors onto different spots of the baking soda. You can create patterns, clusters, or just a rainbow of colors. Let your imagination run wild!
*Tip:* For a more controlled release, pour the food coloring into small squeeze bottles.
*Reflective Moment:* I’ve found that vibrant colors like red and blue yield particularly stunning results. Don’t shy away from mixing colors to create new shades!
Step 4: Prepare for the Fizz
Now that your baking soda and colors are ready, it’s time to add the vinegar. Measure one cup of vinegar into a container and prepare your pouring method. If using squeeze bottles, fill them up now.
*Key Insight:* You can add a few drops of dish soap to the vinegar for added foaminess—think of it as the cherry on top!
Step 5: The Grand Fizzing Finale
Now for the moment of magic! Slowly pour the vinegar over the baking soda in your tray. Sit back and watch as colorful fizz explodes from the surface, creating a magnificent reaction! The combination of the acid in the vinegar and the base in the baking soda forms carbon dioxide gas, leading to those bubbly eruptions. It’s pure joy to see!
*What Could Go Wrong:* If the fizzing reaction isn’t as dramatic as expected, ensure you added enough baking soda or vinegar. The measurements play a critical role in the reaction!
Step 6: Enjoy the Chaos and Clean Up
Once the fizzing slows down, let the kids touch the fizz, observe the colors mixing, and explore the textures. Make sure to have some paper towels handy for any spills!
*Safety Note:* Even though the materials used are safe, remind children not to taste any reactions, just as a precaution.
Tips for Success
- Supervision is Key: Always supervise young children during this experiment, especially when using food coloring to prevent stains on skin or clothing.
- Time It Right: Consider using warm vinegar for increased fizzing. A little warmth can enhance the reaction.
- Experiment with Quantities: Feel free to adjust the amounts of baking soda and vinegar for larger or smaller reactions. Just keep the 2:1 ratio in mind for optimal fizzing!
Creative Variations
- Add Glitter: For a sparkling effect, sprinkle some edible glitter on the baking soda before adding vinegar.
- Themed Colors: Use colors themed around a holiday—reds, whites, and greens for Christmas or pastel colors for Easter.
- Exploiting the Science: Discuss the science behind the reaction as it happens! What’s happening at a chemical level? This provides a fundamental learning experience.
Personal Anecdotes
I can’t tell you how many times I’ve incorporated this experiment into family gatherings or birthday parties. The sheer delight on my children’s faces, especially when they get to control the pouring of the vinegar, is priceless! It’s a shared experience that not only fosters creativity but also a thirst for knowledge. I even remember the first time I mixed colors—seeing green bubble up from blue and yellow was sheer magic!
Conclusion
The Fizzing Colorful Science Experiment is a fantastic way to captivate minds while infusing a splash of color into learning. It’s a delightful, hands-on way to teach children about chemical reactions while having a blast. I encourage you to gather your materials and embark on this bubbly journey. You might just discover a budding scientist in your midst! Happy experimenting, and remember—every fizz holds potential for adventure!