Fireworks in a Jar: A Sparkling DIY Delight
Hello there, fellow crafters! Today I’m thrilled to guide you through one of my favorite creative projects: making Fireworks in a Jar. This mesmerizing activity is not only a fantastic way to add a touch of sparkle to your home but also a perfect science experiment for kids at heart. Whether you’re looking to add a decorative piece to your summer get-togethers, engage children during a rainy day, or simply enjoy a calming craft, Fireworks in a Jar has you covered.
What Are Fireworks in a Jar?
"Fireworks in a Jar" is a captivating visual experiment that combines oil, water, and food coloring to create colorful bursts reminiscent of fireworks. It's incredibly popular for backyard parties, holidays, and educational activities, allowing you to demonstrate basic scientific principles such as density and immiscibility in a fun and engaging way. Plus, it offers endless ways to get creative, allowing you to personalize your masterpiece with different colors and variations.
What You’ll Need
Before we dive into the process, let’s gather our materials. You likely have most of these at home already!
Materials:
- Clear Jar or Glass: A wide-mouth mason jar or any clear glass container will work. The more transparent, the better!
- Water: Enough to fill about 2/3 of your jar.
- Vegetable Oil: This forms the base of your fireworks.
- Food Coloring: Use a variety of colors for the fireworks effect. Gel food coloring works great!
- Bowl or Cup: For mixing the oil and food coloring.
- Spoon: For stirring.
- Optional Glitter: For that extra sparkle effect!
- Safety goggles (if crafting with kids): Always best to be safe!
Why Each Material Matters:
- Clear Jar: The clarity allows for a full view of the colorful explosions. An opaque container just won't do!
- Water: Serves as the base in which the “fireworks” will explode.
- Vegetable Oil: This is essential since oil is less dense than water, creating that beautiful separation.
- Food Coloring: Each drop creates stunning color bursts. The more vibrant, the better!
- Glitter: Adding glitter is optional but can enhance the visuals, especially under the right lighting.
Step-by-Step Tutorial
Step 1: Prepare Your Jar
Fill your jar about two-thirds full with water. Remember, the larger the jar, the more impressive the explosion! I usually opt for a 1-quart mason jar for a larger effect.
*Why this matters*: A full jar will give you ample space for the “fireworks” to display their dazzling colors without overflowing.
Step 2: Mix Oil and Food Coloring
In a separate bowl or cup, pour about 1/3 cup of vegetable oil. Take your food coloring and add several drops into the oil. Use different colors for a rainbow effect!
*Tip*: If using gel food coloring, make sure to stir it thoroughly to break up any clumps, which ensures better dispersion later.
*Potential Pitfall*: Be careful not to add the food coloring directly into the water—this step is crucial for the fireworks effect to work!
Step 3: Create the Fireworks
Now comes the exciting part! Gently pour the oil and food coloring mixture into the jar with water. Watch as the colored droplets sink into the water, bursting like real fireworks! This moment never gets old, and I find it mesmerizing every time.
*Why this matters*: The oil and coloring must remain separate to achieve the fireworks effect. If they mix immediately, adjust your technique by letting the oil flow gently from the side of the jar.
Step 4: Optional Sparkle
If you want to add some extra magic to your fireworks, sprinkle a bit of glitter on top of the water after the color bursts. This adds a whimsical sparkle reminiscent of festive fireworks in the night sky.
Step 5: Admire Your Work!
Stand back and admire your handiwork! You can even close the jar (with a lid or cover) to keep it safe if you want to show it off later.
*What to do if…*: If you notice the colors are not distributing well, it could be due to the food coloring being too dense or your oil poured too quickly. Don’t be discouraged; refining your technique is part of the fun!
Safety Warnings
If you're crafting with children, make sure they understand the importance of being careful with glass containers. Always supervise young children, and consider using plastic jars for greater safety!
Creative Variations
Feeling bold? Here are some fun ideas to make your fireworks even more spectacular:
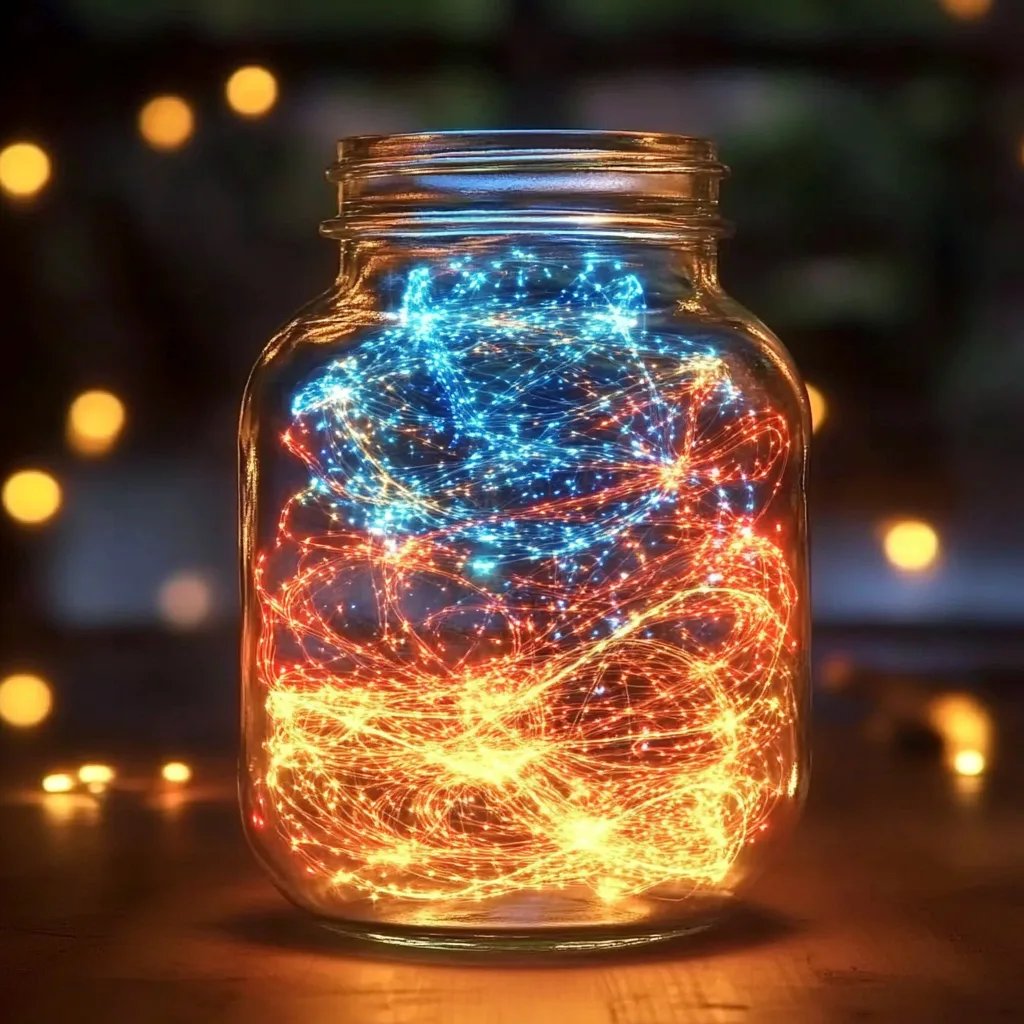
- Layered Colors: Play around with different amounts of each color. Use more blue on top, with red and yellow underneath for a patriotic theme!
- Themed Fireworks: For holidays, tailor your colors to fit—red and green for Christmas, orange and brown for Halloween, or pastels for Easter.
- Interactive Approach: Let each child choose their colors and watch how their combinations create unique fireworks!
Personal Anecdote
I first discovered Fireworks in a Jar while searching for fun activities to do with my kids during a summer storm. The laughter and squeals as the colors burst were priceless. Since then, we’ve created varying themes just by changing colors or introducing glitter, each time reminding ourselves that crafting is about the journey, not just the outcome. I’m always thrilled to see the awe in their eyes, just as I hope to evoke in yours!
Final Thoughts
Making Fireworks in a Jar is like creating your own little piece of magic. This project is simple, stress-free, and perfect for crafters of all ages. The joy it brings is truly priceless, whether it’s as a decorative jar on your table or as an exciting science experiment to engage your mind.
So, gather your materials, put on those crafting goggles, and let's create something beautiful together! I can’t wait to see what colorful displays you come up with. Happy crafting!