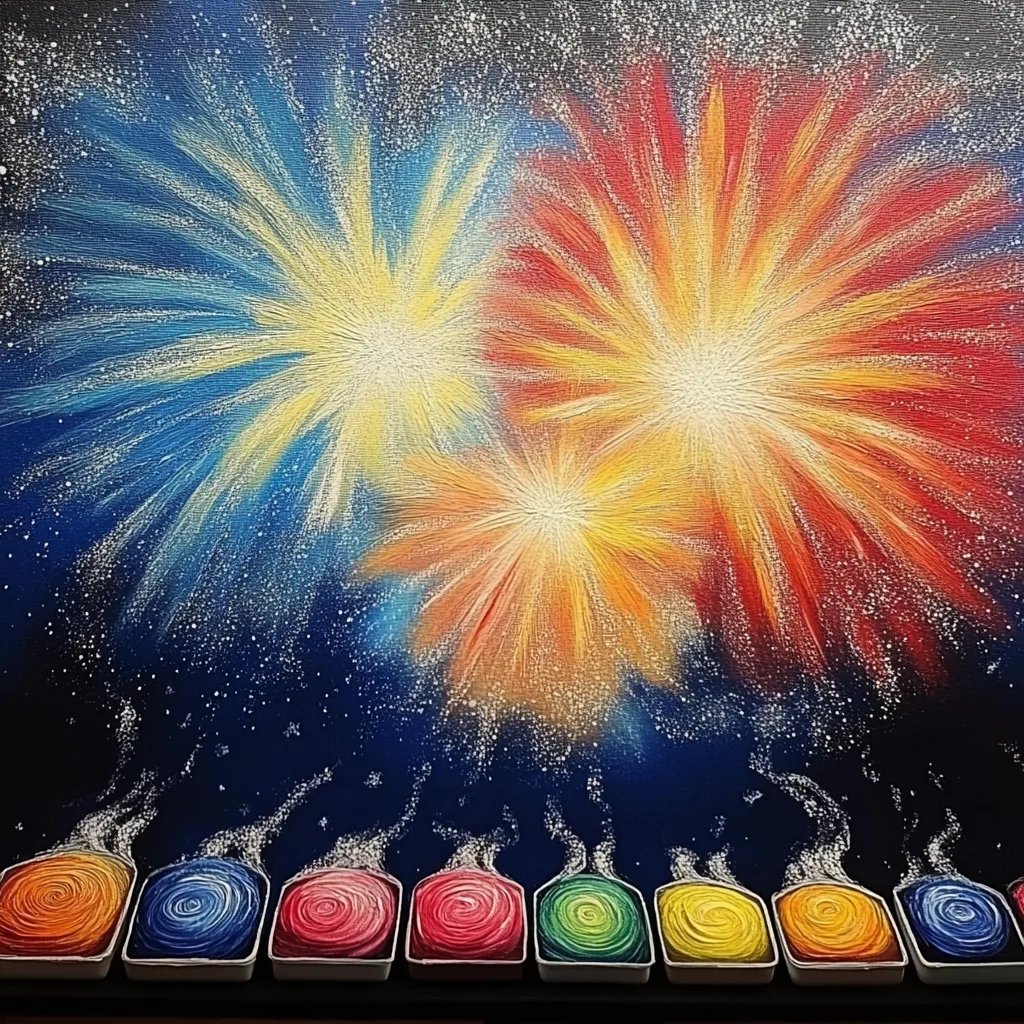
Exploding Creativity: How to Make Firework Salt Painting for Kids
Creating art isn’t just about putting colors on a canvas; it’s about the joy of exploration, the thrill of discovery, and a chance to express oneself. Today, I’m excited to share one of my all-time favorite kid-friendly crafts: Firework Salt Painting. This colorful and eye-catching project combines simple ingredients to produce stunning results that truly resemble fireworks on paper. Not only is it a hit with kids, but it’s also an engaging way to spark curiosity about science and art. So, let’s dive into this amazing craft that’s perfect for celebrations, parties, or just a fun afternoon at home!
Why Firework Salt Painting?
Firework Salt Painting is trending for a reason! It’s visually striking, involves a delightful sensory experience, and provides excellent opportunities to teach kids about colors, textures, and even chemical reactions. As a parent and crafter, I love how this project can be crafted for various occasions: New Year’s Eve, the Fourth of July, or simply during summer break when you want to create something that brings a little sparkle into your home.
Materials Needed
Before we jump into the tutorial, let's gather all the materials we'll need. Don't worry; everything is easily accessible:
- Cardstock or Thick Watercolor Paper: This will be the canvas for our masterpiece. I recommend using cardstock for its sturdiness and ability to hold water without warping.
- White School Glue: A generous bottle of cheap school glue will serve as our main adhesive.
- Salt: Regular table salt or coarse salt can both work, and they're super inexpensive!
- Watercolor Paints or Liquid Food Coloring: Feel free to use a conventional watercolor set or even your favorite food coloring to create vibrant hues. I often use both for varied effects.
- Small Containers or Palette: For mixing and containing our colors.
- Paintbrushes: A variety of sizes (include small, medium, and large) to apply our colors.
- Paper Towels and a Tray: To catch any excess salt and paint, keep clean-up easy.
Step-by-Step Instructions
Now that we’re all set up, let’s get started with our Firework Salt Painting!
Step 1: Start with the Glue Design
First, let’s create the fireworks! Using the white school glue, I suggest letting the kids draw or squeeze out glue in shapes that resemble the bursts of fireworks. You can create circles, lines, or even spirals for a dramatic effect.
Why This Step Matters: The glue acts as a resist. When we apply the salt to it, it’ll adhere to the glue and create a textured base for our painting.
Common Mistakes: Try not to spread the glue too thickly; it should be enough to hold the salt but not overly gooey. If it’s too wet, the salt will clump rather than create defined shapes.
Pro Tip: Encourage your kids to experiment with different shapes and sizes. The more unique the design, the more intriguing the final piece!
Step 2: Apply the Salt
Now comes the fun part! While the glue is still wet, carefully sprinkle salt over the glue designs. I recommend doing this over a tray or a piece of paper to contain the mess—you’ll thank me later!
Why This Step Matters: The salt will soak up the paint gradually, creating that iconic swirling effect that looks like fireworks bursting in the sky.
What Could Go Wrong: If you miss some areas, simply add a little more glue and sprinkle salt on those spots.
Step 3: Shake Off the Excess
Once your glue designs are covered with salt, gently shake off the excess salt over the tray. This is a perfect moment to encourage kids to watch the creation come to life as the salt clings to the glue.
Common Challenges: Some salt may stick if it’s been on the glue for too long. If this happens, that’s okay! Just tap the paper gently, and it should come off.
Step 4: Mixing Colors
While you wait for the glue and salt to dry (and trust me, patience is key!), prepare your colors. In separate containers, pour a little water into the watercolors or food coloring to dilute the pigments.
Why This Step Matters: Diluting the colors allows for easier application and creates beautiful gradients once applied.
Personal Insight: I prefer using liquid food coloring because it mixes with water beautifully and can be adjusted for brightness.
Step 5: Painting On the Salt
Once your designs are dry (this can take anywhere from 15-30 minutes), it’s painting time! Using your paintbrush, dip it into your colors and carefully touch the tip of the brush to the salt-covered glue. Watch as the color spreads and dances through the salt—a magical sight!
Why This Step Is Important: The salt absorbs the pigments, creating a unique and beautiful effect that resembles fireworks blooming in the night sky.
Caution: Be mindful not to apply too much water at once, as it can cause the glue to lose its hold on the salt.
Step 6: Let It Dry
After you’re satisfied with the colors, allow the painting to dry completely. This can take an hour or more, depending on the amount of paint used.
Creative Variations
Once your kids have mastered the firework design, why not explore different themes? Here are a few ideas:
- Seasonal Themes: Use fall colors for a pumpkin-themed painting or cooler tones for a wintry snowflake effect.
- Using Glitter: Add glitter to your salt mixture for extra sparkle!
- Layering: Create a layered effect by applying more glue and salt over dry paint for a 3D look.
Safety Warnings
While this craft is relatively safe, keep an eye on young ones to ensure they don’t ingest any non-edible materials (a common rule for all crafting!). Ensure that they are working in a well-ventilated area, especially if you're using food colorants, as some might have strong scents.
Final Thoughts and Personal Anecdotes
As a seasoned crafter, sharing this project with my children has brought forth laughter, joy, and countless memories. I recall one particularly grand afternoon when my kids and I filled the entire dining room table with vibrant colors and ideas, completely immersed in our artistic creations.
Not only did we enjoy the process, but we also celebrated the beautiful artwork that adorned our walls afterward. This craft is not just about the final piece; it’s about the little moments of creativity, learning, and laughter shared with loved ones.
So gather your materials, let creativity reign, and get ready for some colorful fun! I can’t wait to see the fabulous Firework Salt Paintings created by you and your kids. Remember to cherish the process and the mess along the way—happy crafting!