Easy Shaving Foam Paint: A Fun and Creative Craft for All Ages
Hello there, fellow crafters! I'm thrilled to share one of my all-time favorite projects with you today: Easy Shaving Foam Paint. This delightful mixture has become popular among artists, teachers, parents, and crafters alike, and for good reason! It’s an incredibly fun, versatile, and tactile way to express creativity without the typical mess associated with traditional paints. The result not only looks interesting but offers endless possibilities for imaginative play and artistic creation.
Whether you’re planning a rainy-day activity with the kids, looking for a unique way to decorate materials, or seeking a new medium for your art, Easy Shaving Foam Paint has you covered! It’s inexpensive, requires minimal materials, and you can whip it up in just a few minutes. So let’s dive into how to make this colorful craft and explore all its fun uses!
Why Shaving Foam Paint?
Shaving foam paint is excellent for several reasons:
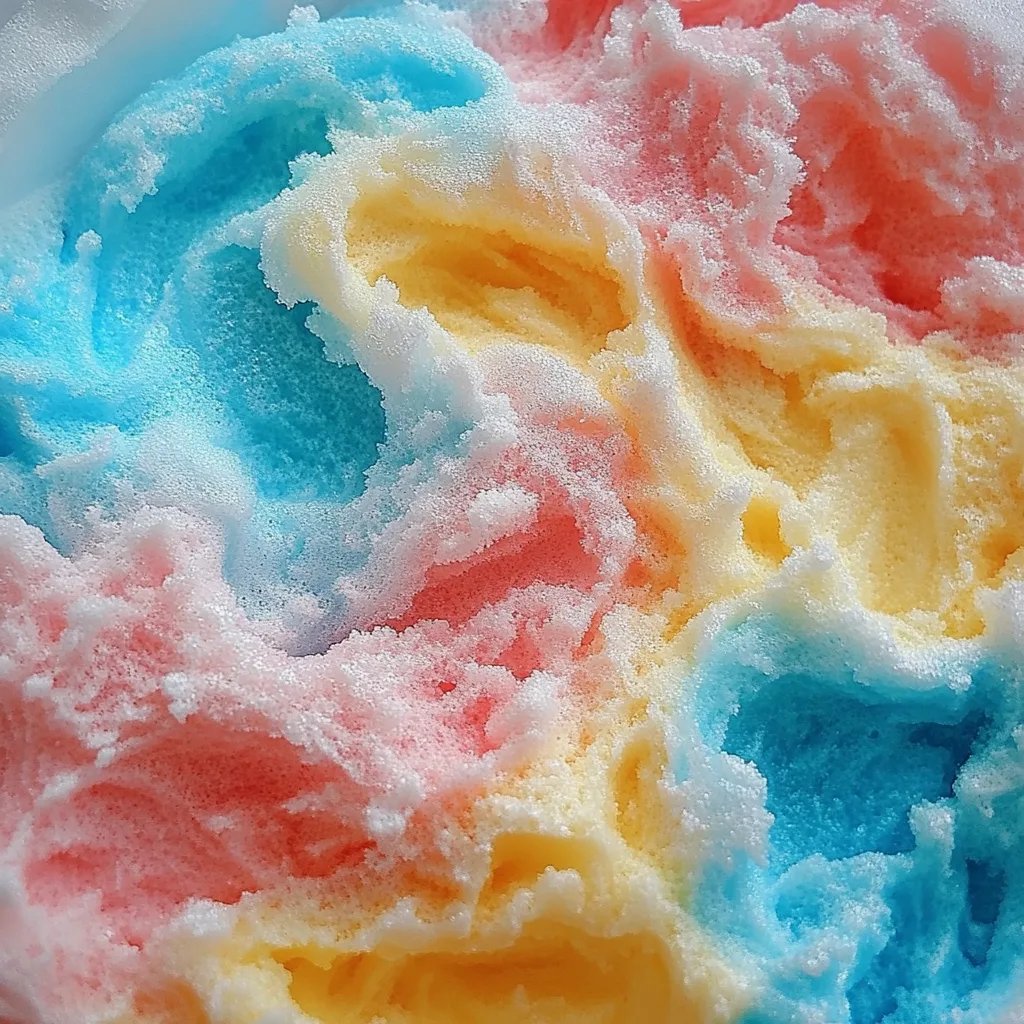
- Texture: It adds a fluffy, three-dimensional quality to your art.
- Safety: It’s non-toxic, making it a safe choice for kids (just be sure to supervise younger children).
- Easy Cleanup: If you’re working on a non-porous surface, a quick wipe with a damp cloth is often enough to clear up the mess.
- Creative Freedom: You can blend colors, create swirls, and experiment with various techniques, resulting in unique pieces every time.
Materials You'll Need
Before we start, let me share the simple materials required to whip up this fun craft. You likely already have most of these items at home!
- Shaving foam (the cream kind—not gel): 1 can
- White school glue (or PVA glue): 1 cup
- Food coloring or liquid watercolors: In various colors
- A mixing bowl: For your foam paint
- A spatula or mixing stick: To combine the ingredients
- Baking sheets or cardstock: As your art canvas
- Plastic wrap: For easy cleanup (optional)
- An old towel or apron: To protect clothing and surfaces
Step-by-Step Tutorial
Ready? Let’s get creating!
Step 1: Prepare Your Workspace
Start by setting up your workspace. Lay down the plastic wrap or an old towel to cover the table. This will save you the hassle of cleaning up any spills and drips later. Setting up an organized area will also make the process smoother and more enjoyable!
Step 2: Combine Shaving Foam and Glue
In your mixing bowl, pour in about 1 cup of white school glue. Then, add the entire can of shaving foam. This is where the magic begins!
Mix the two ingredients gently using your spatula. Be careful not to over-mix—some fluffiness is what makes this paint so unique! Over-mixing will cause the foam to become dense, so a light hand is key here.
Step 3: Add Color
Now it’s time to bring your paint to life with color! Using food coloring or liquid watercolors, add a few drops to your foam mixture. If you’re going for vibrant hues, don’t be shy with the color. Stir lightly to combine, but again, be cautious not to deflate the mixture. You can create a beautiful marbled effect by only stirring lightly to leave some streaks of color.
Step 4: Test the Consistency
Take a small amount of your shavings foam paint and test its consistency on a piece of cardstock. It should hold its shape but still be spreadable. If it seems too thick, you can add a little more shaving foam to lighten it. If it’s too runny, incorporate more glue.
Step 5: Start Painting!
Here’s where the fun truly begins! Use your fingers, brushes, or even stencils to create designs on baking sheets or cardstock. Children particularly love using their fingers, so let their imaginations roam free!
Step 6: Let It Dry
Once you’ve finished your masterpiece, allow it to dry for at least 24 hours. For added depth, you can layer colors, allowing one layer to dry before adding another.
Potential Pitfalls and How to Fix Them
While this process is straightforward, challenges can arise. Here are a few common problems and their solutions:
- Too Runny: If the paint is dripping and not holding its shape, you may have added too much water (from food coloring). Solving this is simple: add more glue and a touch of shaving foam until the texture improves.
- Too Thick: If the paint feels more like whipped cream and isn’t easily spreadable, just mix in a few drops of water or more shaving foam.
- Colors Blending Too Much: If colors blend into a muddy mess, try letting the first color dry a bit before applying the next. This works especially well if you want to create distinct layers.
Personal Tips and Tricks
Over my years of crafting, I’ve learned a few tips that have enhanced my shaving foam paint experience:
- Experiment with Scents: Add a few drops of essential oils to your foam for a fragrant twist while crafting!
- Make it Seasonal: Adjust the colors based on the season or holidays: soft pastels for spring, rich hues for autumn, or festive colors for winter.
- Get Textured: Consider using tools like sponges, old toothbrushes, or even kitchen utensils for varied textures and effects.
Safety Considerations
While this project is generally safe due to non-toxic ingredients, always supervise younger children during the process. It’s also essential to ensure that no one is allergic to any of the products being used. If you're concerned, test the paint on a small patch of skin before full use.
Creative Variations
Feeling adventurous? Here are a few creative twists to keep your project fresh:
- Add Glitter: For a magical touch, sprinkle in some glitter before mixing.
- Layer with Different Textures: Combine the shaving foam paint with other materials such as sand or paper cuts for multidimensional art.
- Themed Projects: Create themed pieces based on upcoming events like Halloween or birthdays.
Conclusion
And there you have it—an easy, enjoyable crafting experience that yields beautiful results! Easy Shaving Foam Paint is a fantastic way to bond with friends or family while expressing your creativity. I hope you’re inspired to give it a try and perhaps even share your creations with the world. Remember, crafting is not just about the final product; it’s about the joy and memories made along the way. So gather your materials, let your creativity flow, and most importantly, have fun! Happy crafting!