DIY Window Clings: An Incredible Ultimate Guide to 5 Amazing Designs
DIY Window Clings are a fantastic and fun way to add a unique touch to your home decor. They're versatile, easy to make, and can transform any window into a vibrant canvas for personal expression. Whether you're looking to spruce up your living space for a holiday or simply want to enjoy some seasonal cheer, creating your own window clings is not only enjoyable but also a great avenue for creativity.
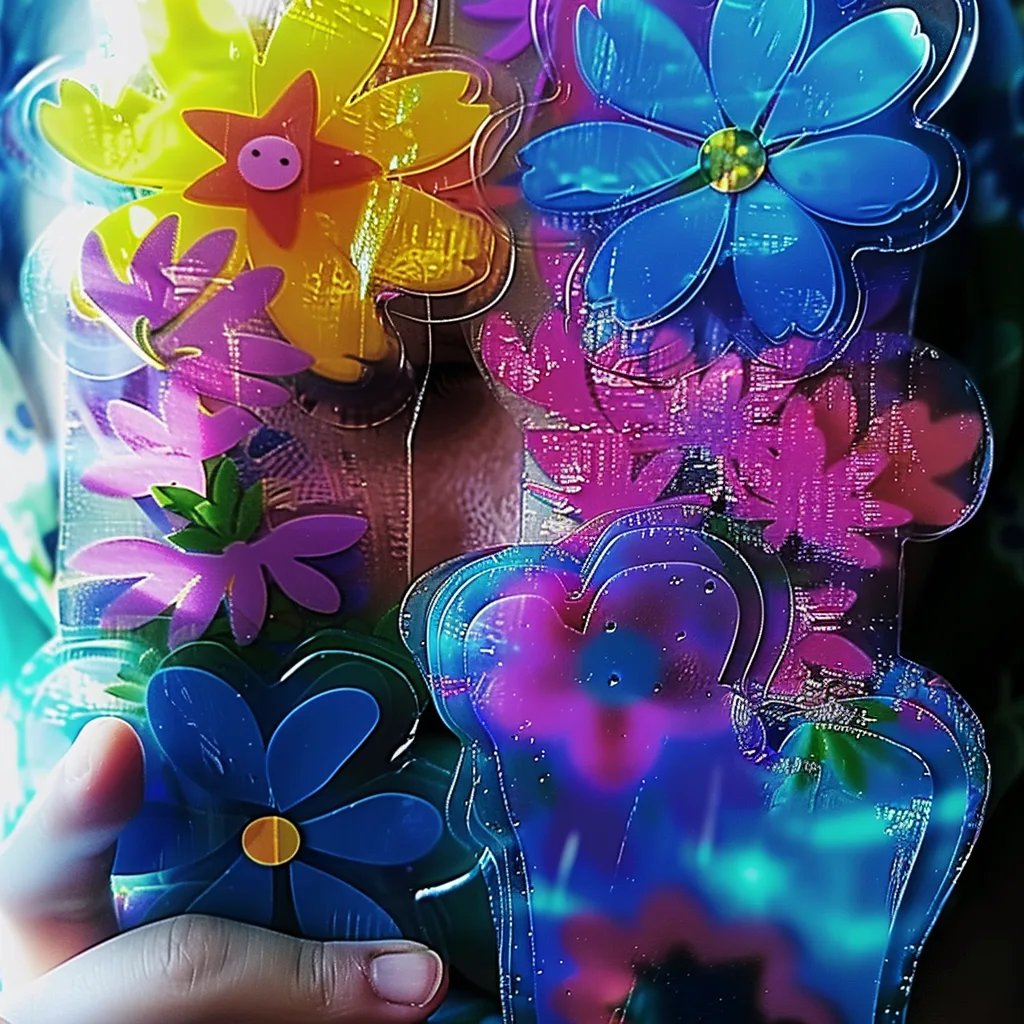
Imagine filling your windows with colorful, eye-catching designs that not only enhance your view but also reflect your personality. DIY Window Clings offer a temporary yet impactful solution; they're easily removable and won't damage your glass surfaces. This makes them an ideal project for families, kids, or anyone wishing to add a dash of creativity to their environment without long-term commitment.
In this guide, you'll discover why DIY Window Clings are so delightful, the materials and ingredients you’ll need for your creative endeavor, and a step-by-step method to create 5 amazing designs. Let’s jump into the world of window art!
Why You’ll Love This DIY Window Clings Project
There are numerous reasons why DIY Window Clings are a beloved craft idea. Here are some of the key benefits:
- Creative Freedom: You can design any pattern or image to suit your taste or seasonal themes.
- Family Fun: This project is a perfect activity for kids and adults alike. Everyone can get involved!
- Affordability: Making your own clings is often cheaper than buying pre-made ones.
- Easy Application: They are simple to apply and remove, leaving no sticky residue.
- Customizable: You can choose colors, shapes, and sizes that best fit your decor.
This crafty pursuit is not only rewarding but also helps in nurturing creativity and expressing individuality in your living space.
Preparation and Crafting Time
Creating your own DIY Window Clings is a quick process that can be done in a few hours. Here’s the breakdown:
- Preparation Time: 15 minutes
- Crafting Time: 1 to 2 hours
- Drying Time: 12 hours (for best results)
These times may vary slightly depending on the designs and techniques used.
Materials and Ingredients
To successfully create your DIY Window Clings, here’s a simple list of what you’ll need:
- Clear window cling film or vinyl sheets
- Liquid adhesive (like PVA glue)
- Food coloring or acrylic paint (non-toxic)
- Paintbrushes or sponges
- Scissors
- Pencil (for sketching designs)
- Wax paper (for drying)
- Optional: glitter, sequins, or fabric scraps (for added decoration)
Having all these materials ready will make the crafting process smooth and enjoyable.
Step-by-Step Instructions
Follow these simple steps to create your own stunning DIY Window Clings:
- Sketch Your Design: Use a pencil to outline your design on a piece of paper. Consider shapes like flowers, stars, or holiday symbols.
- Prepare the Base: Cut the cling film or vinyl sheets into the desired size. Remember, the designs will be reversed when applied, so keep that in mind while sketching.
- Create Your Colors: In a small bowl, mix liquid adhesive with food coloring or acrylic paint until you reach your desired shade.
- Paint the Design: Using a paintbrush or sponge, carefully fill in your sketched design with the colored adhesive. Ensure the paint is thick enough to hold its shape once dry.
- Add Extras: If you wish to embellish your clings, now is the time to sprinkle on glitter or add fabric scraps before the paint dries.
- Let it Dry: Place the finished cling designs on a piece of wax paper and allow them to dry completely for at least 12 hours. This ensures they adhere properly when applied to the window.
- Cut Out the Shapes: Once dried, carefully cut around your shapes, leaving a small border if desired.
- Apply to Window: Simply peel and stick! These clings can be repositioned easily without leaving any sticky mess.
- Enjoy Your Art: Stand back and admire your handiwork!
By following these steps, you can effortlessly craft beautiful window decorations that will impress everyone.
How to Serve
To showcase your amazing DIY Window Clings, consider the following tips for optimal display:
- Choose the Right Location: Select sunny spots or areas where the designs can be fully appreciated.
- Mix and Match: Combine different designs for a vibrant, eclectic look. Seasonal themes work great here.
- Easy Removal: It’s simple to change your clings according to the season or occasion; just peel them off and create anew!
- Gift Them: If you’ve created extra designs, consider giving them as gifts to friends and family for their windows.
- Encourage Interaction: If you’re sharing this craft with kids, have them show off their designs to friends for a little added recognition.
With these tips in mind, you’ll not only enjoy decorating your windows but also inspire creativity in those around you. Happy crafting!
Additional Tips
- Experiment with Colors: Mix different food coloring to create unique shades that can enhance your designs.
- Use Templates: If you’re not confident in freehand drawing, use printed templates. Place the cling film over the template and trace with adhesive paint.
- Secure Designs with Tape: If your cling slips as it dries, use a light piece of tape to keep it in place. Just remember to remove it before the glue sets completely!
- Try Different Glass Surfaces: DIY Window Clings can be applied to mirrors or even glass doors for added decor versatility.
Recipe Variation
There are numerous creative avenues to explore when making your DIY Window Clings. Here are some variations you might enjoy:
- Holiday Themes: Tailor your designs to seasonal themes—pumpkins for Halloween, snowflakes for winter, or flowers for spring.
- Stained Glass Effect: Mix a bit of clear glue with colors to create a translucent look that mimics stained glass.
- Text-Based Designs: Use stencils to spell out words or phrases for added personalization, like "Welcome" or "Let it Snow."
Freezing and Storage
- Storage: Keep your DIY Window Clings in a cool, dry place, ideally between sheets of wax paper. They should last for several months if properly stored.
- Disposal: Once you’re done with a design, you can easily peel it off and recycle any leftover materials with minimal hassle.
Special Equipment
While creating DIY Window Clings is quite straightforward, a few tools can enhance your crafting experience:
- Craft knife or detailed scissors for precise cutting.
- Plastic squeeze bottles for easier application of the adhesive colors.
- Cutting mat to protect your surfaces while cutting out intricate designs.
Frequently Asked Questions
Can I reuse DIY Window Clings?
Absolutely! As long as they are stored properly, you can peel them off and reapply them, making them great for changing seasons or events.
How do I remove the clings once they are on the window?
Simply peel them off gently from one corner. They should come off smoothly without damaging the glass or leaving residue.
What surfaces can I use for DIY Window Clings?
These clings work best on smooth, non-porous surfaces like glass, acrylic, or metal. Avoid using them on painted or porous surfaces to prevent damage.
What types of designs work best for beginners?
Start with simple shapes like stars, hearts, and basic flowers. As you gain confidence, you can advance to more intricate designs.
Can I use my DIY Window Clings outdoors?
Yes! However, keep in mind that exposure to the elements may reduce their longevity. It’s best to use them in sheltered areas.
Conclusion
Creating DIY Window Clings is a fulfilling and artistic activity that can bring life to any space. With endless creative possibilities, these temporary decorations allow you to personalize your home seasonally or for special occasions. Whether you're crafting with family or indulging in a solo project, the joy of designing your own window clings is undeniable. So gather your materials, unleash your creativity, and transform your windows into a delightful showcase of personal art!