DIY Under the Sea Snow Globe: An Amazing Ultimate Guide
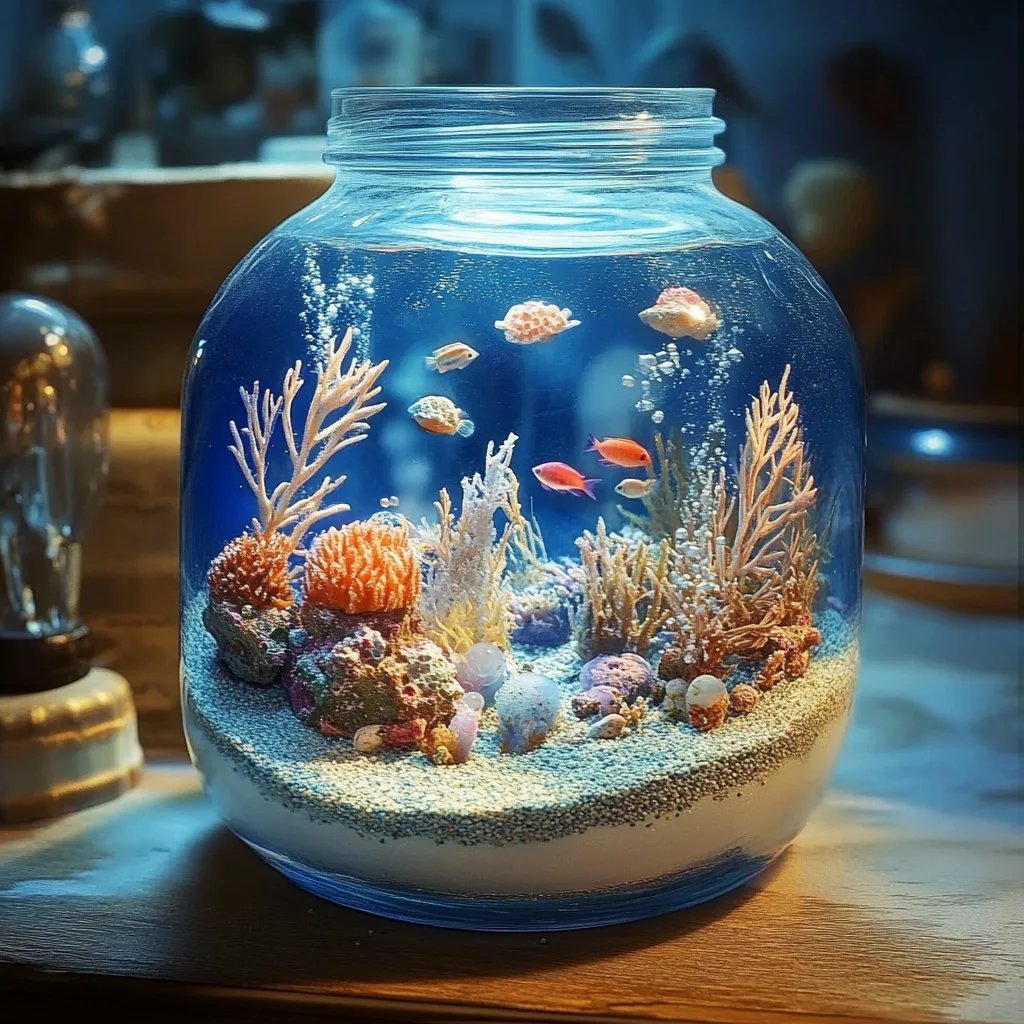
DIY Under the Sea Snow Globe is not just a whimsical craft; it's an incredible way to bring the beauty of the ocean into your home. Imagine creating your own magical underwater scene, encapsulated within glass, where tiny glittery fish swim amidst shimmering bubbles. This project is suitable for both kids and adults, making it an excellent family activity. You'll be thrilled as you watch the colorful elements come together, transforming into a wonderland of oceanic delight.
Building your very own snow globe can be an exciting creative outlet. It's a perfect project for rainy afternoons or cozy evenings. Whether you want to create a thoughtful gift or a beautiful décor piece, this DIY Under the Sea Snow Globe promises to be a fun and rewarding venture. Not only will you engage in a hands-on activity that fosters creativity, but you'll also have a stunning piece to showcase afterward.
As you embark on this crafting journey, you’ll discover tips, tricks, and techniques to make an unforgettable underwater scene. The process can be somewhat soothing, allowing you to get lost in the vibrant world of crafting. Let's dive into everything you need to know about creating your enchanting DIY Under the Sea Snow Globe!
Why You’ll Love This DIY Project
Creating a DIY Under the Sea Snow Globe is more than just assembling materials; it's about the experience and joy of crafting. Here are several reasons to love this project:
- Creative Freedom: You can personalize your snow globe with colors, creatures, and decorations that reflect your style.
- Stress Reliever: Crafting can be incredibly therapeutic, providing a calming effect as you focus on your creation.
- Perfect for All Ages: It’s an engaging project suitable for kids and adults alike—a fantastic way to spend quality time together.
- Great Gift Idea: Your handmade snow globe makes a memorable gift for friends and family, especially for those who love the ocean.
- Unique Home Decor: This eye-catching piece adds a charming touch to your living space, sparking conversations with guests.
- Sense of Accomplishment: Completing the project gives you a feeling of achievement, especially when you see the final product.
Every time you shake the globe and watch the glitter dance around like aquatic life, you'll be reminded of the fun involved in creating it.
Preparation and Crafting Time
The total time to prepare and craft your DIY Under the Sea Snow Globe is approximately 1 to 1.5 hours. Here’s a breakdown of the timing involved:
- Preparation Time: 20-30 minutes (gathering materials and setting up)
- Crafting Time: 30-60 minutes (creating your unique scene)
- Drying Time: 15-30 minutes (for glue or other materials, as needed)
This estimation can vary, depending on how intricate your design will be or if you’re working with children.
Ingredients
- Glass jar with lid (such as a mason jar)
- Distilled water
- Glycerin (to slow down glitter movement)
- Glitter (various colors, preferably blue and white)
- Small undersea figurines (such as fish, mermaids, or seashells)
- Waterproof adhesive (like hot glue or epoxy)
- Food coloring (blue, optional for added ocean effect)
- Decorative elements (like sand or faux seaweed, optional)
Step-by-Step Instructions
Creating your DIY Under the Sea Snow Globe is simple with these easy-to-follow steps:
- Select Your Jar: Choose a glass jar with a tight-fitting lid. Cleaner jars or mason jars work well.
- Prepare the Base: If desired, glue sand or decorative elements to the bottom of the jar using waterproof adhesive for a more dynamic ocean floor.
- Arrange Your Figurines: Position the undersea figurines where you want them inside the jar. Use the adhesive to secure them in place. Allow sufficient time for the glue to dry.
- Fill the Jar: Pour distilled water into the jar, filling it up to about ¾ full. Leave some space for the lid.
- Add Glycerin: Add a few drops of glycerin to the water. This will help slow down the glitter when you shake the globe.
- Color the Water: If you want a more vibrant ocean look, add a drop or two of blue food coloring to the water and mix gently.
- Sprinkle the Glitter: Add your desired amount of glitter to the jar. Mix it in slowly to avoid clumping.
- Seal the Globe: Carefully place the lid onto the jar, ensuring it is secure.
- Test for Leaks: Turn the jar upside down to check for leaks. If it leaks, apply more adhesive around the lid.
- Shake and Enjoy: Once you’ve ensured everything is secure, shake the snow globe and watch the glitter dance!
How to Serve
To display your DIY Under the Sea Snow Globe beautifully, consider the following options:
- Display Location: Place the globe on a shelf, desk, or table where it can be admired, preferably in a well-lit area to showcase its beauty.
- Enhance the Theme: Surround the snow globe with ocean-themed decorations like seashells, small potted plants, or nautical artifacts for a cohesive look.
- Create a Gift Package: If giving it as a gift, consider wrapping it in clear cellophane and topping it with a bow to elevate its presentation.
- Interactive Display: Get friends and family involved by encouraging them to shake it and enjoy the magical effects inside.
With these tips, your DIY Under the Sea Snow Globe will not only be a mesmerizing craft but also an amazing addition to your décor or a heartfelt gift for others. Enjoy the process and have fun exploring the depths of your creativity!
Additional Tips
- Choose Quality Materials: Opt for a glass jar that is sturdy and free of defects. A well-made jar ensures durability for your snow globe.
- Control the Glitter: Experiment with different types and colors of glitter. Fine glitter creates a magical, shimmering effect while larger flakes offer a more playful look.
- Customize Your Scene: Add personal touches by including small objects that reflect your interests or memories related to the ocean. This could be anything from small treasures found on the beach to faux coral.
- Seal It Well: Use a strong waterproof adhesive around the lid. This prevents any water leakage and keeps the contents intact.
- Care for Your Snow Globe: To maintain the clarity of your snow globe, avoid direct sunlight for prolonged periods. This will prevent the water from becoming discolored.
Recipe Variation
Feel free to get creative with your DIY Under the Sea Snow Globe! Here are some fun variations:
- Themed Scenes: Instead of just fish, try creating a pirate scene with miniature pirates, treasure, and maps. Alternatively, consider a mermaid lagoon with shells and shimmering scales.
- Holiday Themes: Create seasonal globes by incorporating elements related to holidays. Try a Christmas ocean scene with glittery snowflakes mixed in for a festive touch.
- Colored Water: Use different colors of food coloring to depict various oceanic settings, from a vibrant coral reef to a mysterious deep sea.
- Scented Water: Add a couple of drops of essential oil to the water for a pleasant fragrance. Scents like lavender or ocean breeze can enhance the experience.
Freezing and Storage
- Storage: Keep your DIY Under the Sea Snow Globe in a cool place, away from direct sunlight. This will help retain its vibrant colors and clarity.
Special Equipment
To create your enchanting DIY Under the Sea Snow Globe, you'll need some essential tools:
- Hot glue gun or epoxy
- Measuring cups for water and glycerin
- Safety scissors for cutting decorative elements
- Mixing spoon for combining ingredients
- An adjustable workspace to lay out materials
Frequently Asked Questions
What type of jar is best for a snow globe?
A mason jar or any glass jar with a tight-fitting lid works best. Ensure it is clean and free of cracks.
How do I clean my DIY snow globe?
If your globe gets dirty, wipe the exterior with a soft, damp cloth. Avoid getting moisture inside the jar.
Can I use plastic figurines instead of glass?
Yes, plastic figurines are an excellent alternative. They are lighter and less prone to breakage.
What happens if my snow globe leaks?
If you notice leaks, remove the lid and reapply waterproof adhesive carefully around the sealing area.
How long will the glitter last in my snow globe?
With proper care, the glitter will last as long as the water remains clear. Over time, it may settle or clump if not disturbed.
Conclusion
Creating a DIY Under the Sea Snow Globe is a captivating craft that combines creativity and personalization. It transforms simple materials into a magical underwater scene that can evoke memories of the ocean. Whether you're making it for yourself or as a heartfelt gift, this project provides endless opportunities for customization and enjoyment. Embrace your creativity and let your snow globe reflect your unique artistic touch!