DIY Swirly Butterfly Suncatchers: A Colorful Craft to Brighten Your Space
Hello, fellow crafters! Today, I’m thrilled to share one of my all-time favorite DIY projects with you: Swirly Butterfly Suncatchers. These delightful decorations not only brighten up your living spaces but also create a magical atmosphere when sunlight dances through them. I've made countless versions of these stunning suncatchers, and I can't wait to guide you through the process step-by-step.
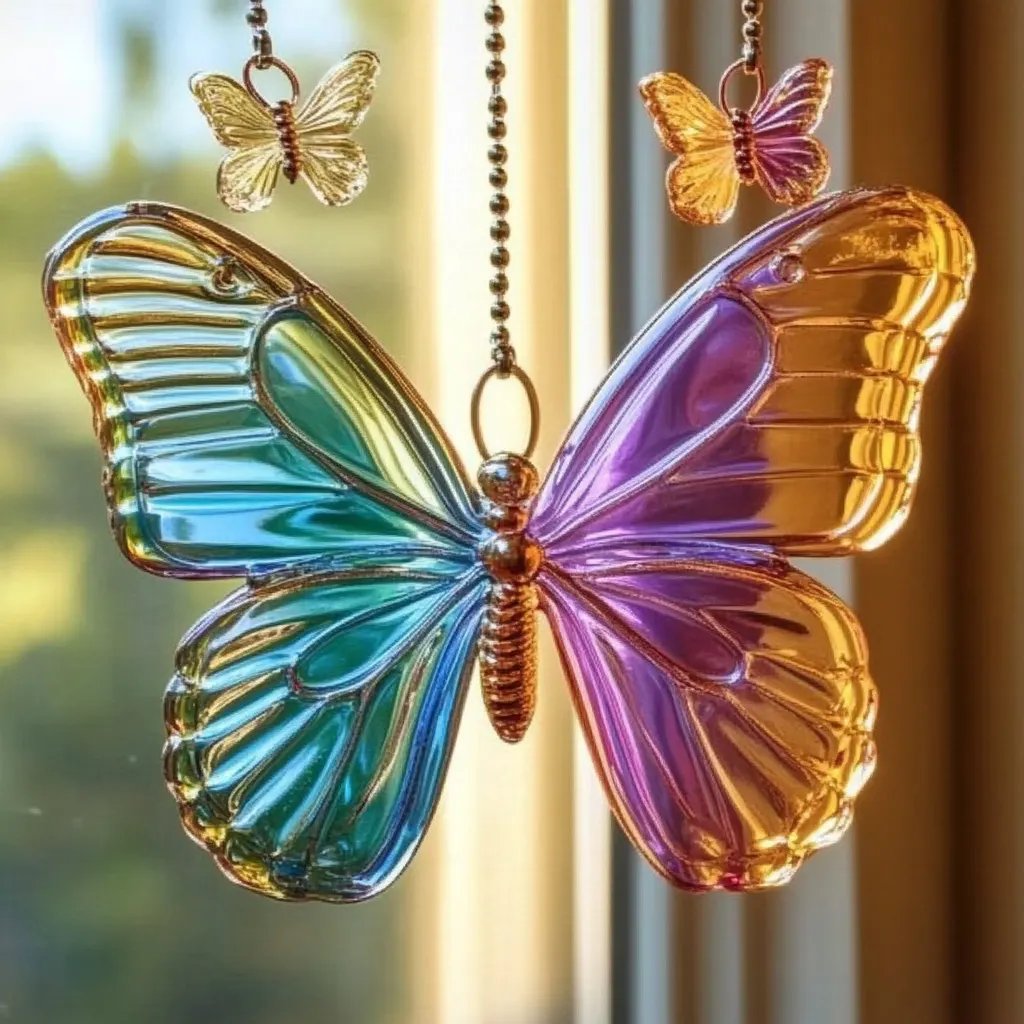
What Are Swirly Butterfly Suncatchers?
Swirly butterfly suncatchers are vibrant window decorations made from colorful cellophane, which catch and reflect sunlight in beautiful, swirling patterns. They're incredibly popular among crafters of all ages for several reasons:
- Versatility: They can be used indoors or outdoors, making them ideal for sprucing up your home year-round.
- Creativity: You can personalize them with different colors, sizes, and designs, making every suncatcher a unique work of art!
- Easy to Make: With just a few basic materials, you can create magical decorations in no time.
These suncatchers are perfect for brightening up windows in children’s rooms, adding a splash of color to your garden, or simply bringing a cheerful touch to your kitchen.
Materials You’ll Need
Before diving in, let’s gather everything you'll need for crafting these suncatchers:
- Cellophane: Choose a variety of colors—feel free to mix and match!
- Black construction paper or cardstock: This will be your butterfly's outline.
- Scissors: For cutting shapes.
- Glue stick or craft glue: To adhere the cellophane.
- Pencil or pen: For tracing your butterfly design.
- Wax paper or parchment paper: To sandwich your butterfly suncatcher.
- Hole punch (optional): If you want to hang them with string.
- String or fishing line: For hanging your finished creation.
Step-by-Step Tutorial
Now, let’s get crafting! I promise this will be a rewarding and enjoyable process.
Step 1: Preparing Your Butterfly Template
- Sketch a Butterfly Outline: Start by drawing a simple butterfly shape on your construction paper. It doesn’t have to be perfect—let your creativity flow! Remember: each butterfly can be unique, so don’t hesitate to add your own flair.
- Cut Out the Butterfly Shape: Carefully cut out the outline. This will serve as your template and guide for attaching the cellophane.
Tip: If you're unsure about your drawing skills, you can find numerous butterfly templates online. Just print one that suits your style!
Step 2: Creating the Swirly Design
- Cut Cellophane: Cut your cellophane into small squares or strips. These will be the colorful sections that fill your butterfly. Mix and match colors for an eye-catching design!
- Arrange the Pieces: Lay your butterfly outline on a flat surface and begin placing the cut cellophane pieces within the outline. Experiment with different arrangements until you achieve a design you love.
Common Issue: If the cellophane sticks to everything or if you’re having difficulty arranging them, try laying a light layer of glue first and then place the pieces on top to hold them in place.
Step 3: Attaching the Cellophane
- Secure the Pieces: Use a glue stick or craft glue to fix the cellophane squares to the construction paper. Make sure to fully cover the area within the butterfly shape.
- Sandwiching It All Together: Once you’ve glued your cellophane, place a piece of wax paper or parchment paper over it to protect your surface. Then, carefully flip it over to the back side.
- Add a Layer of Glue: Apply a thin layer of glue to the back of your butterfly, seal it in with another piece of construction paper or cardstock. This will give your suncatcher a polished look and hold everything together.
Step 4: Finalizing Your Suncatcher
- Let It Dry: Allow your butterfly suncatcher to dry completely. This is important; if it's not fully dry, it may warp or tear during handling.
- Hang It Up: If you’ve opted to use a hole punch, now is the time to punch a hole at the top. Use string or fishing line to hang your new suncatcher in your window—preferably where the sunlight can really shine through.
Personal Anecdote: I remember the first time I hung my suncatchers by the sunny kitchen window. The whole space lit up, casting beautiful rainbow patterns on the walls—my heart was filled with joy!
Troubleshooting Common Issues
- Appearance of Air Bubbles: If you notice air bubbles under your cellophane, gently press the area with your fingers or a flat tool like a ruler to smooth it out.
- Color Fading: If you’re using items like craft foam for your shapes, be mindful that some materials can fade over time in direct sunlight. Cellophane holds color well, but consider using clear contact paper over them if you want to preserve the vibrancy.
Creative Variations
- Add Glitter: For a magical touch, sprinkle some glitter on your design before sealing it together.
- Multi-layer Designs: Create a multi-layer butterfly suncatcher with a larger butterfly silhouetted behind a smaller cut-out one for a stunning 3D effect.
- Using Different Shapes: Instead of butterflies, try other whimsical shapes like flowers, stars, or hearts—let your imagination lead the way!
Safety Warnings
- Scissors: Always use scissors carefully, especially around children. Encourage supervision when little hands are crafting alongside you.
- Craft Glue: If you're using a strong adhesive, ensure adequate ventilation and avoid contact with skin and eyes—craft responsibly!
Final Thoughts
Creating these Swirly Butterfly Suncatchers has been such a joyful experience for me, and I’m excited for you to embark on this colorful adventure! These suncatchers not only brighten your space but also allow for infinite creative expression—a beautiful combination.
So, gather your materials and let your creativity soar. You never know, you might just discover a hidden talent for crafting that you never knew you had! Happy crafting, and I can’t wait to see your lovely creations!