DIY Sun Catchers: An Amazing Ultimate Guide
DIY Sun Catchers are a wonderful way to bring color and light into your home. They catch the sun's rays, creating beautiful patterns and glimmers throughout your living space. Crafting these vibrant decorations not only allows you to express your creativity but also enhances your home decor with personalized touches. Whether you're looking for a fun family project or a calming solo endeavor, making DIY Sun Catchers can unlock your artistic potential.
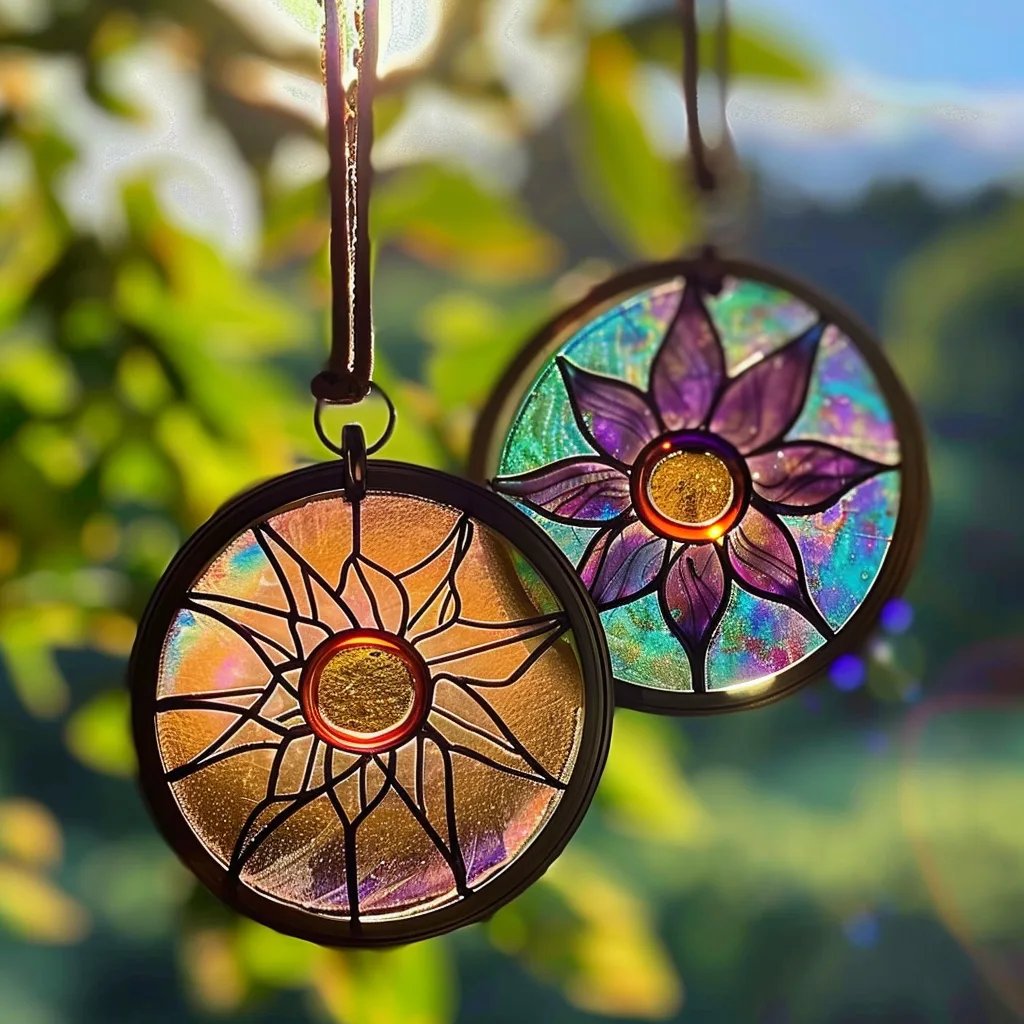
Imagine hanging a stunning sun catcher in your window, watching as it transforms sunlight into a dazzling display of color. Each time the light hits the glass or plastic, a spectrum of hues dances around the room, creating a magical atmosphere. DIY Sun Catchers are not just a visual treat; they also invite positivity and warmth into your surroundings. This guide will walk you through the steps needed to create your own unique sun catchers, making it easy for anyone to join in the fun!
This article will cover everything from the materials you need to the step-by-step process of crafting your sun catchers. By the end, you’ll understand why this creative activity is not just enjoyable but truly fulfilling. Each completed piece will fill your space with light and a sense of accomplishment. So let’s dive right into the vibrant world of DIY Sun Catchers!
Why You'll Love This Craft
DIY Sun Catchers are an engaging craft that captivates both children and adults. Here’s why this project is sure to brighten your day:
- Endless Creativity: With various materials and colors, you can design sun catchers to match your style or home decor.
- Simple Materials: Most supplies are easy to find and affordable, often including items you already have at home.
- Fun for All Ages: Kids and adults alike can share in the crafting experience, making it a great family bonding activity.
- A Beautiful Result: The end product not only looks great but also enhances the light in your home, making your space more welcoming.
- Therapeutic Experience: Engaging in creative tasks is known to reduce stress and boost mental well-being.
- Perfect Gifts: Handmade sun catchers make thoughtful gifts for friends and family, especially during special occasions.
With these appealing elements, there’s no doubt that DIY Sun Catchers will be a rewarding experience for you and anyone involved in the crafting process!
Preparation and Crafting Time
Creating your own DIY Sun Catchers requires minimal preparation. Here’s a breakdown of the time required to complete this craft:
- Preparation Time: 15-30 minutes, depending on how elaborate your design is.
- Crafting Time: 1-2 hours for assembling and decorating your sun catchers, though this can vary based on personal speed and creativity.
Most families can easily fit this fun and rewarding activity into a weekend afternoon, resulting in beautiful sun catchers to showcase in your home.
Ingredients
For your DIY Sun Catchers, gather the following materials:
- Clear plastic or glass (like old CDs, jars, or acrylic sheets)
- Colored tissue paper or cellophane
- Scissors
- Mod Podge or glue (if using paper)
- Paintbrush (for applying glue)
- String or fishing line (for hanging)
- Frame (optional, for added flair)
- Additional embellishments (like beads or glitter, optional)
With these simple ingredients, you’re well on your way to creating stunning and personalized sun catchers that will bring joy into your home.
Step-by-Step Instructions
Follow these easy steps to create your beautiful DIY Sun Catchers:
- Choose Your Base: Decide on your sun catcher base. If using CDs, the shiny side will catch light beautifully.
- Cut the Tissue Paper: Tear or cut colored tissue paper into small squares or shapes. This will create your design.
- Apply Glue: Using a paintbrush, apply a thin layer of Mod Podge or glue onto the surface of your base.
- Arrange the Tissue Paper: Place your tissue paper pieces onto the glued surface. Feel free to experiment with colors and patterns.
- Seal the Design: Once you’re happy with your arrangement, apply another layer of glue over the tissue paper. Allow it to dry completely.
- Prepare for Hanging: Once your design is set, attach a piece of string or fishing line to hang the sun catcher. This can be done by creating a small hole at the top or gluing it in place.
- Add Final Touches: If desired, decorate the frame or edges of your sun catcher with embellishments like beads or glitter.
- Hang and Enjoy: Find a sunny spot in your home to hang your new sun catcher and watch the magic happen as light filters through.
By following these steps, you’ll create stunning sun catchers filled with personality and color!
How to Serve
Displaying your DIY Sun Catchers can transform your living space in delightful ways. Here are some tips on how to serve your creations:
- Choose the Right Spot: Hang them in areas where they can catch direct sunlight, such as in windows or sunlight-filled corners.
- Mix and Match: Create multiple sun catchers in different styles and sizes to create a colorful display.
- Seasonal Themes: Change them up with the seasons for a fresh look throughout the year. For example, use autumn hues in fall or pastels in spring.
- Gift with Love: Wrap your sun catchers beautifully and present them as gifts for loved ones to brighten their homes too.
- Encourage Interaction: Encourage family and friends to make their own sun catchers, creating a community of shared creativity.
By incorporating these approaches, you’ll not only showcase your DIY Sun Catchers but also spread joy and creativity in your home and the lives of others!
Additional Tips
- Experiment with Shapes: Don’t limit yourself to just basic shapes. Try hearts, stars, or even abstract forms for added creativity.
- Layer Your Colors: Using multiple layers of tissue paper can create a beautiful depth in your sun catchers.
- Use Clear Contact Paper: If you want a slick finish, consider using clear contact paper as a base instead of glass or plastic.
- Incorporate Nature: Add real leaves or flower petals to your sun catcher for an organic touch.
- Create a Theme: Choose a specific color palette or theme, such as ocean colors or warm sunset hues, to create a cohesive grouping of sun catchers.
Recipe Variation
Feel free to explore variations in your craft! Here are a few suggestions:
- Different Materials: Instead of glass or plastic, try using old picture frames or sturdy cardboard.
- Texture Play: Add textured paper or fabric to your designs by gluing on lace or burlap pieces.
- Layered Effects: Utilize multiple layers of tissue paper for a stunning 3D effect, creating shadows and depth.
- Personalized Messages: Write inspiring quotes with permanent markers on your sun catchers to add a personal touch.
Freezing and Storage
- Storage: Once your sun catchers are complete, store them in a cool, dry place to maintain their color and integrity.
- Display Strategy: Keep your sun catchers out of direct heat or damp conditions to avoid any degradation of materials.
Special Equipment
You may need some additional tools for crafting your DIY Sun Catchers:
- Cutting Mat: For safely cutting your materials.
- Pencil: To sketch out your design before you start.
- Ruler: For measuring out perfect shapes and sizes.
- Tweezers: Helpful for placing small pieces of tissue paper precisely.
- Clear Acrylic Spray: To seal your sun catcher and enhance its shine (optional).
Frequently Asked Questions
Can I use colored glass instead of plastic?
Yes, colored glass will create beautiful light patterns. Just be careful when handling glass materials.
How long will my sun catcher last?
With proper care, a DIY sun catcher can last for years, although sunlight exposure may fade colors over time.
Are there kid-friendly variations?
Absolutely! Younger children can use craft foam instead of glass for safer crafting.
Can I use markers on the sun catchers?
Yes, permanent markers are great for adding details and personal touches. Just ensure the markers are non-toxic.
What if I don’t have Mod Podge?
You can substitute with clear glue or even homemade flour glue for paper crafts.
Conclusion
Creating DIY Sun Catchers is a delightful and rewarding experience. Not only do they bring beauty and color into your home, but they also allow for an endless expression of creativity. Engaging in this craft is an excellent way to spend time with family or unwind alone. Once completed, your sun catchers become stunning focal points that brighten any space, infusing it with warmth and good energy. Try your hand at crafting one today and enjoy the artistic journey that comes with it!