DIY Slime-Infused Bouncy Balls That Glow & Stretch: A Fun Crafting Adventure
Hello, fellow crafters! Today, I’m thrilled to share my favorite DIY project: making Slime-Infused Bouncy Balls that not only glow but stretch, adding a touch of creativity and fun to a classic childhood toy. I've been crafting for several years now, and this project is one of those that truly embraces the spirit of both science and artistry. Not only is it a delightful way to spend an afternoon, but it’s also a fantastic party activity, a sensory tool for kids, and a unique gift idea for friends and family.
What Makes These Bouncy Balls Special?
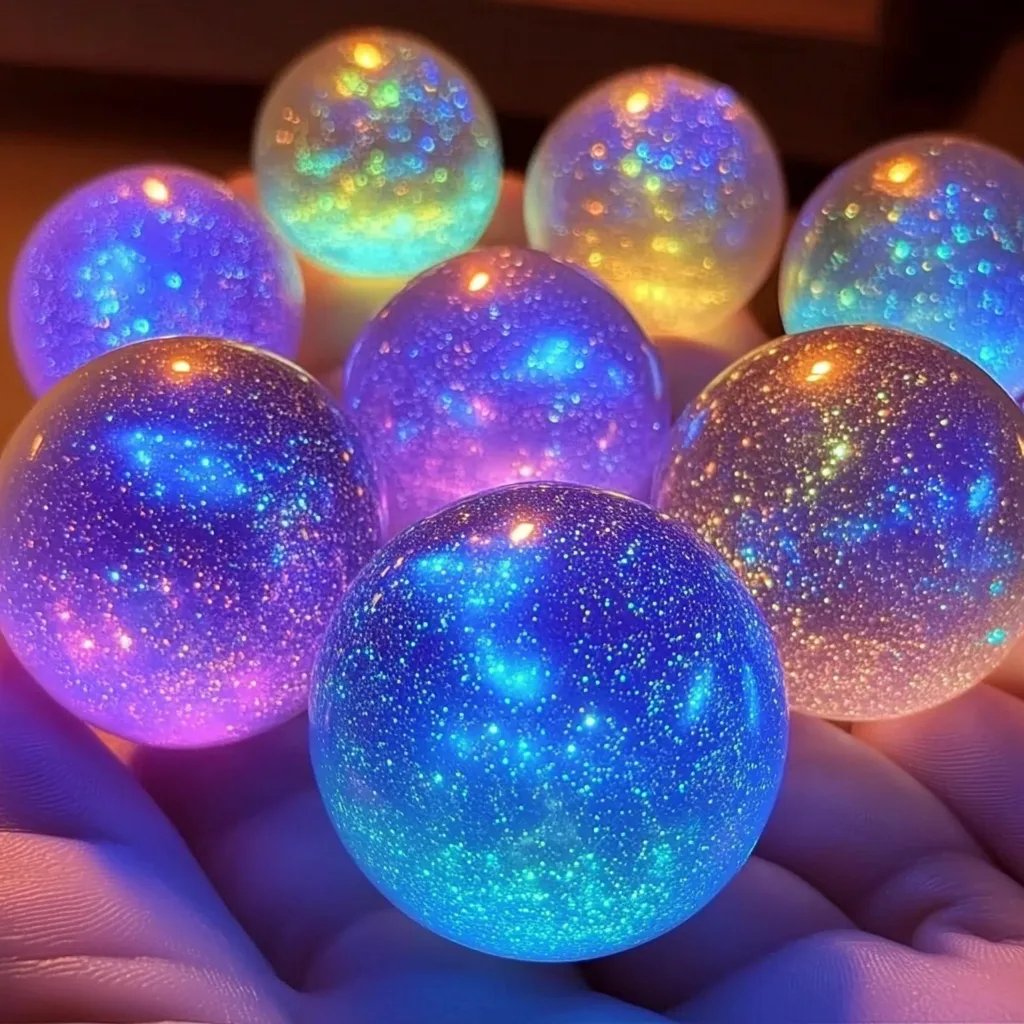
Why are Slime-Infused Bouncy Balls so popular? Well, beyond the sheer enjoyment of making them, these bouncy balls combine the tactile excitement of slime with the energetic fun of bouncing. They glow in the dark, making them ideal for nighttime play, and they can be stretched to some extent, adding an element of surprise. Whether you're throwing a party, looking for a rainy day activity, or simply wanting to add some fun to your day, these bouncy balls fit the bill perfectly!
What You'll Need
Before we dive into the details, let’s gather our materials. The beauty of this project lies in how accessible the ingredients are. Here’s what you’ll need:
Materials:
- White School Glue (PVA glue) – 1 cup
- Borax Powder – 1 teaspoon (for the slime activation)
- Water – 1 cup (divided: ¾ cup for glue mixture, ¼ cup for solution)
- Cornstarch – 1 cup (for added texture)
- Glow-in-the-Dark Paint or Powder – 1-2 tablespoons (pick your favorite!)
- Food Coloring – Optional (to make your bouncy balls colorful)
- Mixing Bowls
- Spoon or Stick (for stirring)
- Balloon or Balloon Pump (for shaping)
- Measuring Cups and Spoons
Safety Warning:
Borax is generally safe in small quantities, but it’s always wise to supervise young children during this process. Be sure to wash hands thoroughly after handling ingredients and avoid ingestion.
Step-by-Step Tutorial
Step 1: Prepare Your Slime Base
Why This Step Matters: The slime forms the core of your bouncy ball. It needs to achieve the right consistency for optimal bounce and stretch.
In a large mixing bowl, combine ¾ cup of water with 1 cup of white school glue. Stir well until fully blended. If you’re opting for food coloring, this is the time to add a few drops and mix until you achieve your desired color.
Common Pitfalls:
- If your glue isn’t mixing well or looks clumpy, it may be because of the temperature of the water. Using lukewarm water can help dissolve it better.
Step 2: Activate the Slime
Why This Step Matters: This step transforms your liquid mixture into a stretchy slime through a chemical reaction.
Dissolve 1 teaspoon of Borax powder in ¼ cup of warm water, mixing until it is fully dissolved. Gradually pour this Borax solution into your glue mixture while stirring continuously. You’ll notice the mixture begin to thicken and clump together. Stop adding Borax solution once you’ve achieved a stretchy, gel-like consistency.
Fixing Issues:
If your slime is too sticky, it may need a little more Borax solution. Just mix another small batch in a separate bowl and add gradually until satisfied. If it's too stiff, you might need a touch more water next time.
Step 3: Add Cornstarch and Glow-in-the-Dark Ingredients
Why This Step Matters: Cornstarch enhances the texture of your bouncy balls, and the glow powder makes them visually striking during nighttime play.
Incorporate 1 cup of cornstarch into your slime mixture, blending thoroughly. Then, mix in 1-2 tablespoons of your glow-in-the-dark paint or powder. Keep working the mixture until evenly combined.
Creative Tip:
Experiment with non-toxic glitter or small foam beads to add extra flair to your bouncy balls!
Step 4: Shaping Your Bouncy Balls
Why This Step Matters: Shaping finalizes your product into a well-formed bouncy ball.
Once the mixture is thoroughly combined, you can either use your hands to form the balls or use a balloon to shape them. If using a balloon, simply fill it with your mixture until it's about the size of a small rubber ball. Tie off the end securely.
Step 5: Let It Set
Why This Step Matters: Allowing the bouncy balls to sit helps them firm up while holding their shape.
Place your formed bouncy balls on a tray and let them sit for at least 4-6 hours, or overnight if you want to ensure they are completely firm.
Step 6: Enjoy and Play!
Once the waiting time is over, it’s finally time to test out your bouncy balls! Take them outside or play with them indoors, and witness the excitement as they bounce, glow, and stretch!
Troubleshooting Common Issues:
- Too Soft: If the bouncy balls don’t hold their form, they might require more cornstarch in the mixture next time.
- Not Bouncing Well: If the balls are flat or not bouncing, ensure they were given enough time to set.
Wrapping Up & Variations
Crafting Slime-Infused Bouncy Balls is not only a fun hands-on project, but it’s also a fantastic way to explore chemistry and creativity in one go. Whether you're making these for yourself, gifting them, or setting up a crafting session for friends or kids, you'll be sharing joy through this playful activity.
Explore other variations by adding scents or experimenting with different colors and themes based on holidays or special occasions. Create a glow-in-the-dark ball for Halloween or use pastel shades for springtime fun!
I hope you’ve enjoyed this crafting journey with me. Remember, the beauty of crafting lies in the exploration and the joy it brings—happy crafting, and may your bouncy balls bring endless smiles!