DIY Sea Glass Flower: An Incredible Ultimate Guide
DIY Sea Glass Flower is a wonderful craft that brings the beauty of nature into your home. This project allows you to transform simple materials into stunning decorations that resemble sea glass flowers found on the beach. Not only is this craft visually appealing, but it also offers a creative outlet for those looking to express their artistic side. Imagine displaying colorful blooms made from sea glass in your garden or home, evoking the serenity of coastal living.
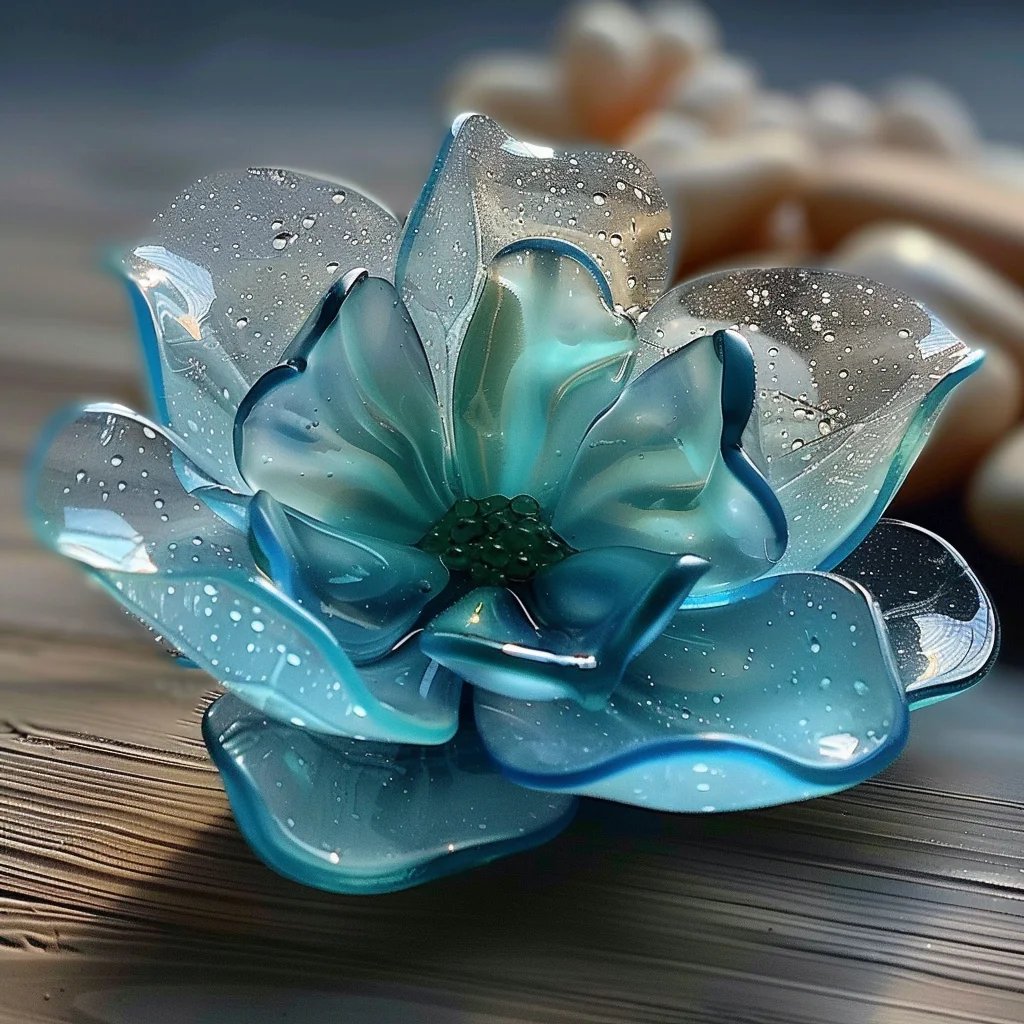
Creating DIY Sea Glass Flowers can be an enriching experience. The textures and colors of the glass mimic the hues of the ocean on a sunny day. Furthermore, this craft is accessible for crafters of all skill levels. From beginners to seasoned artisans, everyone can enjoy the therapeutic process of creating something beautiful. In this guide, we’ll explore the essentials of making DIY Sea Glass Flowers, including the required materials, detailed instructions, and tips for serving up these stunning creations.
Dive into this amazing project full of vibrant colors and beachy vibes. Let's explore together the fascinating steps to create your own lovely sea glass flowers that will impress your friends and brighten up any space.
Why You'll Love DIY Sea Glass Flowers
DIY Sea Glass Flowers provide not just aesthetic beauty but also emotional satisfaction. Here are a few compelling reasons to embrace this creative endeavor:
- Eco-Friendly Crafting: Utilizing recycled or upcycled glass makes this project environmentally friendly, contributing positively to your home and planet.
- Customizable Colors: You can choose any color palette that fits your decor, making it a versatile option suitable for various styles and themes.
- Stress Relief: Engaging in creative activities like crafting can be therapeutic, reducing stress and promoting mindfulness.
- Budget-Friendly: Most materials can be sourced for a minimal cost, making it an affordable way to beautify your home or garden.
- Unique Gift Idea: Handmade DIY Sea Glass Flowers make special gifts for friends and family that show thoughtfulness and creativity.
- Perfect for Any Occasion: Whether it's for a summer gathering, a garden party, or just home decor, these flowers are a delightful addition to any setting.
With these benefits, it’s easy to see why DIY Sea Glass Flowers are a favored choice among crafters and decorators alike.
Preparation and Crafting Time
Creating DIY Sea Glass Flowers is an enjoyable task that can be completed in a matter of hours. Here’s a breakdown of the time required:
- Preparation Time: 15-20 minutes
- Crafting Time: 1-2 hours (depends on the complexity of the design)
- Drying Time: 2-4 hours (for paint and adhesive)
This timeline should provide a decent framework for your crafting session, though variations may occur based on different factors such as design complexity and environmental conditions.
Materials
- Colored glass pieces (can be purchased or found)
- Wire (floral or craft wire)
- Pliers and wire cutters
- Hot glue gun and glue sticks
- Green floral tape or paint
- Wooden dowels or sturdy sticks (for stems)
- Faux leaves or additional decorations (optional)
Step-by-Step Instructions
Creating beautiful DIY Sea Glass Flowers can be broken down into simplified steps:
- Gather Materials: Collect all the necessary materials listed above to ensure a smooth crafting experience.
- Design Your Flower Head: Arrange various pieces of colored glass in a circular pattern to form the flower shape you desire.
- Secure the Glass: Use the hot glue gun to attach the glass pieces together. Hold in place until the glue cools and sets properly.
- Prepare the Stem: Take a wooden dowel or sturdy stick; if desired, paint or wrap it with floral tape for a natural look.
- Attach the Flower Head to the Stem: Once the flower head is secure, use the hot glue to attach it to the top of the stem. Ensure stability.
- Add Leaves (if desired): You may opt to glue faux leaves to the stem or paint some green, adding them for a more complete flower look.
- Allow to Dry: Set the completed flower aside for an adequate time to ensure all components are firmly set in place.
- Final Touches: Inspect the flower and make any adjustments or touch-ups as necessary. This might include realigning any glass pieces or reapplying glue if needed.
Following these steps will not only guide you through the crafting process but also enhance your skills, resulting in lovely DIY Sea Glass Flowers that brighten any space.
How to Serve
Presenting your DIY Sea Glass Flowers is just as important as crafting them. Here are some tips for displaying these beautiful creations:
- Vases: Use distinctive vases or containers to showcase your flowers. Clear glass or ceramic pots can beautifully highlight the vibrant colors of your sea glass blossoms.
- Garden Accents: If you’re placing these flowers in your garden, create clusters of various heights for visual interest. They can serve as delightful focal points among greenery.
- Table Centerpieces: Arrange your DIY Sea Glass Flowers as centerpieces for outdoor dining tables. They bring a relaxed beachy vibe and can enhance any occasion.
- Indoor Decor: Position them near windows or on shelves to catch the light, creating beautiful reflections and enhancing the room's ambiance.
- Unique Displays: Consider pairing the flowers with seashells or stones to create a coastal-themed display that transports you to the beach.
These serving suggestions will help you showcase your DIY Sea Glass Flowers effectively, allowing them to be a captivating part of your home or event décor. Enjoy the process and the beauty of your handcrafted creations!
Additional Tips
- Embrace Experimentation: Don’t hesitate to try different shapes for your flowers. Focus on making unique petals and designs, which will add charm to your creations.
- Use Natural Light for Colors: When selecting your glass pieces, try to view them in natural light. This will help you see how the colors blend and shine.
- Incorporate Texture: Combine smooth and rough-textured glass to create interest. This variation can make the flowers even more captivating.
- Secure Components Well: Be sure to allow enough time for glue and paint to dry completely. This ensures that your flowers maintain their structure and beauty over time.
- Safety First: When handling glass, ensure to wear protective gloves if you’re cutting any pieces. Be cautious and mindful of sharp edges.
Recipe Variation
Here are a few creative variations you can explore to personalize your DIY Sea Glass Flowers:
- Seasonal Themes: For a festive touch, create flowers that represent different seasons. Use pastel shades for spring or warm hues for autumn.
- Ocean-Inspired Designs: Incorporate shells or other beach-themed embellishments to reflect a full coastal vibe. These additions will enhance the sea glass aesthetic.
- Mixed Media Approach: Combine your glass blooms with other materials like fabric or paper to create mixed-media flowers. This adds an additional layer of creativity.
- Different Flower Types: Experiment with making different types of flowers, such as daisies, roses, or tulips, using the same glass pieces in various arrangements.
Freezing and Storage
- Storage: Store your DIY Sea Glass Flowers in a cool, dry place away from direct sunlight to preserve the glass's colors and shine. Avoid stacking them on top of each other to prevent damage.
- Freezing: Although these flowers are intended for décor rather than food, if you use perishable components in your arrangement, ensure they are stored appropriately. However, avoid freezing glass objects as this could cause them to shatter.
Special Equipment
To create your DIY Sea Glass Flowers, you will need a few essential tools:
- Hot Glue Gun: An essential tool for securing glass pieces together.
- Wire Cutters: Useful for cutting floral wire to the desired lengths.
- Pliers: Helpful for bending and shaping wire for stems.
- Protective Gear: Wear gloves and safety glasses while working with glass to ensure safety.
- Crafting Surface: Use a clean and dedicated surface for crafting to facilitate easy cleanup and maintain organization.
Frequently Asked Questions
Can I use real sea glass for this project?
Yes, real sea glass can certainly be used. However, ensure it is smooth and free of sharp edges for safety.
How long do these flowers last?
DIY Sea Glass Flowers can last indefinitely if stored correctly and are made from non-perishable materials.
Can I add scents to my flowers?
You can introduce scented elements through dried flowers or essential oil-infused decorations to create a multi-sensory experience.
What do I do if my glass pieces don’t stick?
If your glass pieces are not adhering well, try cleaning them with rubbing alcohol before applying glue. Ensure you’re using a strong adhesive suitable for glass.
Is this project child-friendly?
While the crafting process can be fun for older children, adult supervision is necessary, especially when using sharp tools or hot glue.
Conclusion
Crafting DIY Sea Glass Flowers is a delightful way to bring a touch of the ocean into your living space. This project not only allows for artistic expression but also results in beautiful creations that can uplift any décor. By following the steps outlined in this guide, you can easily create stunning sea glass flowers that reflect your unique style.
So gather your materials, unleash your creativity, and start crafting your very own DIY Sea Glass Flowers today!