DIY Rope Basket for Storage: An Incredible Ultimate Guide
DIY Rope Basket for Storage is an amazing project that transforms simple materials into functional art for your home. These baskets offer an incredible solution for organizing your space while adding a touch of style. Whether you need a place to store toys, books, or linens, crafting your own rope basket provides both utility and aesthetic appeal.
Making your own rope basket is a rewarding endeavor that allows for creativity and personalization. Not only do these baskets help keep clutter at bay, but they also serve as decorative pieces in your living room, nursery, or office. Let’s delve into why creating a DIY rope basket is worth your time and effort.
Why You’ll Love This DIY Rope Basket Project
Creating your own DIY Rope Basket for Storage is not just about organization; it's also an expressive art project. There are multiple reasons you'll find this guide essential:
- Customization – You can choose the colors, sizes, and patterns that fit your style and home decor.
- Cost-Effective – DIY baskets are usually cheaper than store-bought options, saving you money in the long run.
- Sustainability – By using natural fibers and sustainable materials, you're contributing to an eco-friendly lifestyle.
- Creativity Boost – Engaging in this creative process can relieve stress and inspire further craft projects.
- Functional Art – These baskets are not just storage solutions; they add character and charm to any room.
- Skill Development – Working on this project improves your crafting skills, making you more proficient in future DIY endeavors.
With these enticing benefits, it’s clear that making a DIY Rope Basket for Storage will enhance your home and your crafting repertoire.
Preparation and Crafting Time
Preparing and crafting your DIY Rope Basket does require some time, but the rewards are definitely worth it. Here’s a rough estimate of how long each phase might take:
- Preparation Time: 15-30 minutes to gather materials and set up your workspace.
- Crafting Time: 1-2 hours, depending on the size and complexity of your design.
- Drying Time: If you use glue or paint, allow for an additional 30 minutes to an hour for drying.
Overall, you can expect to spend about 2-3 hours from start to finish, making it a perfect weekend project.
Materials
- Natural cotton rope (3/16" or 1/4" thickness)
- Hot glue gun and glue sticks
- Scissors
- Fabric or painter's tape (optional)
- Paint (for decorative elements, if desired)
- Twine or string (for additional detailing)
- A circular or oval base (wooden board, cardboard, etc. – optional)
- Additional decorative items (e.g., beads, ribbons)
Step-by-Step Instructions
Creating your DIY Rope Basket for Storage is easy if you follow these straightforward steps:
- Prepare Your Base:
- If you choose to use a base, organize it by placing it on your work surface.
- Cut Rope:
- Cut the rope to your desired length based on how tall you want your basket to be.
- Start Gluing:
- Begin at the outer rim of your base. Apply a small amount of hot glue to the base and attach one end of the rope, pressing it down securely.
- Create the Base:
- Spiral the rope around, adding hot glue every few inches as you go. Ensure the base is a firm, flat circle.
- Build Up the Walls:
- Once the base is complete, start going vertical by gluing the rope to the outer edge of the base. Continue spiraling upwards, maintaining a consistent glue pattern as you twist the rope around.
- Shape Your Basket:
- As you build up, you can start angling the rope inward for a tapered design or continue straight for a taller basket.
- Finish the Top:
- Once you've reached your desired height, wrap the rope around the top edge for a polished look. Secure the end with glue, trimming excess rope, if necessary.
- Let it Dry:
- Allow the glue to fully dry per the manufacturer's instructions (typically 30 minutes to an hour).
- Decorate (Optional):
- If you want, add decorative elements such as paint, beads, or twine to customize your basket.
- Final Touch:
- Once dry, inspect your basket for any loose ends or imperfections, and trim or glue as necessary for a finished look.
How to Serve
Using and showcasing your new DIY Rope Basket for Storage can enhance its utility in your home. Here are some creative ways to serve your project:
- Organizing Spaces: Use your baskets in various rooms to keep items tidy. They work great in living rooms, children’s play areas, or even bathrooms.
- Displaying Decor: Incorporate your baskets into your home decor by placing potted plants or decorative pillows inside them, which can help maintain a minimalist aesthetic.
- Gift Basket: Fill your DIY baskets with goodies like homemade treats, scented candles, or bath essentials and give them as thoughtful gifts for friends or family.
- Seasonal Storage: Use the baskets for seasonal items, like holiday decorations or winter gear, keeping everything organized and out of sight when not in use.
- Kids’ Toys: Encourage children to tidy up by designating a basket for toys. It makes cleanup easier and teaches kids organizational skills.
By implementing these tips, you’ll not only enjoy the functionality of your DIY Rope Basket for Storage but also fully embrace the joy it brings to your space!
Additional Tips
- Experiment with Sizes: You don’t have to stick to one size. Try making small, medium, and large baskets for versatile storage options.
- Choose the Right Rope: Look for rope that matches your desired rigidity and texture. Softer rope works well for flexible baskets.
- Use a Fabric Liner: If you want to protect delicate items, consider using a fabric liner inside your rope basket. This adds a soft finish and extra protection.
- Double Up on Patterns: If you’re feeling adventurous, combine different colored ropes to create beautiful patterns within your basket.
Recipe Variation
Feel free to personalize your DIY project! Here are some exciting variations:
- Colorful Options: Dye the rope with fabric dye before starting to give your basket a unique hue.
- Woven Designs: Incorporate small pieces of fabric or yarn while you coil the rope for a textured, mixed-media approach.
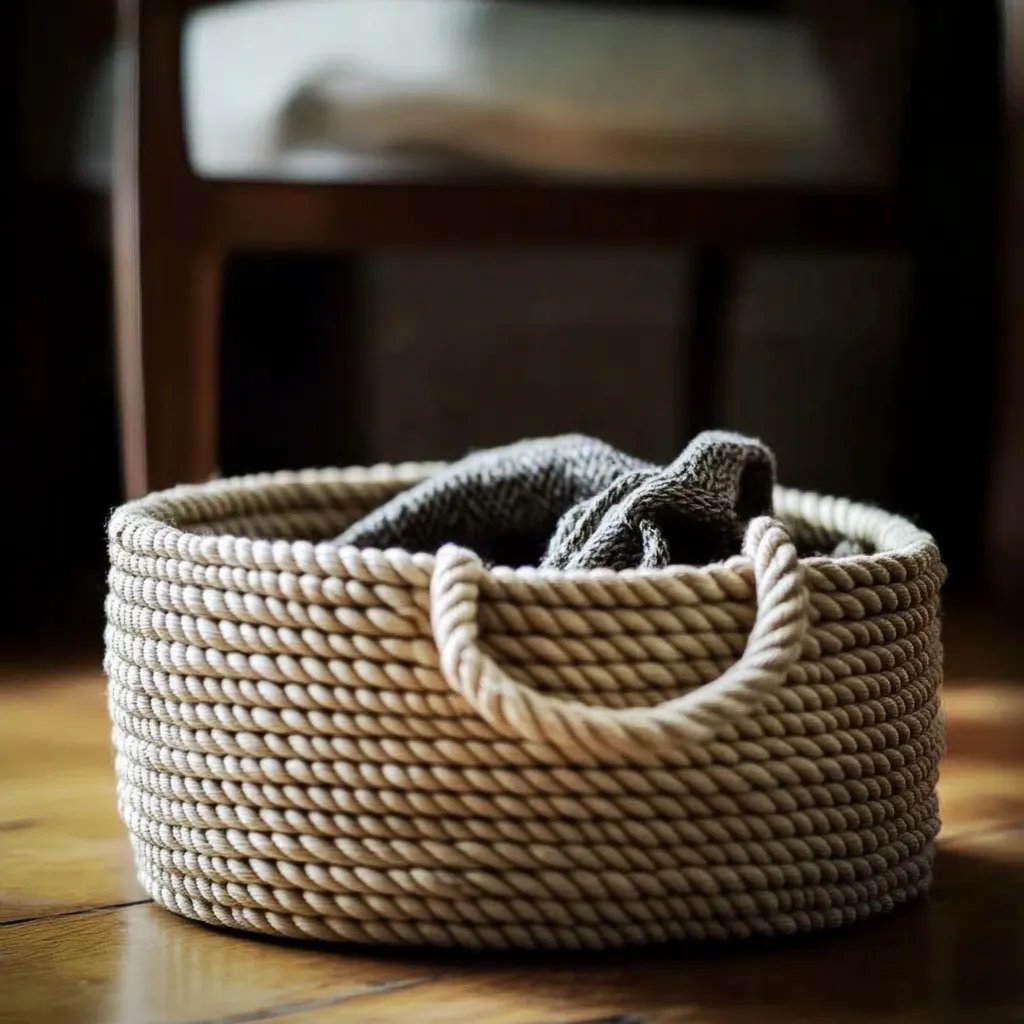
- Handle Additions: Create handles by looping the rope into a thicker braid and attaching it to the sides for easy portability.
Freezing and Storage
- Storage: Once completed, store your DIY Rope Basket in a dry area to maintain its shape and cleanliness.
- Durability: While these baskets can last a long time, ensure that you avoid excessive moisture, which can degrade natural fibers over time.
Special Equipment
You’ll need a few essential items to create your DIY Rope Basket effectively:
- Hot Glue Gun: An essential tool for keeping the rope in place securely.
- Cutting Mat: To cut the rope safely and accurately without damaging surfaces.
- Measuring Tape: Useful for determining the size of the rope pieces for your desired basket dimensions.
- Utility Knife: If you prefer a cleaner cut than scissors for your rope.
Frequently Asked Questions
Can I use other types of rope?
Yes! You can use jute, sisal, or any sturdy rope that suits your aesthetic.
How can I clean my rope basket?
To clean, use a damp cloth for spot cleaning. Avoid soaking the basket to maintain its shape.
Can I paint my basket?
Absolutely! Use fabric paint or spray paint to add a colorful finish to your basket.
How do I prevent fraying?
Seal the ends of your rope with glue or tape to keep them from fraying after cutting.
Is this project suitable for kids?
Yes! Older children can assist with supervision, especially during the gluing process.
Conclusion
Creating a DIY Rope Basket for Storage is a fulfilling and practical project that allows you to inject your creativity into home organization. With numerous design possibilities and applications, these baskets serve both functional and decorative purposes in any home. Involve the whole family in the crafting process or make it a personal endeavor. Either way, the satisfaction of seeing your handmade creation displayed in your space is unmatched!