DIY Rainbow Glitter Slime: A Fun and Colorful Craft Adventure
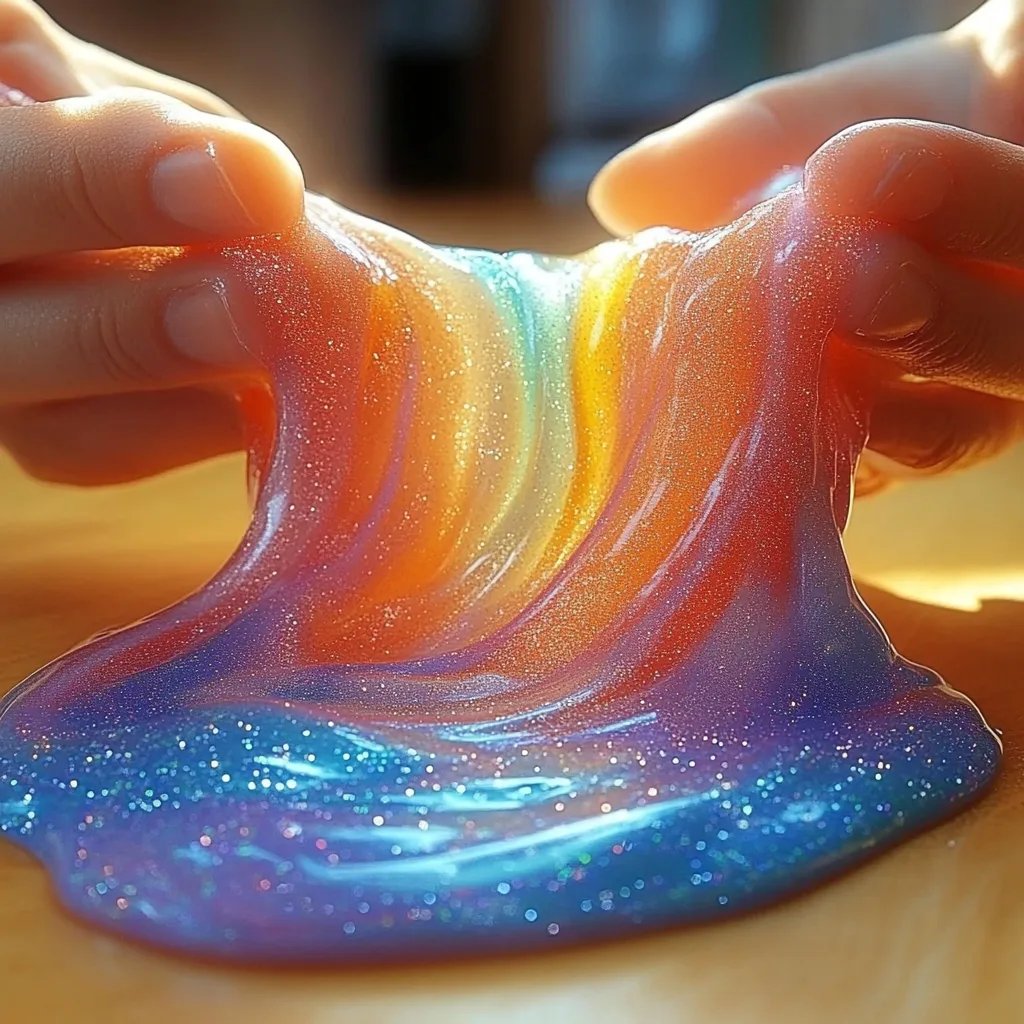
Hello fellow crafters! Today, I’m excited to share one of my absolute favorite DIY projects—making Rainbow Glitter Slime! If you’ve ever seen that vibrant, squishy, and oh-so-satisfying ooze on social media, you know exactly why it’s captured the hearts of both kids and adults alike. This popular craft is not just a great sensory activity for children, but it can also be a stress-reliever for adults, providing a delightful escape after a long day.
Whether you’re looking to keep the kids entertained on a rainy afternoon, searching for a unique birthday party activity, or simply want to indulge in the colorful world of slime, this DIY Rainbow Glitter Slime is perfect for you. Best of all, it’s incredibly easy to make with materials you probably have lying around the house!
What You’ll Need
Before we dive into the crafting process, let’s gather our materials. Here’s a comprehensive list:
Essential Ingredients
- White school glue (about 1 cup): You can also use clear glue for a more transparent look.
- Baking soda (1 teaspoon): This helps to firm up your slime.
- Contact lens solution (about 2 tablespoons): This contains boric acid, which aids in the slime formation.
- Water (1/2 cup): To mix with your glue, helping to create the perfect slime consistency.
- Food coloring: Assorted colors of your choice for the rainbow effect.
- Glitter: Fine or chunky glitter in multiple colors for that eye-catching sparkle.
Optional Tools
- A mixing bowl
- A spatula or spoon for mixing
- Measuring cups and spoons
- Airtight container (for storage)
- An apron or old shirt (to protect your clothes!)
Safety Notice
Before we get started, I want to emphasize safety. Make sure to supervise younger children during the crafting process, especially when using contact lens solution, as it can be irritating if contact with eyes occurs. Always wash your hands after crafting and keep slime out of reach of small pets and infants.
Step-by-Step Tutorial: Making Rainbow Glitter Slime
Now that we have everything ready, let’s embark on our rainbow slime-making adventure!
Step 1: Prepare the Base Slime
- Mix the Glue and Water: In a mixing bowl, combine 1 cup of white school glue with 1/2 cup of water. The water will help thin out the glue, making it easier to mix in additional ingredients. This step is essential for achieving the right slime texture; too thick, and you’ll end up with a sticky mess!
- Add Baking Soda: Once your glue and water are well incorporated, add 1 teaspoon of baking soda. Baking soda works as a thickening agent and helps create the desired elastic consistency. Stir until you no longer see any lumps.
Step 2: Activate Your Slime
- Incorporate Contact Lens Solution: Gradually add about 2 tablespoons of contact lens solution into the mixture. As you mix, you’ll notice the slime beginning to form—this is the magic moment! Be sure to combine well, until everything is fully blended. If your slime is too sticky, add a little more contact lens solution, one drop at a time, until you reach the desired texture.
Step 3: Create Rainbow Colors
- Divide the Slime Base: Now, if you’re creating multiple colors, divide your slime base into separate bowls, depending on how many colors you want to make. A standard rainbow has six colors—red, orange, yellow, green, blue, and purple—so I usually recommend splitting your slime into six portions.
- Color Each Portion: Add a few drops of food coloring to each portion, mixing thoroughly. Here’s where you can get creative! Don’t be afraid to add more colors if you want deeper hues. Also, remember, the more you mix, the murkier the color might get, so mix just enough to blend.
Step 4: Add the Glitter
- Spruce It Up: At this point, you’ll mix in glitter to each colored portion. I love using a generous amount because it really gives the slime that magical, sparkly effect. Experiment with different sizes and colors of glitter to create a unique look.
Step 5: Layering Your Rainbow
- Combine the Colors: Now comes the fun part—layering your colors! You have a couple of options here:
- Mixing Method: You can simply layer all colors in a single container and gently swirl them together for a marbled effect.
- Separate Method: Alternatively, you can keep each color distinct by not shifting the colors together—perfect for a neat rainbow look!
- Knead the Slime: Once assembled, spend a little time kneading the slime. This step helps combine the textures and ensures everything is well blended. It also gives you that satisfying squish!
Step 6: Storing Your Slime
- Store in an Airtight Container: To keep your Rainbow Glitter Slime fresh, store it in an airtight container. It can last for several weeks when cared for properly.
Troubleshooting Common Issues
Slime Too Sticky?
If your slime feels sticky after the mixing process, don't panic! Add more contact lens solution a drop at a time until you achieve the desired consistency.
Too Stiff?
If your slime becomes too stiff, try adding a few drops of water and gently knead it. You may find it softens up nicely without ruining the texture.
It’s Not Stretching?
If you find that your slime tears easily, it may be too dry or you didn’t use enough glue. You can try mixing in additional glue, kneading gently.
Tips and Variations
- Use Essential Oils: For a soothing effect, consider adding a few drops of essential oils to your slime. Lavender, for instance, is wonderfully calming.
- Scented Slime: If you’d like to create a fun sensory experience, experiment with flavored extracts like vanilla or peppermint (just remember not to eat it!).
- Opaque vs. Transparent: Depending on your choice of glue, you can create different effects. Clear glue will allow for more transparency if that’s your desired look.
- Themed Slime: Customize your creation for special occasions—red and green for Christmas, pastel hues for Easter, or spooky colors for Halloween!
A personal note: My first encounter with making slime was a delightful disaster. I had more glue than I knew what to do with and ended up with a ridiculous sticky blob on my hands. It was messy, but it was also that delightful mess that set off my crafty journey! Embrace the process and know that it’s all part of the fun.
Conclusion
And there you have it! Your very own DIY Rainbow Glitter Slime—a colorful and creative project perfect for all ages. Whether it’s for a rainy day at home, a birthday bash, or simply to indulge your inner child, this slime is sure to bring heaps of joy. The best part? You can easily customize it to reflect your personal style or the occasion at hand. So go ahead, gather your materials and bring this vibrant project to life!
As always, happy crafting! Please share your slime creations with me; I’d love to see your colorful masterpieces. And remember, when crafting, the only limit is your imagination!