DIY Piggy Bank: An Amazing Ultimate Project for Kids
DIY Piggy Bank is a wonderful way to teach children about saving money from a young age. Crafting your piggy bank together can be both an educational and delightful bonding activity. With a little creativity and some basic materials, you can create an incredible piggy bank that not only serves its purpose but can also double as a beautiful decorative piece for any room.
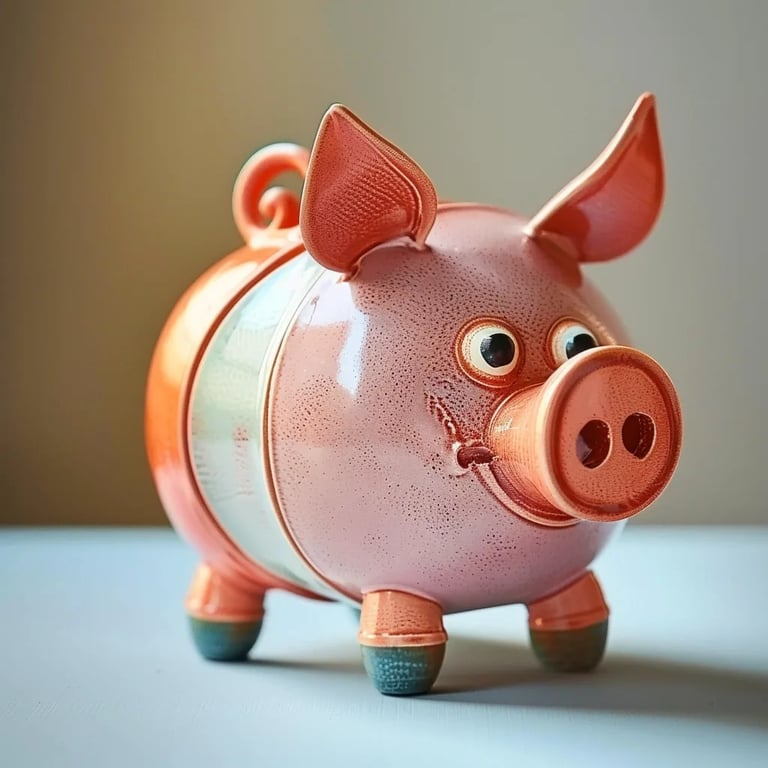
From shaping the bank to painting it in vibrant colors, this project invites kids to unleash their creativity. It's not just about saving pennies; it’s about instilling important lessons about financial responsibility in a fun way. Whether it's for their allowance, birthday money, or chores, kids can see their savings grow, bringing a sense of achievement and excitement.
In this guide, you will learn why this DIY project is truly special, the materials you’ll need, and the step-by-step instructions to create an extraordinary DIY Piggy Bank. So roll up your sleeves, gather the supplies, and let’s get crafting!
Why You’ll Love This DIY Piggy Bank
Creating a DIY Piggy Bank doesn’t just provide a physical container for coins; it fosters creativity and financial awareness in children. Here are several reasons why this project is a fantastic idea:
- Educational Importance – Kids learn valuable lessons about saving, budgeting, and financial planning.
- Customizable Design – Children can personalize their piggy banks with their favorite colors and designs.
- Family Bonding Experience – Making this together can strengthen relationships and provide quality family time.
- Encourages Creativity – Kids can express themselves through art by painting or decorating their piggy bank.
- Involves Multi-Step Thinking – This project requires planning and executing multiple steps, enhancing problem-solving skills.
- Promotes Responsibility – Having a dedicated place for money helps children understand that saving requires care and effort.
With these benefits in mind, you’ll soon realize why many families enjoy making this DIY Piggy Bank as a fun and meaningful activity.
Preparation and Crafting Time
To make your DIY Piggy Bank efficiently, you’ll want to allocate sufficient time. Here’s an estimate of how long creating your piggy bank will take:
- Preparation Time: 15 minutes to gather materials and plan your design.
- Crafting Time: 1-2 hours depending on the complexity and drying time of paint.
- Drying Time: Allow an additional 1-2 hours for paint to dry if necessary.
These times may vary depending on the age of your children and how detailed their designs are. However, the investment will surely be worth the fun and joy created!
Materials Needed
- A clean, empty plastic bottle or cardboard box
- Scissors (with adult supervision)
- Paint or markers (water-based for easy cleanup)
- Paintbrushes or sponges
- Glue (if adding embellishments)
- Decorative items (stickers, glitter, fabric scraps)
- A small slot for coins (you can cut a hole in the top)
- Clear sealant spray (optional; to protect the design)
Step-by-Step Instructions
Creating a DIY Piggy Bank can be simple if you follow these steps:
- Choose Your Base: Select either a plastic bottle or an empty cardboard box as the base.
- Prepare the Slot: Cut a small slot in the top for coins to go in. Ensure it’s big enough but not too large.
- Paint the Base: Let children paint the entire surface of the bottle or box in their desired base color.
- Let it Dry: Allow the paint to dry completely before applying any additional details.
- Add Personal Touches: Once dry, use markers or more paint to add designs, patterns, or names.
- Decorate: Encourage the use of stickers, glitter, or fabric scraps to personalize the piggy bank further.
- Seal the Design: Optional – use a clear sealant spray to protect the paint and decorations.
- Final Touches: Make sure all parts are secure and let the piggy bank sit for a while longer to ensure it’s completely dry.
Following these steps will transform your materials into a beautiful DIY Piggy Bank to inspire your children’s saving habits.
How to Serve
While “serving” a piggy bank may sound unusual, there are several creative ways to make the piggy bank experience even more enjoyable for kids:
- Make It a Fun Party Activity: Host a craft party where kids can make their piggy banks together.
- Accompany with a Money-Related Game: Introduce simple games that teach counting and saving concepts.
- Personalize the Savings Journey: Stage a mini ceremony to show off their creations, celebrating their new financial responsibility.
- Include Starter Coins: At the end of the crafting session, provide a small amount of change to kickstart their saving journey.
- Display the Piggy Bank: Create a special place in their room for the bank to encourage regular use.
With these ideas in mind, the DIY Piggy Bank becomes more than just a project. It evolves into a cherished memento and a stepping stone toward a better understanding of money.
This DIY Piggy Bank activity not only enhances creativity but teaches essential life skills. Its impact can resonate well into adulthood, making it a worthy investment of both time and effort. Happy crafting!
Additional Tips
- Personalize with Meaning: Encourage kids to add meaningful drawings or messages that resonate with them on their piggy banks.
- Use Recycled Materials: Consider using old containers or boxes at home to create a unique piggy bank.
- Introduce Saving Goals: Help children set small saving goals, making the activity more engaging and educating them on the importance of financial planning.
- Use Non-Toxic Supplies: Always opt for non-toxic paints and adhesives, especially if younger children are involved in crafting.
Recipe Variation
To keep the project fresh, consider these variations:
- Different Shapes: Instead of a traditional piggy bank, create banks shaped like animals or other fun designs.
- Themed Decoration: Decorate piggy banks based on seasonal themes, such as Halloween or Christmas, to make crafting more festive.
- Multi-Bank Concept: Create multiple small banks dedicated to different saving goals, such as “Toys,” “Books,” or “Gifts.”
Freezing and Storage
While traditional piggy banks don't require freezing or storage in the same way as food, here are tips for maintaining your creations:
- Display: Encourage kids to place their finished piggy banks in a visible location, promoting regular use.
- Repaint: If the design starts looking worn over time, consider letting kids refresh the paint or decorations.
Special Equipment
To craft your DIY Piggy Bank successfully, you might need the following tools:
- Scissors (with supervision for safety)
- Paintbrushes or sponges for painting
- Craft glue for decorations
- A craft knife for cutting the slot (adults only)
- Containers for mixing paint if needed
Frequently Asked Questions
What is the best type of paint to use?
Water-based paint is ideal as it is easy to clean and safe for children.
Can we reuse an old piggy bank?
Yes, repurposing an old piggy bank is a fantastic way to refresh and personalize it. Kids can paint over it or add new decorations.
How do I clean the piggy bank?
To clean, wipe it with a damp cloth. Avoid submerging it in water if the materials can't withstand moisture.
Is there an age limit for this project?
This project is suitable for kids of all ages, but younger children may need more adult supervision, especially with cutting tools.
Can the piggy bank be used for dollar bills too?
Yes! Make a larger slot in the bank to accommodate bills along with coins.
Conclusion
Crafting a DIY Piggy Bank is more than just a fun activity; it’s a wonderful opportunity to teach children about saving money in an engaging and creative way. This project fosters important financial habits, encourages imaginative expression, and creates cherished keepsakes that families can enjoy for years. By involving your children in this hands-on activity, you not only strengthen your bond but also equip them with essential life skills that will serve them well into adulthood. Happy crafting, and may your children enjoy their journey of saving with their unique piggy banks!