DIY Mini Rain Cloud Science Experiment in a Jar: A Step-by-Step Guide
Welcome to my crafting corner! Today, I am thrilled to share with you an enchanting and educational DIY project that merges creativity with a splash of science—the Mini Rain Cloud Science Experiment in a Jar. This whimsical project has gained immense popularity among parents, teachers, and young science enthusiasts for its simplicity and visual appeal. But what exactly is a mini rain cloud, and why has it captured the hearts and minds of so many?
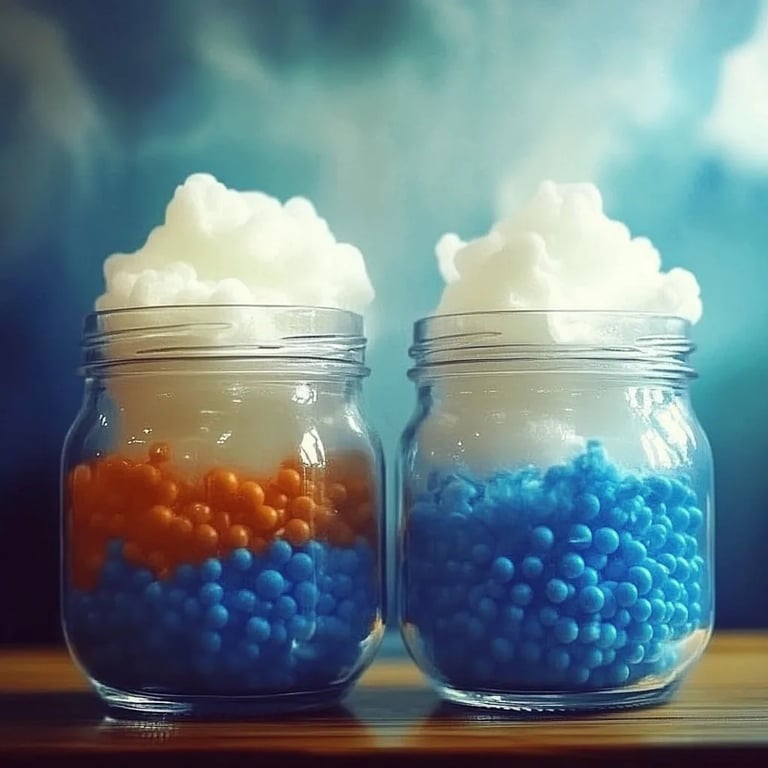
The Mini Rain Cloud is essentially a charming representation of how rain forms in the atmosphere. By creating this experiment, you can learn about the water cycle, condensation, and precipitation—all in the comfort of your home! It's perfect for rainy days, a fun weekend project, or even as an engaging classroom activity. Plus, it’s a fantastic way to spark conversations about meteorology and environmental science.
Let’s dive into the process, where I'll guide you step-by-step in creating your very own mini rain cloud. So grab your materials, and let’s make some weather magic!
What You'll Need
Before we get started, let’s gather everything you'll need for the experiment:
Materials:
- A clear glass jar or a cup: This will represent the atmosphere.
- Shaving cream: This mimics clouds and holds the rain.
- Food coloring (blue works best to represent rain).
- Water: To fill the jar.
- Dropper or pipette: For adding the colored water.
- Small bowl: For mixing the food coloring.
- Spoon: For stirring.
- Paper towels: For cleanup, just in case.
Optional Materials:
- Glitter: To add a magical touch!
- Paper and pencil: For taking notes on your observations.
Safety Warning:
Always supervise children during this project to ensure they don’t ingest materials. While the ingredients are generally safe, it's always best to err on the side of caution.
Step-by-Step Instructions
Step 1: Prepare the Jar
Start by filling your jar about three-quarters full with water. This water acts as the atmosphere in which our mini weather system will develop.
Step 2: Create Your "Cloud"
Next, spray a generous amount of shaving cream on top of the water. Use a spoon to shape the shaving cream into a cloud-like mound. This is where the rain will form!
Why It Matters:
The shaving cream simulates a cloud—it's crucial for demonstrating the process of condensation. Make sure it floats on the water's surface without sinking. If it sinks, add more shaving cream to build it back up.
Step 3: Prepare Your Rain
In your small bowl, mix a few drops of food coloring (blue or any color you prefer) with a small amount of water. Stir it with the spoon until well mixed. This colorful water represents the rain.
Step 4: Create the Rain
Using your dropper or pipette, gently release the colored water on top of the shaving cream cloud. Don’t squeeze too hard; allow the drops to fall slowly and watch as they create little bursts of color on the cloud.
What Could Go Wrong:
If the food coloring just sits on top of the shaving cream without breaking through, the cloud might be too thick. Simply wait a minute and then add more droplets of the colored water—patience is key!
Step 5: Observe the Magic
One of the best parts of this experiment is witnessing the colored water gradually penetrate the shaving cream, causing it to eventually drip down like rainfall. This usually happens after a few moments of waiting. Keep an eye on it and feel free to make notes about your observations!
Tips for Success:
- Add more food coloring to see how it affects the rain. What happens if you use different colors simultaneously?
- If you want to experiment further, try adding glitter to the cloud for a dazzling effect.
Creative Variations
- Make it a Seasonal Project: Change the color of the food coloring according to the season (e.g., use yellows and oranges in fall, or soft pinks in spring).
- Create a Thunderstorm: Add several drops of different colors at once to represent a storm. You can make it more dramatic by blowing lightly on the cloud to see the ripples of your “storm”.
- Incorporate Learning: Use this project to teach about the water cycle. After the activity, discuss evaporation, condensation, precipitation, and the importance of rain in our ecosystem.
Personal Insights
As a crafting enthusiast with years of experience, I find that this project not only captivates children but also engages their curiosity and invites them to ask questions about the world around them. I vividly remember the first time I made this mini rain cloud; it was a delightful “A-ha!” moment as a child as I learned about the science behind what I’d witnessed in nature. Now, I cherish sharing this experience with my children and seeing their wonder unfold!
Clean-Up Tips
Crafting (and science!) can get a little messy, so having paper towels nearby is a good idea. You may also want to have some soap and water ready to clean any shaving cream residue from the jar or table.
Conclusion
The DIY Mini Rain Cloud Science Experiment is not only a fun and visually appealing activity, but it’s also a fantastic educational tool. This experiment brings the concepts of weather and science to life, encouraging children to explore and ask questions as they watch the transformation unfold. I encourage you to gather your materials, embrace the craft, and embark on this weather adventure. I promise you won’t regret it!
Now, I’d love to hear from you! Share your thoughts, photos of your mini clouds, or any creative twists you added to the project. Happy crafting!