DIY Leaf Print Window Art: An Incredible 7-Step Guide
DIY Leaf Print Window Art is a wonderful way to bring the beauty of nature indoors. This creative project allows you to capture the intricate details of leaves and display them to brighten up any room. Whether you're looking to decorate your windows or create a unique piece of art, this DIY project is an amazing way to inspire creativity and personal expression. With just a few materials and a bit of technique, you can transform your home into a stunning showcase of natural beauty.
Creating beautiful leaf prints is not only a fun activity; it also fosters a connection to nature. Each piece tells a story and adds character to your space. This guide will take you through everything you need to know to create your very own leaf print window art. You'll discover why this project is so loved, what materials you'll need, and detailed steps to help you achieve perfect prints.
Let's dive in!
Why You’ll Love DIY Leaf Print Window Art
There are countless reasons why DIY Leaf Print Window Art is a beloved project for many. Here are just a few to inspire you:
- Simple and Affordable: This project doesn’t require expensive materials or advanced artistic skills. You likely have most supplies at home.
- Natural Beauty: Capturing the essence of leaves beautifully connects you with nature, even while indoors.
- Creative Expressions: You can customize your designs, making each piece uniquely yours.
- Perfect for All Ages: This project is great for both kids and adults, making it a fun family activity.
- Eco-Friendly Art: It promotes sustainability by utilizing natural materials, making it an environmentally friendly choice.
- Versatile Decor: Whether you frame your artwork or stick it directly on windows, you can enhance any space.
- Moment of Mindfulness: Engaging in this creative process offers an opportunity for relaxation and mindfulness, distancing you from daily distractions.
With these benefits in mind, you can see why DIY Leaf Print Window Art has become a popular choice among crafting enthusiasts and nature lovers alike.
Preparation and Crafting Time
Creating your own DIY Leaf Print Window Art is not only rewarding but also relatively quick. Here's a breakdown of the time involved in this project:
- Preparation Time: 15-20 minutes
- Crafting Time: 30-45 minutes
- Drying Time: 2-4 hours (depends on the type of paint and medium used)
These times can vary based on your comfort level, so adjust accordingly.
Materials Needed
To create your stunning leaf print window art, gather the following materials:
- Fresh leaves (different shapes and sizes for variety)
- Water-based ink or paint
- A paintbrush or sponge
- Heavy paper (watercolor paper or cardstock)
- A rolling pin (optional)
- Parchment paper (for transferring prints)
- Scissors (optional for cutting shapes)
- Transparent window film or contact paper (for sticking on windows)
Step-by-Step Instructions
Creating stunning DIY Leaf Print Window Art is easy with these simple steps:
- Choose Your Leaves: Collect a variety of fresh leaves in different sizes and shapes. Be sure to choose leaves that are flat and unblemished for the best results.
- Prepare Your Workspace: Lay down newspaper or a plastic sheet to protect your work surface. This will make clean-up easier.
- Apply Ink/Paint: Use a paintbrush or sponge to apply a layer of water-based ink or paint evenly on one side of the leaf. Ensure that the entire surface is coated, but not too thick to avoid drips.
- Press the Leaf: Carefully place the inked side of the leaf down on your heavy paper. Press firmly to transfer the ink or paint, starting from the center and moving to the edges.
- Roll It Out: For an even better transfer, you can use a rolling pin to gently roll over the leaf. This helps push the paint into the paper for a sharper print.
- Lift the Leaf: Gently peel the leaf away from the paper to reveal your print. You may need to experiment with different leaves and colors for various effects.
- Allow to Dry: Let your prints dry completely. If using a quick-drying medium, this may take about 2 hours, but thicker paints might require more time.
How to Serve
To display your amazing DIY Leaf Print Window Art, consider the following options:
- Frame Your Art: For a polished look, frame your leaf prints. Choose frames that complement the colors and styles of your home decor.
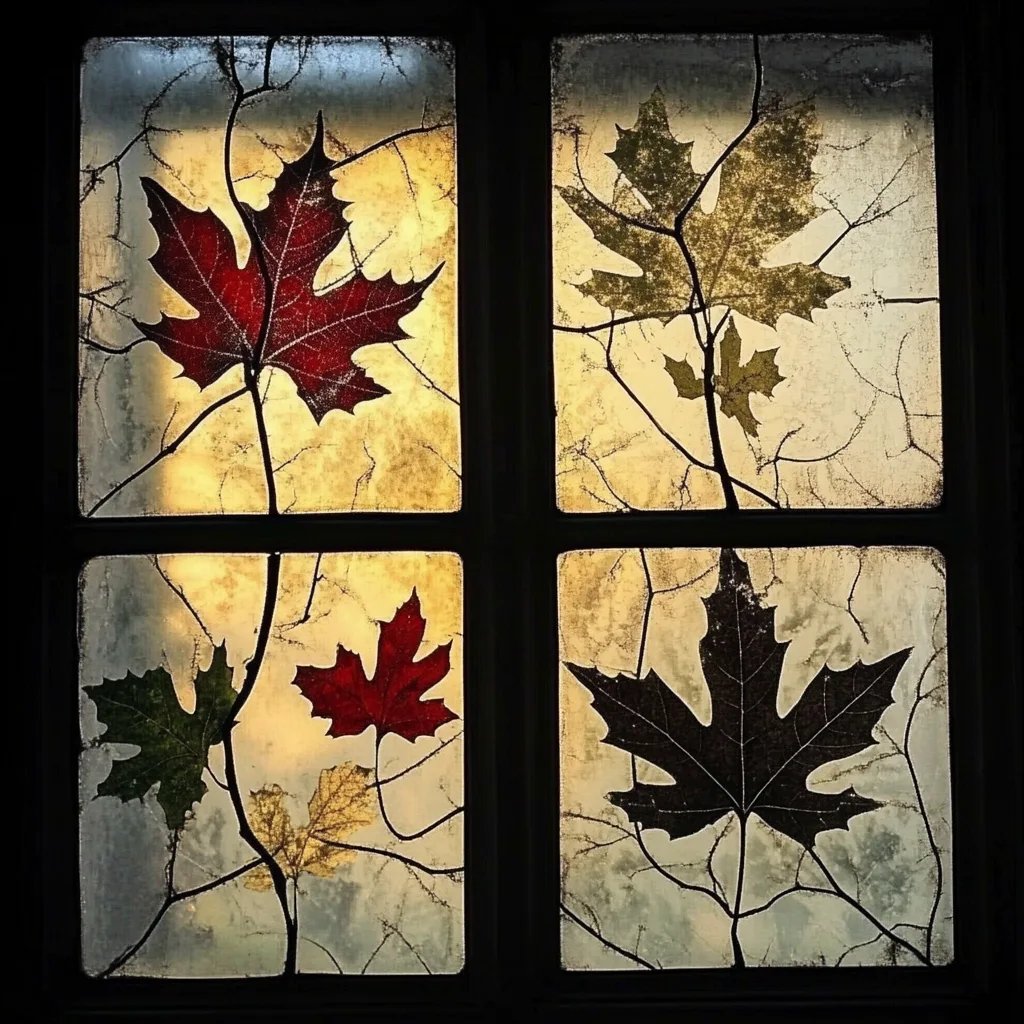
- Window Display: Use transparent window film or contact paper to stick your prints directly on your windows. This will create a stunning stained-glass effect when sunlight filters through.
- Rotate Your Artwork: Change out your prints seasonally to keep your decor fresh and exciting. Different leaves are available in every season, which provides a perfect opportunity to create new art.
- Create a Gallery Wall: Combine multiple prints into a gallery wall. Arrange them in a random pattern or in organized rows for a more formal look.
- Gift Your Creation: Package your prints as unique gifts for friends or family. Handmade art carries a personal touch that is often cherished.
Engaging with nature through DIY Leaf Print Window Art is an incredible way to unleash your creativity. Not only do you end up with beautiful decor, but you also enjoy the process of creating with your own hands. This guide aims to encourage you to embark on this artistic journey. Gather your materials and get started today—happiness is just a leaf print away!
Additional Tips
- Experiment with Leaves: Different types of leaves can yield unique patterns. Try using ferns, oak leaves, or even flower petals for variety.
- Press Firmly: Ensure you press firmly when transferring the ink from the leaf to the paper. This will help create a more defined print.
- Protect Your Work: If you plan to use your prints in windows, consider using a fixative spray to protect your artwork from the elements.
- Color Combinations: Don’t hesitate to experiment with multiple colors on one leaf. Layering colors can create depth and intrigue in your prints.
- Seasonal Themes: Use leaves that reflect the current season to create themed artwork. Bright autumn leaves, vibrant spring foliage—each season offers its own palette.
Recipe Variation
If you want to add a twist to your DIY Leaf Print Window Art, consider these variations:
- Mixed Media Approach: Incorporate other elements like stamps or stencils for added design complexity. This can enhance your artwork’s aesthetic.
- Transparent Effects: Use transparent paints or inks for a more translucent effect that mimics stained glass when displayed in windows.
- Layered Prints: Create a layered look by overlapping prints on your paper. Experiment with different layouts to achieve a unique composition.
- Textured Backgrounds: Before applying the leaf prints, add textures to the background (like sponges, brushes, or even fabric) for added visual interest.
Freezing and Storage
- Storage: Allow your prints to dry completely. Store them flat between sheets of parchment paper to avoid smudging or damage.
- Preservation: Use a clear spray sealant to protect prints that will be displayed in windows or high-traffic areas.
- Long-term Storage: If you want to keep some prints for future use, consider transferring them onto high-quality canvas or wood for longevity.
Special Equipment
While most of the materials are common household items, you might find a few specialized tools helpful:
- Brayer/Roller: A smooth roller can help evenly distribute paints over leaves for a more precise print.
- Lightbox: If you want to be more creative, a lightbox can help you see how your layered prints will look against different surfaces.
- Cutting Mat: For those who want to cut their prints into shapes or designs, a cutting mat helps protect your work surface.
Frequently Asked Questions
How long does the leaf print take to dry completely?
Typically, prints dry within 2-4 hours, depending on the thickness of the paint used.
What types of leaves work best for printing?
Flat, unblemished leaves work best. Experiment with different shapes and textures for varied results.
Can I use different types of paint?
Yes, while water-based ink or paint is recommended, you can experiment with acrylics. Just remember to adjust your technique accordingly.
Is this project kid-friendly?
Absolutely! Just be sure to supervise young children when handling paints and tools.
What if my prints don’t come out clearly?
Don’t be discouraged. It may take a few tries to perfect your technique. Adjust the paint application or pressure when pressing the leaf for better results.
Conclusion
Creating DIY Leaf Print Window Art is a simple, engaging, and creative process that invites nature into your home. With just a few materials, you can craft personalized pieces of art that resonate with natural beauty. The journey of making these prints, combined with their stunning results, offers an enjoyable experience for individuals or families alike. As you explore different leaves and techniques, you will foster a deeper appreciation for the environment while enhancing your living space. So gather your materials and immerse yourself in this wonderful art project—nature's beauty is waiting to be captured!