DIY Lava Lamp: An Amazing Ultimate Guide with 5 Easy Steps
DIY Lava Lamp is a fun and engaging project that you can create right at home. This fantastic activity is not only visually appealing, but it also introduces fascinating scientific principles about density and the behavior of liquids. If you are looking for an entertaining and educational activity for yourself or your kids, this will be an incredible way to spend an afternoon. The colorful, mesmerizing flow of a DIY lava lamp can brighten up a room or serve as a perfect gift. Let's explore everything you need to know to make your own DIY lava lamp!
Imagine being able to create a magical light show in your home. The mesmerizing bubbles and vibrant colors are sure to capture everyone's attention, sparking curiosity and creativity. This DIY project offers both a hands-on experience and a chance to learn about science while having fun. In this guide, you will discover why this DIY lava lamp project is worth trying, how to prepare for it, and detailed step-by-step instructions to ensure your success. Whether you want to create one for yourself or as a fun group activity, your DIY lava lamp experience will undoubtedly be amazing!
Why You’ll Love This Recipe
Creating your own DIY lava lamp can be an incredibly rewarding experience. Here are some compelling reasons why you’ll love this project:
- Simple Ingredients: This project requires only a few household items, making it convenient and cost-effective.
- Educational Experience: It's a fantastic way to explore scientific concepts like density and chemical reactions, making it perfect for kids and curious adults alike.
- Customizable Design: You can personalize your lava lamp with different colors and types of oil to create a unique masterpiece.
- Interactive Activity: This hands-on project encourages creativity while allowing you to engage with your family or friends.
- Visually Stunning: The colorful, flowing visuals created by your DIY lava lamp can serve as captivating decor.
- Low Maintenance: Once made, your lava lamp requires minimal upkeep and continues to dazzle!
These points highlight why so many people enjoy crafting their own DIY lava lamps. Each aspect of the process contributes to a memorable experience that blends science, creativity, and fun!
Preparation and Cooking Time
Creating your DIY lava lamp is a quick process that requires approximately 30-45 minutes of your time. Here’s a breakdown of the time required:
- Preparation Time: 10-15 minutes (gathering materials and setting up)
- Assembly Time: 20-30 minutes (combining ingredients and observing reactions)
This timeline can vary based on individual preferences and how creative you get with your lava lamp design. Regardless, having a short preparation time makes this project accessible for everyone!
Ingredients
- 1 clear plastic bottle (empty soda bottle or a mason jar)
- 2/3 cup of water
- 1/3 cup of vegetable oil (or any light oil)
- Food coloring (any color of your choice)
- Alka-Seltzer tablets (or any effervescent tablets)
Step-by-Step Instructions
Creating your own DIY lava lamp is straightforward. Follow these simple instructions to make your mesmerizing lamp:
- Prepare the Bottle: Start with a clean, empty plastic bottle. Remove any labels and labels and ensure it’s dry.
- Add Water: Pour 2/3 cup of water into the bottle. This will be the base of your lava lamp.
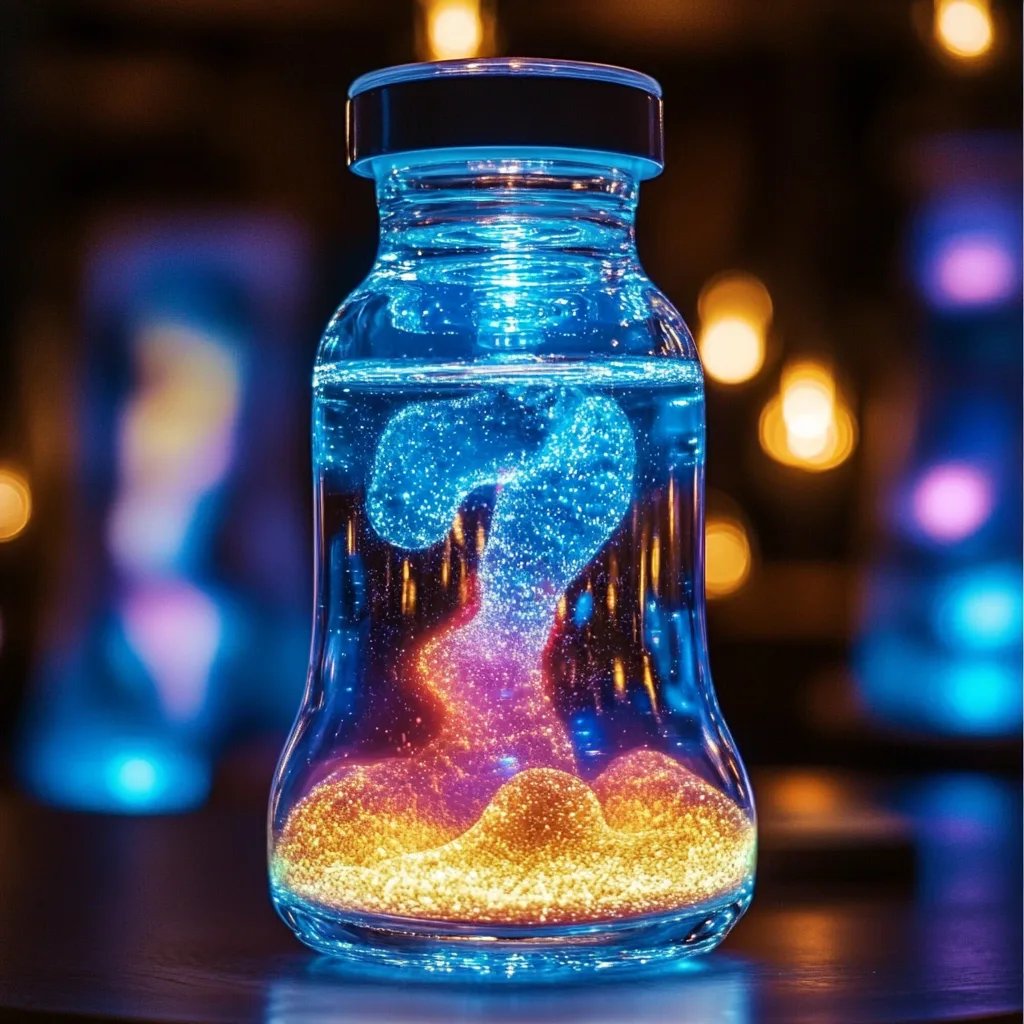
- Add Oil: Slowly pour 1/3 cup of vegetable oil into the bottle. You’ll notice the oil floats on top of the water because they have different densities.
- Add Color: Add a few drops of food coloring into the bottle. Watch the color drop through the oil and mix with the water below. It will create a beautiful contrast!
- Activate the Lava: Break an Alka-Seltzer tablet into pieces and drop them into the bottle one by one. Watch as the bubbles form and rise to the top, creating a lava lamp effect.
- Repeat: Whenever the fizzing subsides, feel free to add more Alka-Seltzer to keep the lava lamp flowing!
It's a simple process that provides instant gratification and endless entertainment. You can repeat the experience by simply adding more tablets.
How to Serve
Once you've created your DIY lava lamp, the fun doesn't stop there. Here are some tips on how to showcase your new creation effectively:
- Display Area: Choose a prominent spot in your room. A shelf or desk where it can catch light is perfect.
- Ambient Lighting: Turn off overhead lights and let the lamp be the centerpiece in a dimly lit room to emphasize its glow.
- Experimentation: Get creative by mixing different colors of food coloring or even different oils to see how they behave.
- Interactive Demonstration: Share your knowledge about the science behind the lava lamp with friends and family, explaining how density and reactions work.
- Safety First: Remember that Alka-Seltzer contains ingredients that should not be ingested. Keep it out of reach of young children.
By applying these suggestions, you’ll enhance not only the appearance of your DIY lava lamp but also the enjoyment factor for yourself and your guests!
Creating a DIY lava lamp is not just a project; it’s an experience that combines science, creativity, and fun. Whether you're looking for an educational activity, a creative outlet, or a captivating decoration, your DIY lava lamp journey will be nothing short of amazing!
Additional Tips
- Experiment with Colors: Don't hesitate to mix different food coloring shades to create unique effects. Try layering colors for a stunning visual impact.
- Use Different Liquids: While water works best, you may explore using colored liquids like fruit juices or soda. Just ensure that they are transparent enough to see the effects.
- Control Bubble Size: The size and height of bubbles can vary based on the type and amount of effervescent tablets used. Experiment with different brands for varying effects.
- Keep It Safe: Ensure that young children are supervised during the project, especially since some materials can pose a choking hazard.
- Create a Theme: Make themed lava lamps for specific holidays or occasions, such as Halloween colors or festive themes for birthdays.
Recipe Variation
Feel free to try out these exciting variations to enhance your DIY lava lamp experience:
- Glow-in-the-Dark Lava Lamp: Add a small amount of glowing paint to the water for a mesmerizing glow effect in the dark.
- Layered Lava Lamp: Use colored gels or different types of oils (such as coconut oil) to create layers that move at different speeds.
- Fragrance Addition: Introduce scented oils to the lamp for a delightful aroma while the bubbles bubble.
- Seasonal Themes: Create a lava lamp for each season—green for spring, red and orange for fall, blue for winter, and vibrant colors for summer.
Freezing and Storage
- Storage: Once your DIY lava lamp has been created, it can be stored in a cool, dry place, away from direct sunlight. Keep the cap tightly sealed if you are using a bottle for optimal results.
- Reuse Ingredients: If you want to save the lamp after its initial use, avoid adding too many effervescent tablets. Store the liquid in the bottle, and just add new tablets as needed to refresh the effect.
Special Equipment
Creating your DIY lava lamp is simple, and you can do it with minimal equipment. Here’s what you’ll need:
- Plastic Bottles: An empty soda bottle or a mason jar is ideal.
- Measuring Cup: For accurate measurements of liquids.
- Funnel: Optional, but can help avoid spills when pouring liquids.
- Stirring Stick: A wooden skewer or a stick to gently mix ingredients if needed.
- Work Surface: Ensure you have a clean and flat workspace to set up your materials.
Frequently Asked Questions
Can I use other types of oils for this project?
Yes! While vegetable oil is common, other light oils like baby oil work well too. Just keep in mind that the different oils may affect bubble movement.
How long will my DIY lava lamp last?
While the visual effect may decrease over time, your lava lamp can be used repeatedly by simply adding more Alka-Seltzer tablets as the fizzing subsides.
Is this project safe for children?
Yes, but always supervise young children to ensure they do not ingest any materials, especially the effervescent tablets.
Do I have to use Alka-Seltzer tablets?
While Alka-Seltzer tablets are the most effective for creating the lava lamp effect, you can also experiment with other effervescent tablets or products. Just make sure they produce bubbles.
Can I create a larger lava lamp?
Definitely! Just scale up the ingredients and use a larger container. However, be cautious with the number of effervescent tablets to avoid strong fizzing.
Conclusion
Creating a DIY lava lamp is an enjoyable project that combines science with creativity. The process is simple, requiring minimal ingredients, and offers an engaging way to illustrate complex concepts such as density and chemical reactions. By following the outlined steps and variations, you can create a captivating decor piece that serves both educational and aesthetic purposes. Whether you're sharing it with family or showcasing it in your home, your unique lava lamp experience will spark joy and curiosity for all who see it.