DIY Guide: How to Make a Glittery Ocean Snow Globe
Hello, fellow crafters! I'm so excited to invite you into my crafting workshop today as I guide you through a fun and magical project: creating a glittery ocean snow globe. This enchanting DIY is not only a delightful decor piece, but it also makes for a thoughtful gift or a unique keepsake. Whether displayed on a shelf or given as a special surprise, these snow globes capture a moment and transport us to a serene oceanic paradise. Let's dive into the world of crafting and bring a touch of the ocean right into your home!
Why Make a Glittery Ocean Snow Globe?
Snow globes have been cherished collectibles for decades, and there's something truly captivating about watching the glitter swirl around like sea foam in the wind. The calming vibe of the ocean evokes feelings of relaxation, making these globes perfect for any season or occasion. Be it a warm summer day or a cozy winter evening, a glittery ocean snow globe can bring a bit of beachy bliss into our lives.
What’s more, crafting your own globe gives you the freedom to personalize it however you like. You can choose your favorite marine figurines, colors of glitter, and even the size of your globe.
Crafting Your Glittery Ocean Snow Globe: Step-by-Step Tutorial
What You’ll Need
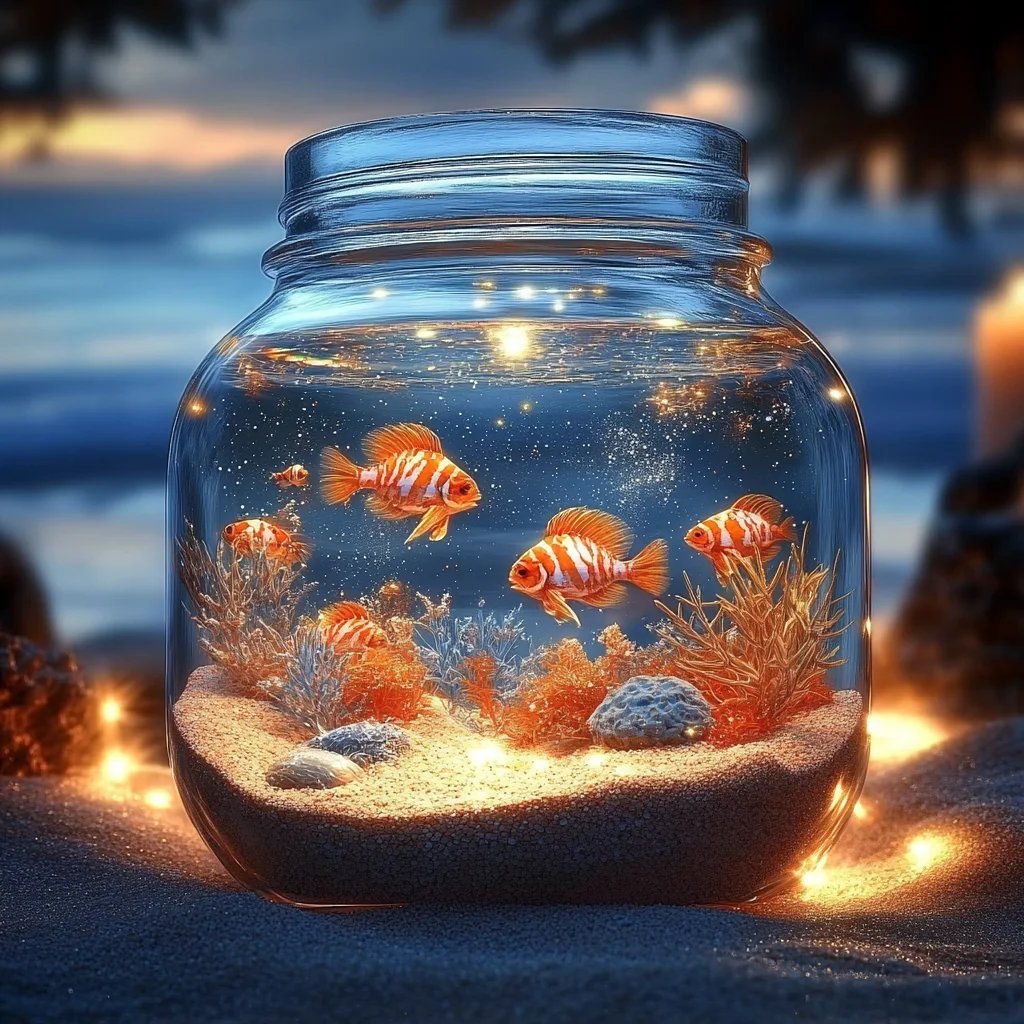
- Glass jar with lid: A mason jar, any empty jar, or even thrifted glassware work great!
- Marine-themed figurines: Look for nicely detailed sea creatures like starfish, turtles, or mermaids.
- Distilled water: Using distilled water helps to prevent cloudiness in your globe.
- Glitter: Choose blue, white, or silver for a classic oceanic vibe. Don’t be afraid to mix different colors!
- Glycerin: This thickening agent helps slow the flow of glitter, creating a more magical effect (optional but recommended).
- Hot glue gun: For securing everything in place.
- Optional: Food coloring for tinted water, decorative sand, shells, or even small pebbles.
Step 1: Prepare Your Base
The first step in creating your glittery ocean snow globe is to prepare your base. Start by cleaning your jar thoroughly; this will ensure that any floating debris doesn't disrupt the beauty of your globe.
Tip: If you're using a recycled jar, soak it in warm soapy water to remove the label easily.
Step 2: Secure the Marine Figurine
Once your jar is clean and dry, it's time to get creative! Take your chosen marine figurine and secure it to the lid using a hot glue gun. Make sure there's a good amount of glue so it adheres well; you don’t want your beautiful creature floating around inside the globe!
What could go wrong: If the figurine isn’t secured well enough, it can come loose once you fill the jar with water. If this happens, simply let the glue dry, and you can reapply if necessary.
Step 3: Add Decorative Elements
Now it's time to create your ocean scene! Before you fill the jar with water, consider adding a layer of decorative sand or pebbles at the bottom for added texture. This will create a beautiful backdrop for your glittery display.
Alternative method: If you're not keen on sand, some small seashells could add character and charm.
Step 4: Fill with Water and Glitter
Now for the magic part—filling your jar! Pour in distilled water, leaving a little space at the top. Too much water might overflow when you put the lid on.
Next, sprinkle in your glitter! The amount you use is entirely up to you—more glitter equals a more sparkling effect. If you're using glycerin (which is optional), add about 1 tablespoon into the water before introducing the glitter. The glycerin will slow the movement of the glitter, making it fall gracefully.
Tip: To help your glitter blend, give it a little stir with a stick before sealing the globe.
Step 5: Seal and Shake
Carefully place the lid with the figurine onto the jar and tighten it securely. ensure everything is sealed properly to avoid leaks. If you’re concerned, you could add a ring of glue around the threads of the jar lid before securing it.
Now comes the fun part! Shake the globe and watch as the glitter dances around in the water, creating a mesmerizing underwater scene.
Step 6: Finishing Touches
Finally, give your snow globe a personal touch! You can paint the lid, add ribbons, or even label it with a name or date.
Personal anecdote: I remember the first snow globe I made as a child; I decorated the lid with seashells and glitter. It was such a joy to see it on my bookshelf, reminding me of summer days spent at the beach.
Caring for Your Glittery Ocean Snow Globe
Once you’ve made your magical creation, you might be wondering how to care for it. Try to keep your globe out of direct sunlight to prevent any fading, and avoid shaking it too vigorously, as the glitter can settle over time.
Creative Variations to Try
As an experienced crafter, I've found that the possibilities are endless when creating your glittery ocean snow globe. Here are some creative ideas to make it uniquely yours:
* Theme changes: Instead of marine life, try forest-themed globes with mini trees and woodland creatures.
* Seasonal adaptations: Consider using fall leaves for an autumn version or tiny snowmen for winter charm.
* DIY figures: For a personal touch, create custom figurines with air-dry clay!
Safety Warnings
As with any craft project, safety is key. Be careful when using the hot glue gun, and supervise young children closely to prevent burns or accidents. If using food coloring, wear an apron or old clothing, as it can stain.
Final Thoughts
Creating your own glittery ocean snow globe is a delightful way to indulge your crafting spirit and unleash your creativity. As you bring the beauty of the ocean into your home, remember that there’s no right or wrong way—just your way! Each unique snow globe tells your personal story, and I hope you enjoy crafting it as much as I do.
Happy crafting! Remember, the journey is just as beautiful as the final product!